
I've talked to so many of you who want to add simple, useful tools to your websites—like a mortgage calculator, a quote generator, or an interactive quiz. The problem is, these often require clunky plugins or custom development that's a pain to manage.
I designed Poper to solve this. You can add any custom-coded widget directly to your site without needing a developer or a separate server. If you're interested in more unique widget ideas, check out our guide on how to make a photo a widget. Let’s walk through how to add a simple BMI calculator widget from scratch.
What is a Custom Widget?
A "widget" is a self-contained block of content or functionality that can be placed on a webpage. While standard widgets might include a search bar or a list of recent posts, a custom widget is one you create or add yourself to perform a specific function not offered by your website's default tools.
Examples of Custom Widgets:
Industry-specific calculators (BMI, mortgage, ROI)
Interactive polls or quizzes
Custom booking or appointment forms
Live chat from a specific provider
A custom-styled Instagram or Twitter feed
A dynamic quote or testimonial display
Step 1: Start a New Campaign in Poper
First, if you haven’t already, get your Poper account set up. Once you're in, add your website's domain so Poper knows where to display your creations.
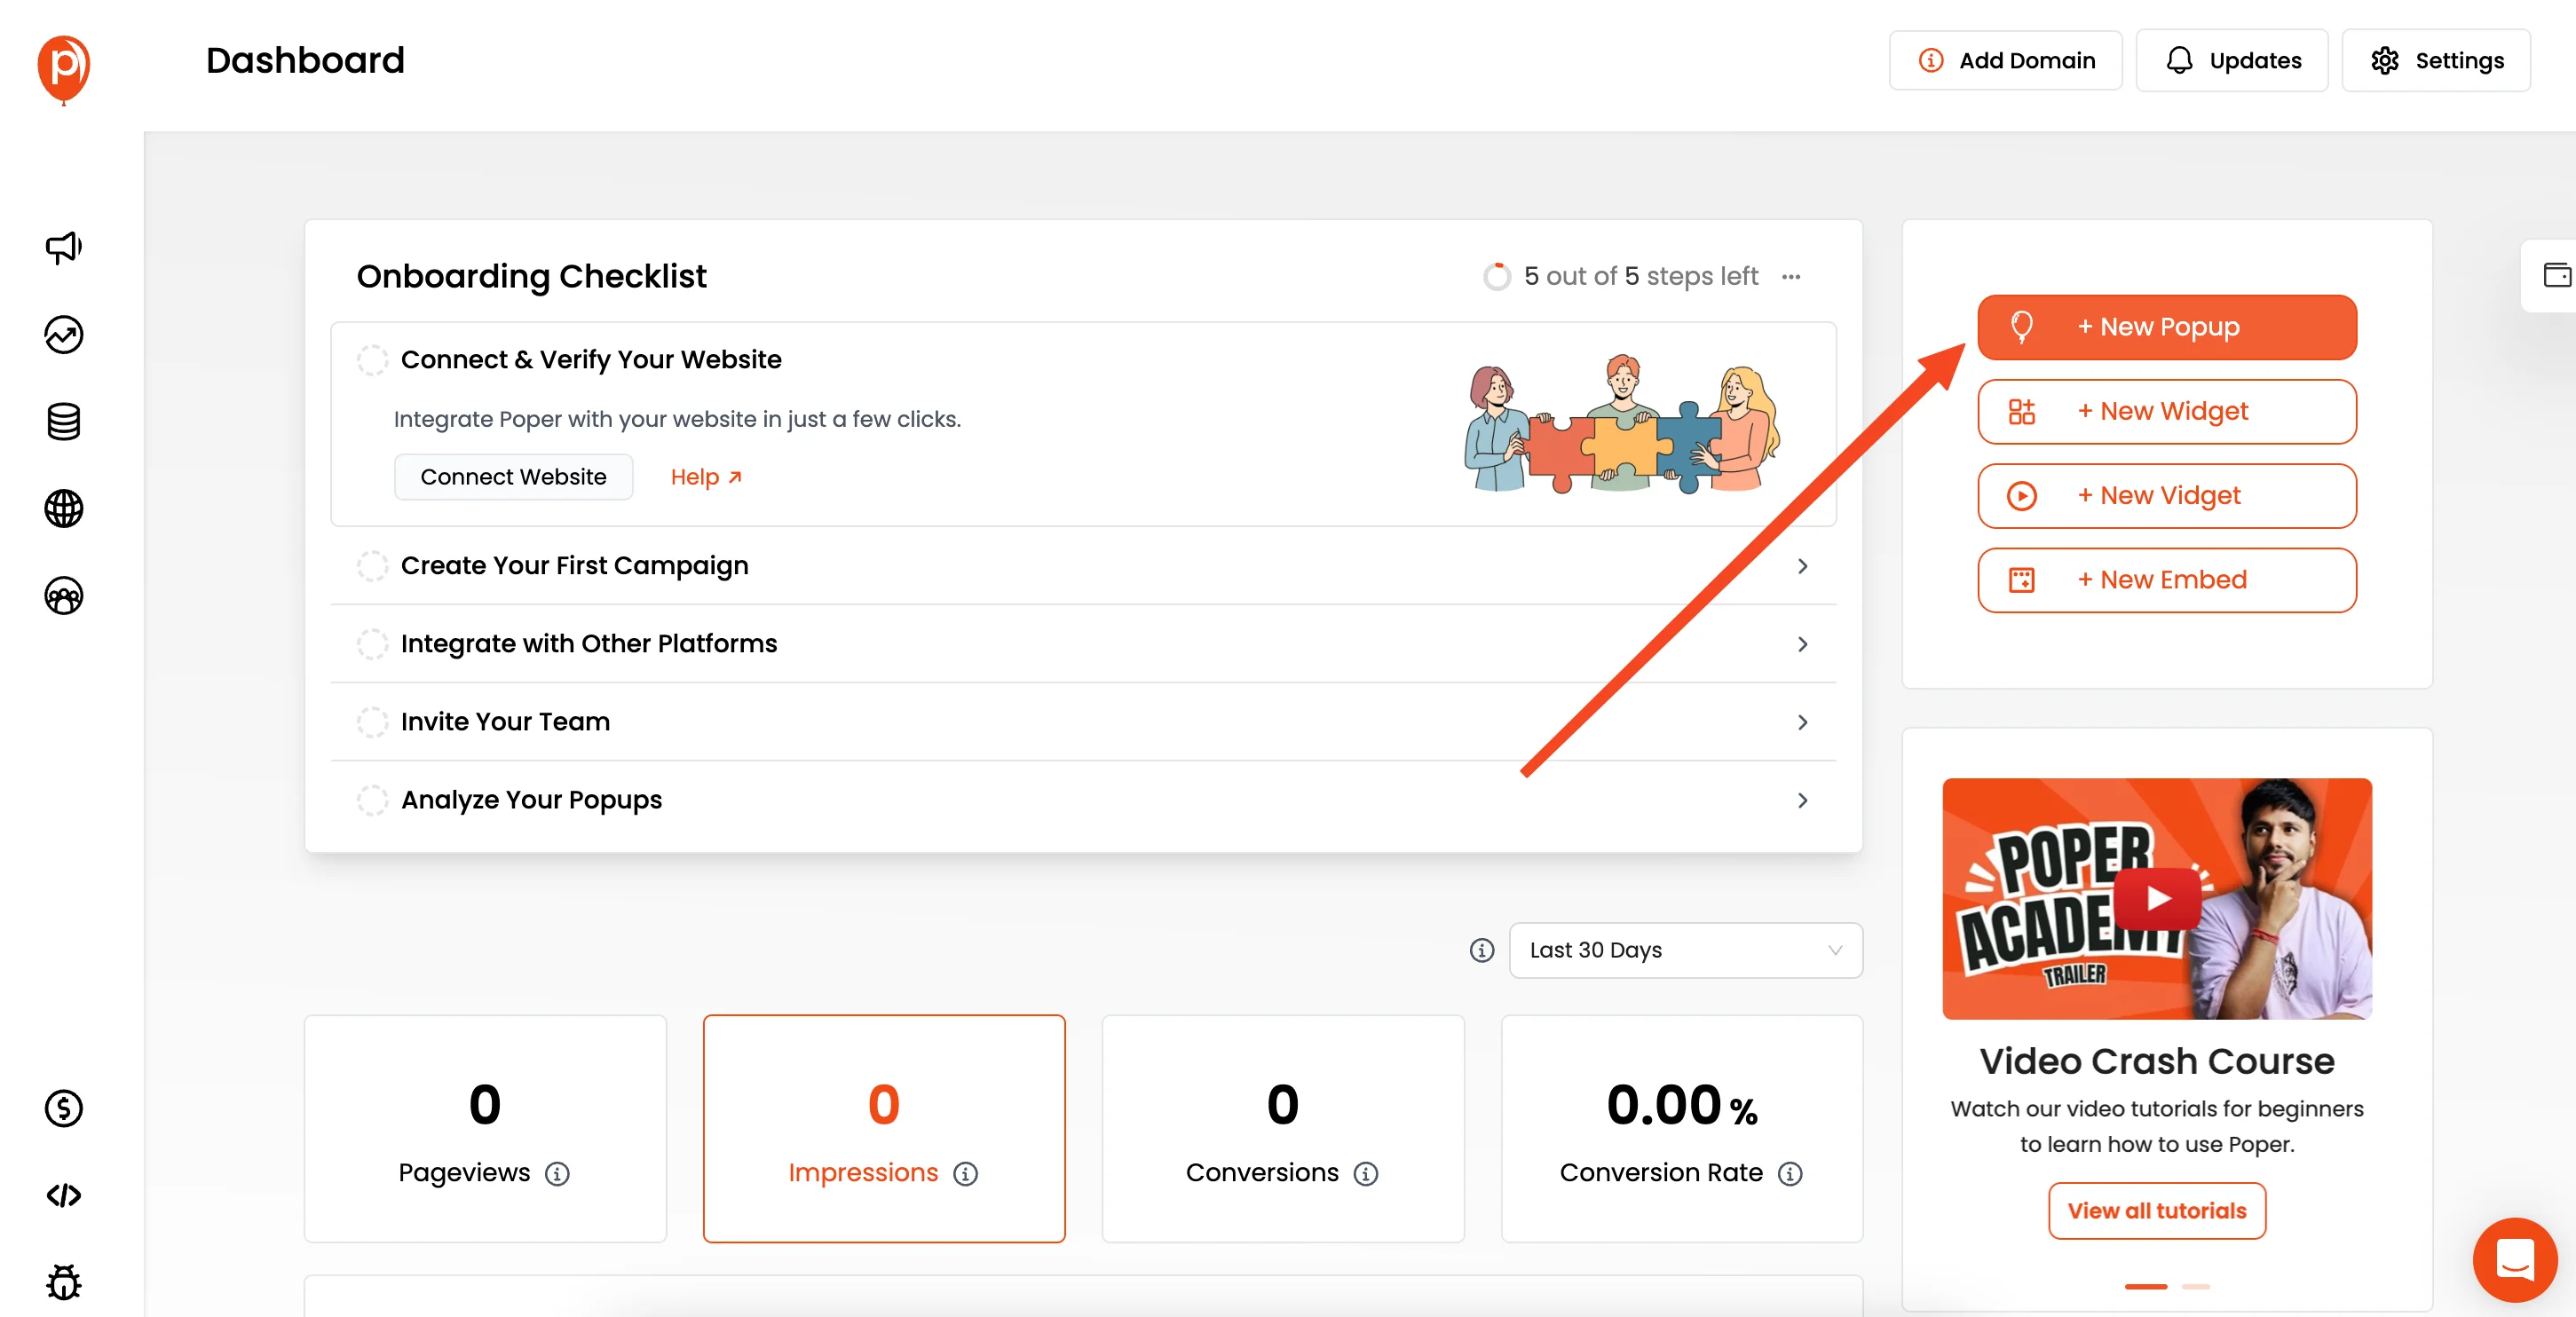
We’re going to begin by creating a new popup. I know we’re making a widget, but starting with a popup gives us a flexible canvas. You can pick a blank template to have a clean slate to work with.
Step 2: Generate the Code for Your Widget
You don’t need to be a coding expert to create the widget itself. You can use a code-generating tool like ChatGPT or Gemini to do the heavy lifting. Open one up and use a clear prompt to get exactly what you need.
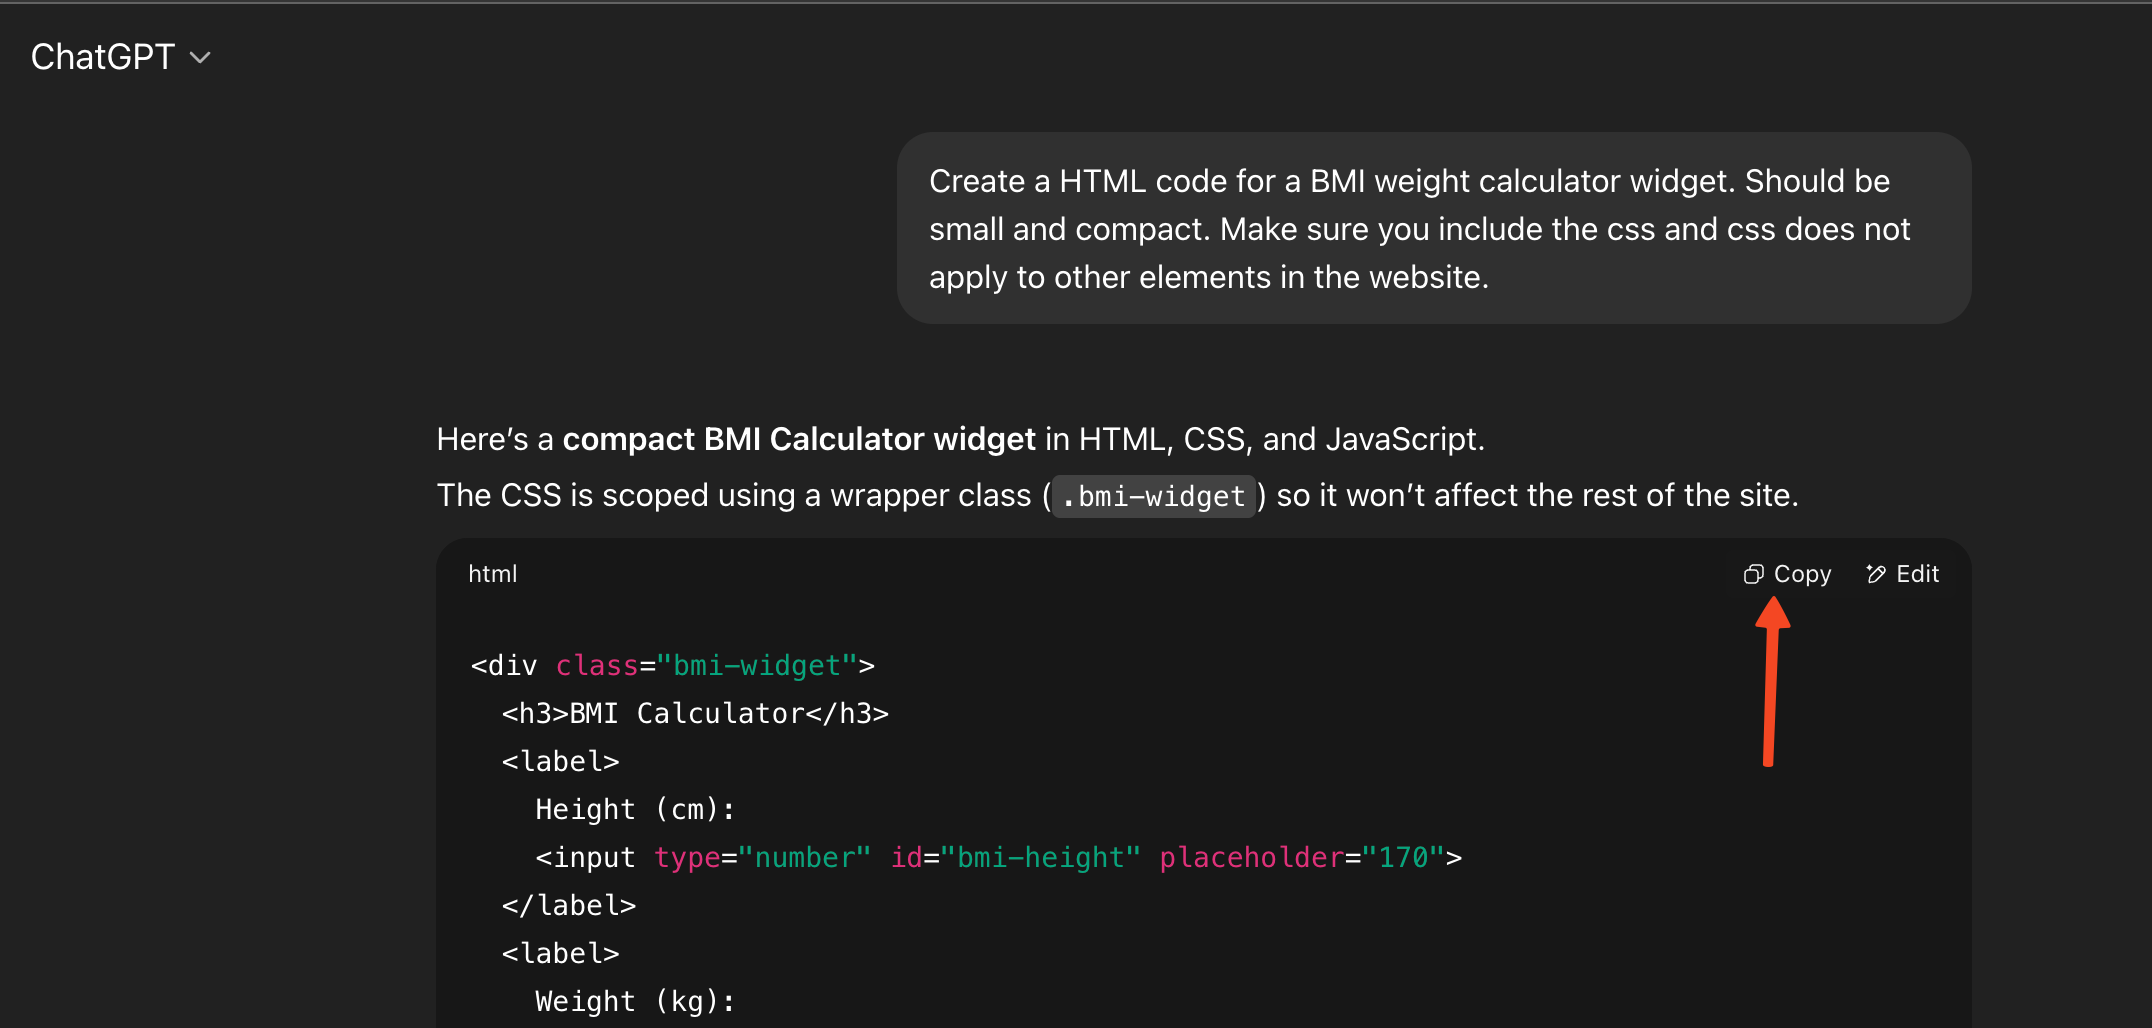
For our example, try this prompt: “Create HTML code for a BMI calculator widget. It should be small and compact. Make sure you include the CSS, and that the CSS does not affect other elements on the website.”
Asking for self-contained CSS is important, as it prevents the widget’s styling from accidentally changing your website’s fonts or colors.
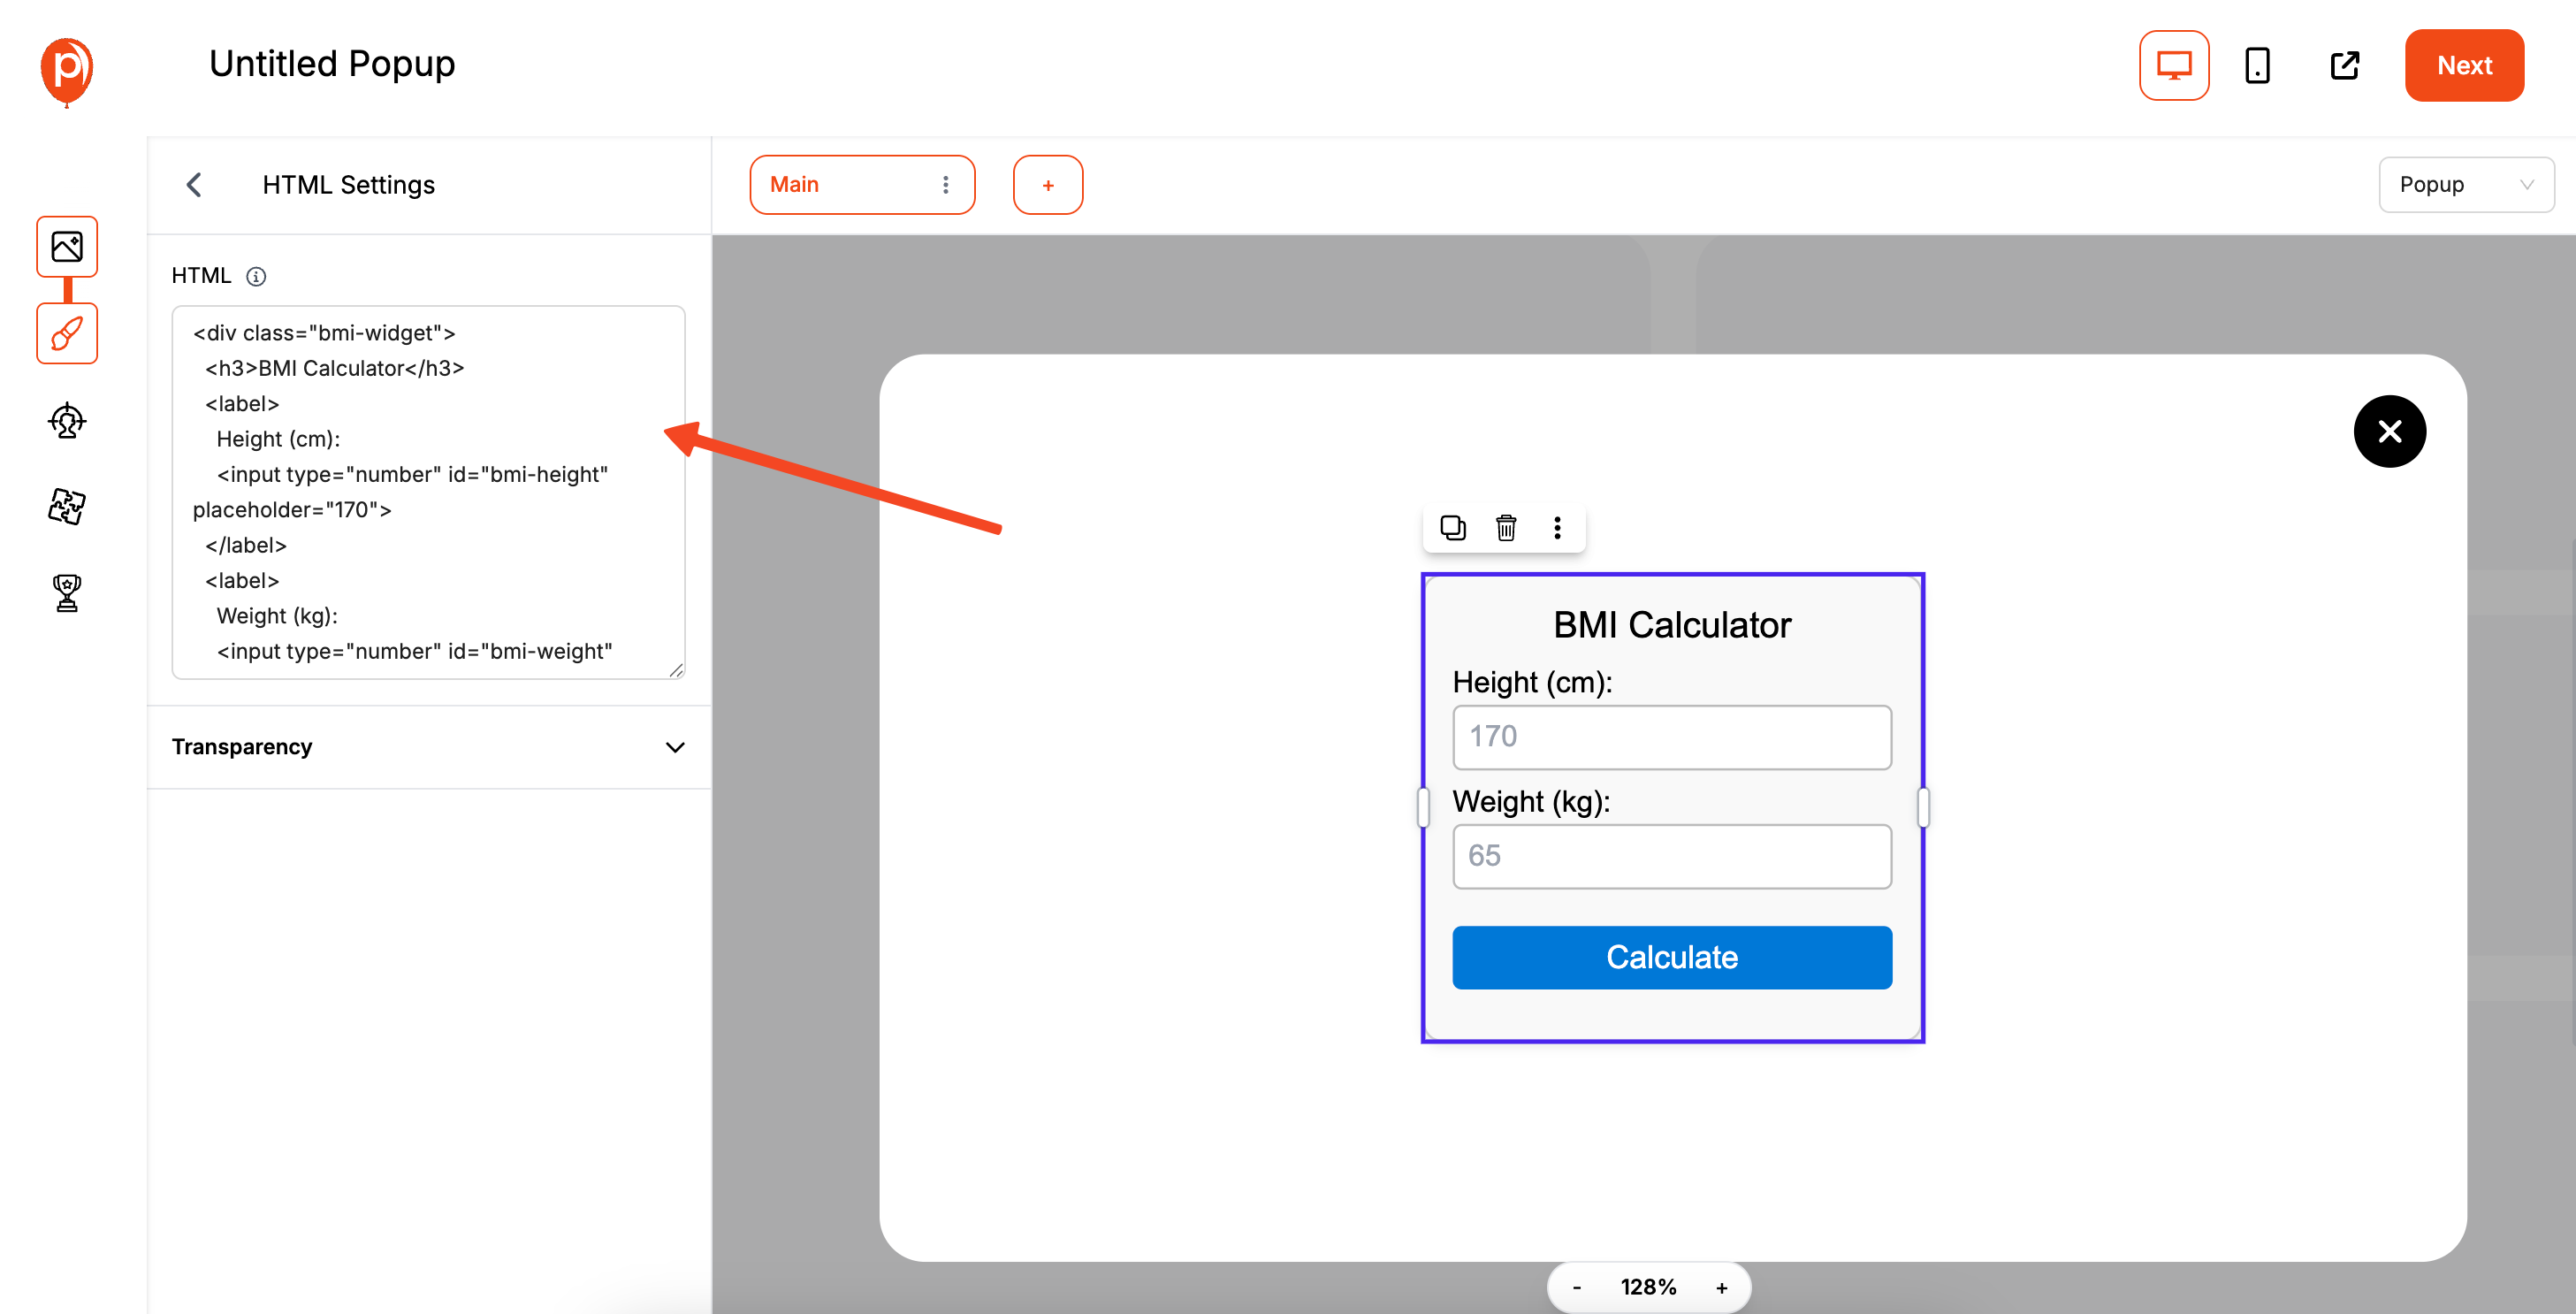
Step 3: Add Your Custom Code to Poper
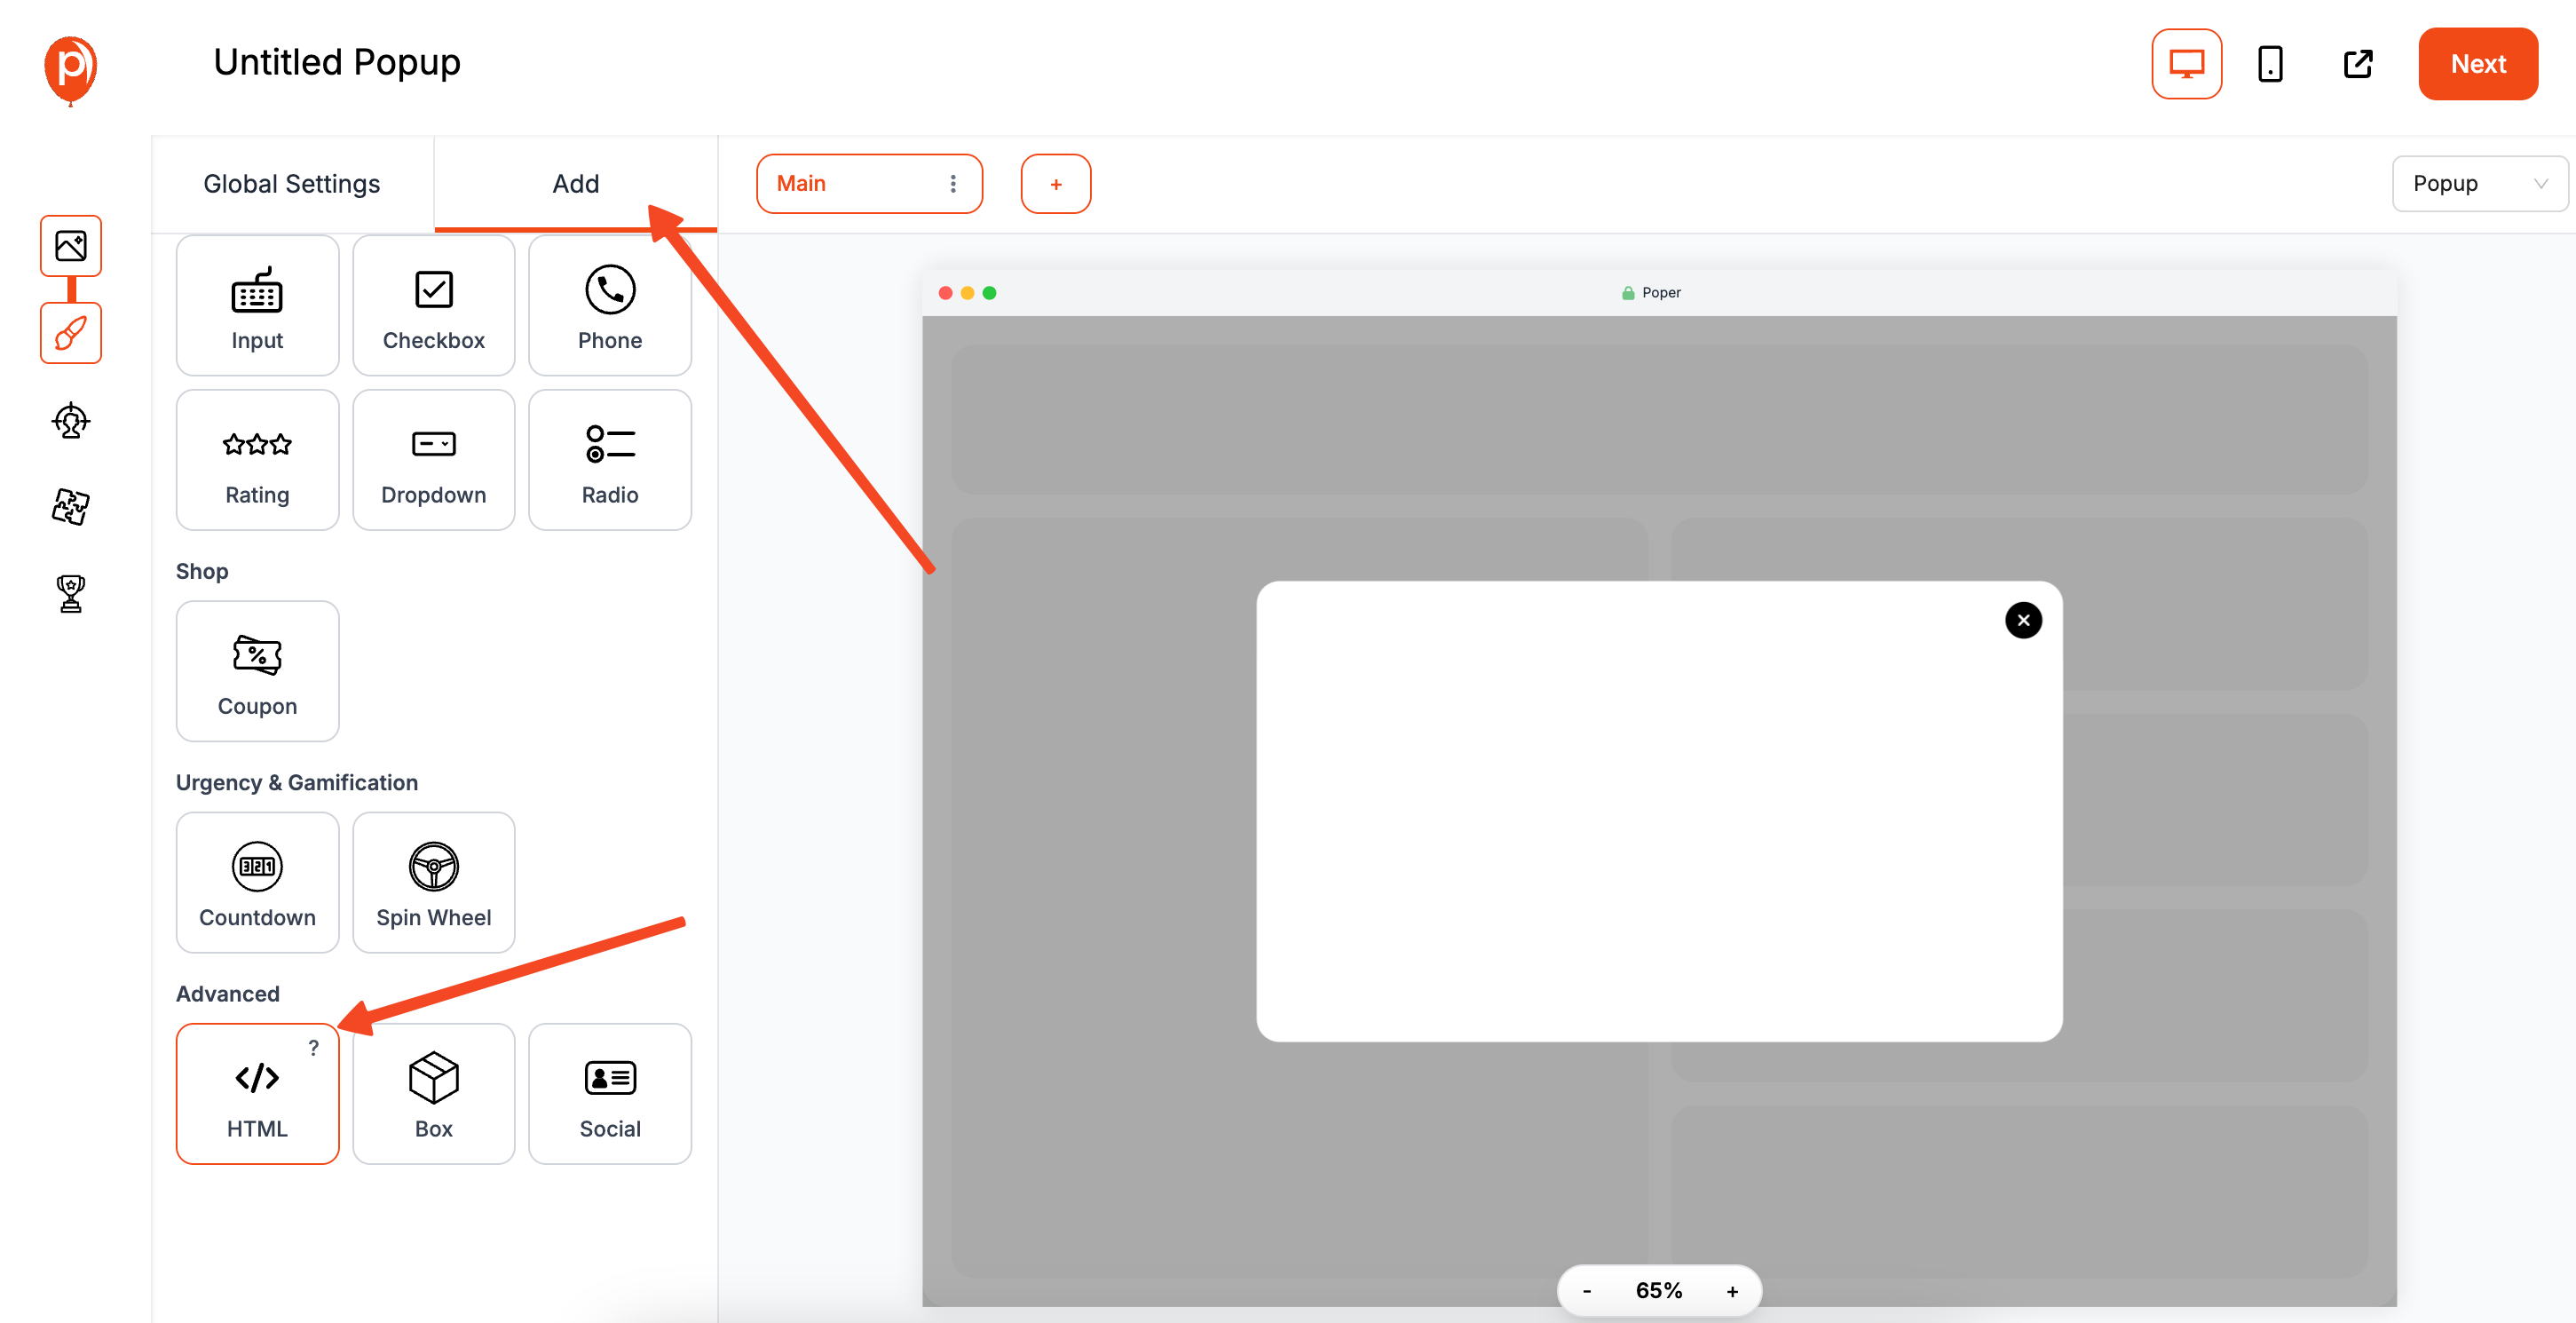
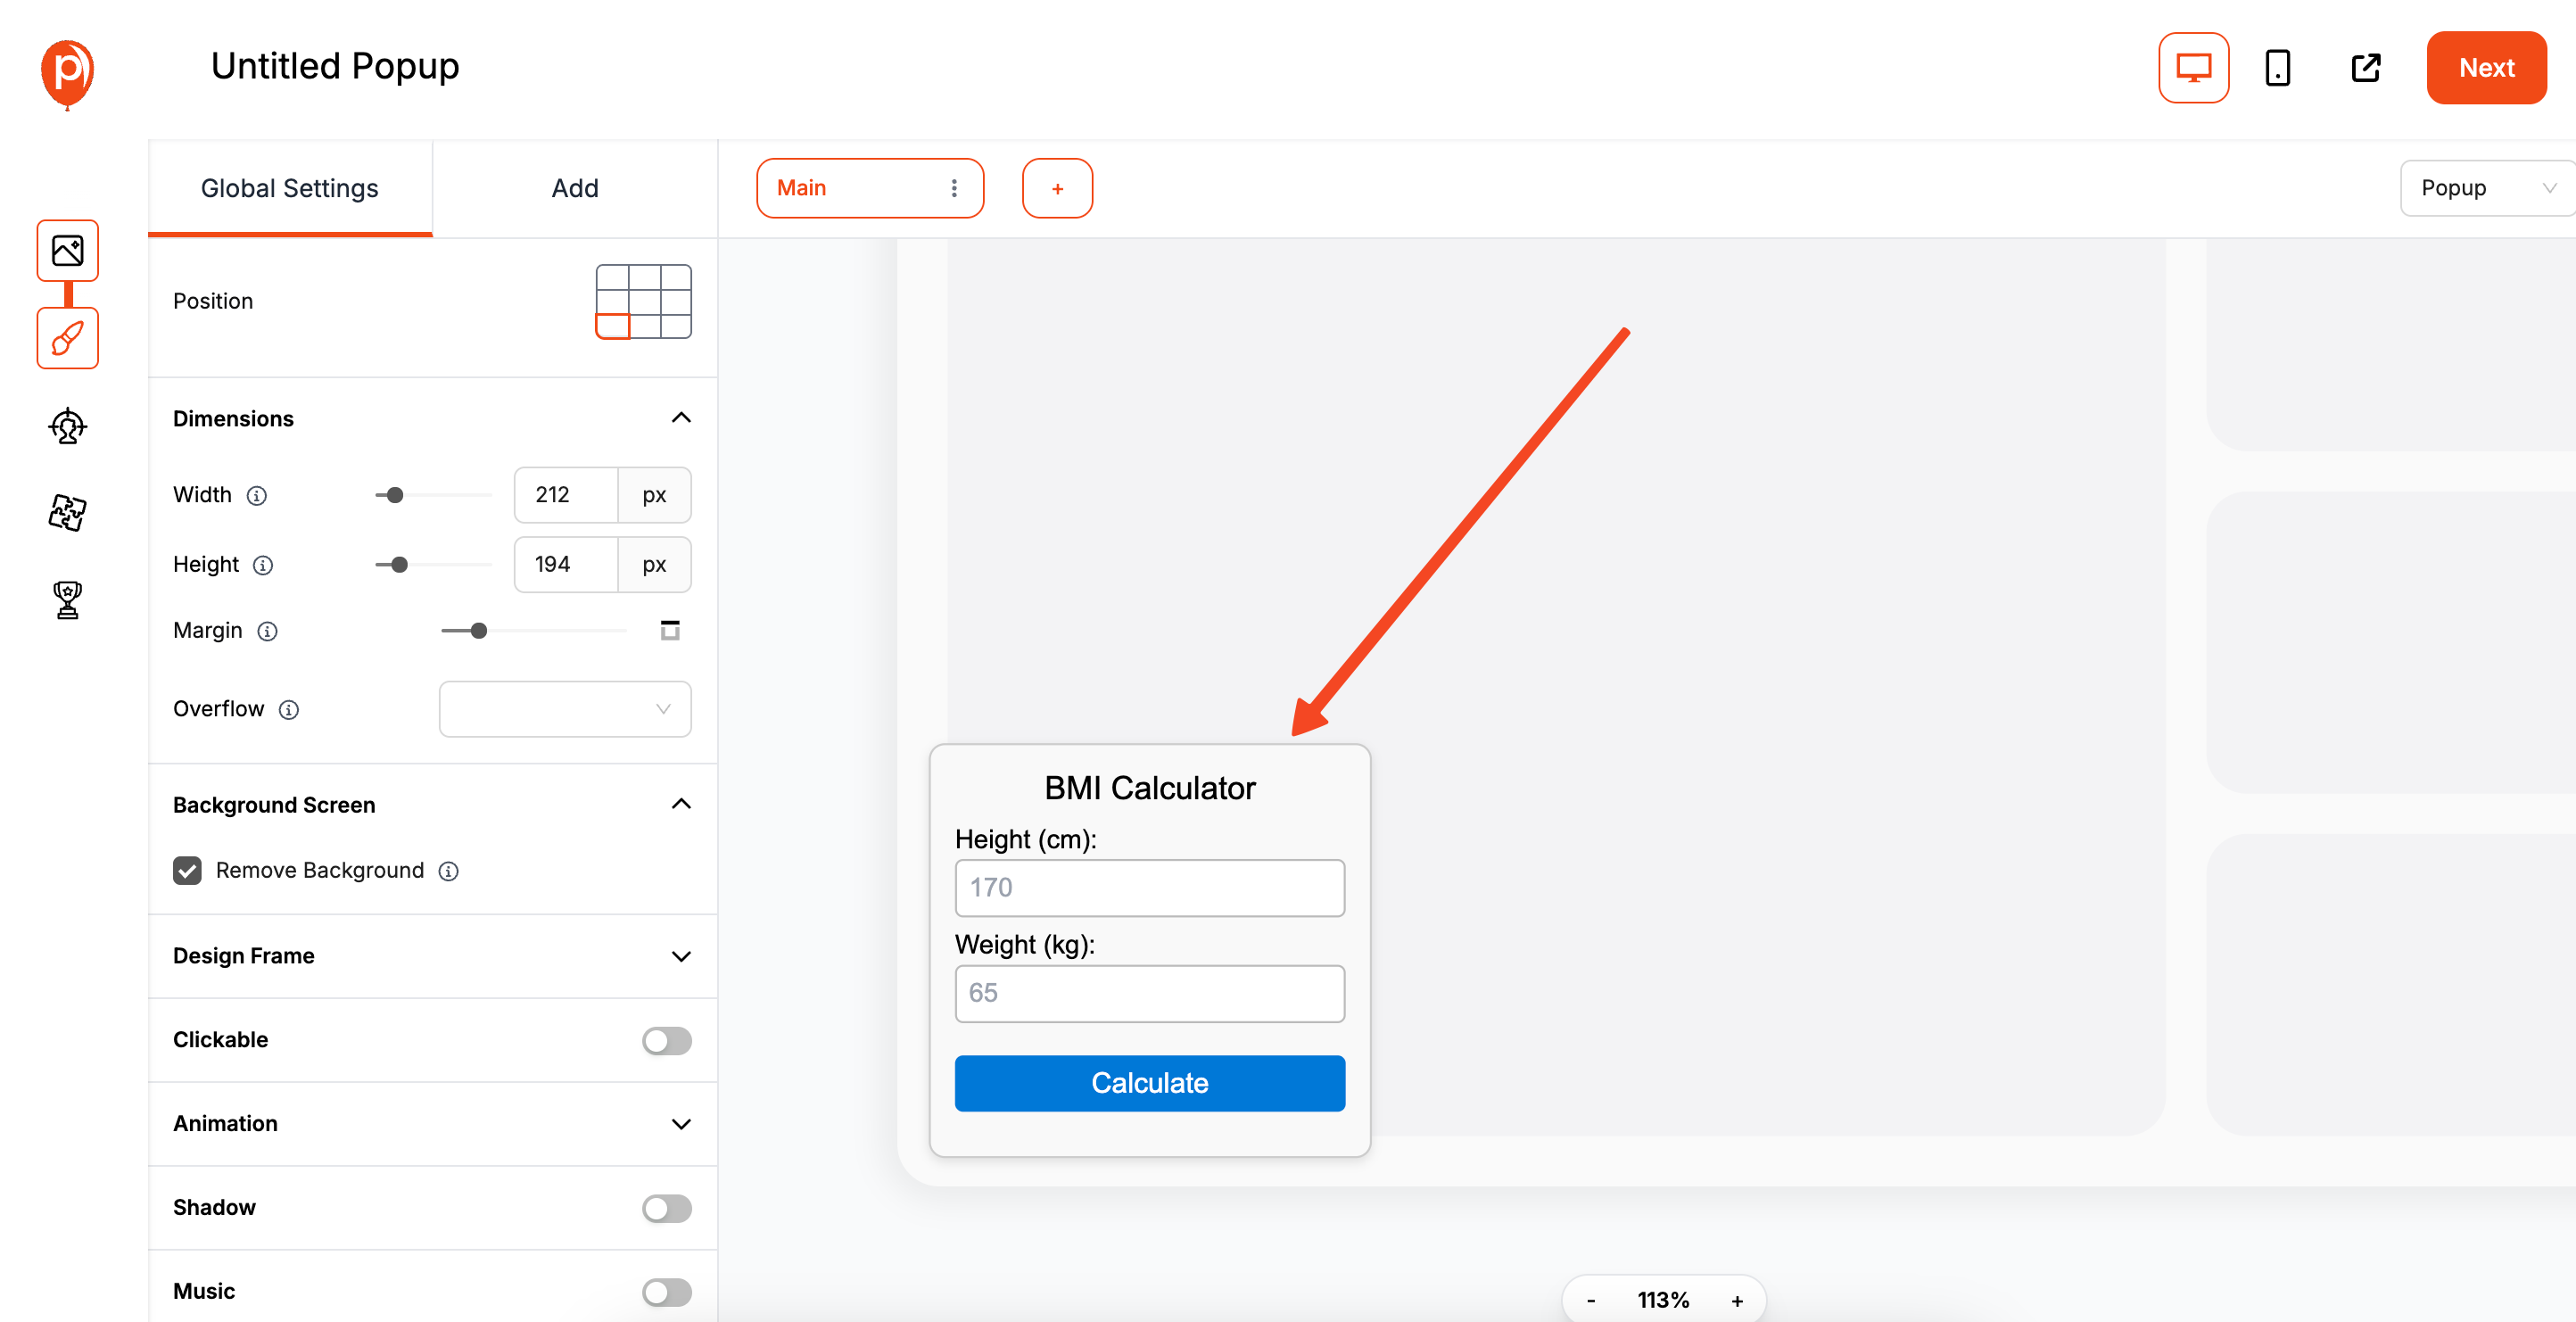
Once you have the code, copy it. Head back to your Poper editor. On the left-hand sidebar, click the ‘Add’ button and select the ‘HTML’ element.
A box will appear where you can paste the code you just copied. As soon as you paste it in, you’ll see a live preview of your BMI calculator right there on the canvas. This is my favorite part—you see exactly what you’re getting instantly.
Step 4: Format Your Widget Container
Now, let's make it look less like a popup and more like a dedicated widget. You have two great options here.
If you want a floating widget that sits in the corner of the screen, simply remove the popup's background. Go to ‘Design Settings’ and set the background color to transparent. You can also hide the ‘Close’ button if you want it to always be visible.
If you want to place the widget directly inside your page content (like in a blog post), just click the ‘Convert to Embed’ option in the top-right of the editor. For more details on embedding widgets, explore our comprehensive walkthrough on embedding widgets in WordPress. This will turn your campaign into an inline element that you can place anywhere.
Step 5: Decide Where and When it Appears

Next, click through to the ‘Display Conditions’ page. This is where you control who sees your widget and on which pages. You have total control here.
For a BMI calculator, you probably don’t want it on your homepage. Instead, you could set it to only appear on pages where the URL contains /blog/health-and-fitness. This ensures your widget shows up in a relevant context, making it genuinely useful for your visitors.
Step 6: Publish and Connect to Your Site

Once you’re happy with the setup, hit ‘Save & Publish’. The final step is to connect Poper to your website, which you only have to do once.
Navigate to the ‘Code’ section in your Poper dashboard. You'll find a small snippet of code. Copy this and paste it into the <head> section of your website’s HTML.
If you use a platform like WordPress or Shopify, there are plugins and settings that make this super easy. Once that code is there, any campaign you publish in Poper will appear automatically.
Method 2: Building a Custom Widget from Scratch (HTML, CSS, JS)
This method is for creating a standalone widget that can be embedded on any website.
Step 1: Create the Widget's Core Files
You'll need three files: index.html, style.css, and script.js.
Step 2: Write the HTML for the Widget
This is the structure. Let's use a simple BMI calculator example
<!-- index.html --><div id="bmi-widget-container"> <h3>BMI Calculator</h3> <div class="form-group"> <label for="weight">Weight (kg):</label> <input type="number" id="weight" placeholder="e.g., 70"> </div> <div class="form-group"> <label for="height">Height (cm):</label> <input type="number" id="height" placeholder="e.g., 175"> </div> <button id="calculateBtn">Calculate BMI</button> <div id="result"></div></div>
Step 3: Add CSS for Styling
Make it look good and ensure the styles are "scoped" to the widget so they don't affect the rest of the website
/* style.css */#bmi-widget-container { padding: 20px; border: 1px solid #ccc; border-radius: 8px; max-width: 300px; font-family: sans-serif; background: #f9f9f9;}#bmi-widget-container h3 { margin-top: 0; }#bmi-widget-container .form-group { margin-bottom: 10px; }#bmi-widget-container label { display: block; margin-bottom: 5px; }#bmi-widget-container input { width: 100%; padding: 8px; box-sizing: border-box; }#bmi-widget-container button { width: 100%; padding: 10px; background: #007bff; color: white; border: none; cursor: pointer; }#bmi-widget-container #result { margin-top: 15px; font-weight: bold; }
Step 4: Write JavaScript for Functionality
This code will handle the calculation.
// script.jsdocument.addEventListener('DOMContentLoaded', function() { const calculateBtn = document.getElementById('calculateBtn'); calculateBtn.addEventListener('click', function() { const weight = parseFloat(document.getElementById('weight').value); const height = parseFloat(document.getElementById('height').value); const resultDiv = document.getElementById('result'); if (weight > 0 && height > 0) { const heightInMeters = height / 100; const bmi = weight / (heightInMeters * heightInMeters); resultDiv.textContent = 'Your BMI is: ' + bmi.toFixed(2); } else { resultDiv.textContent = 'Please enter valid values.'; } });});To embed this on a site, you would typically need to host these files and then use an <iframe> to display it. This is where things can get complicated for non-developers.
Conclusion
Knowing how to add a custom widget can unlock new levels of functionality and engagement on your website.
For WordPress users, the built-in widget system, enhanced by plugins or custom PHP, offers a deeply integrated solution.
For developers, building from scratch with HTML, CSS, and JavaScript provides ultimate control and understanding.
For marketers and business owners, a tool like Poper provides the perfect bridge. It allows you to take custom-coded functionality and easily deploy it as a floating or embedded widget on any website, complete with advanced targeting and a visual editor, all without needing to be a developer.
By choosing the right method for your platform and skill level, you can add powerful custom tools to your site that provide real value to your audience.
Frequently Asked Questions (FAQ)
What is the difference between a widget and a plugin in WordPress?
A plugin is a piece of software that adds new functionality to your WordPress site. A widget is a specific block of content (which can be provided by a plugin) that you can add to designated areas of your theme (like the sidebar or footer). Not all plugins create widgets.
Do I need to know PHP to create a custom widget for WordPress?
To create a widget natively as a new item in the "Appearance > Widgets" menu, yes, you need PHP. However, you can easily add custom HTML/CSS/JS widgets to WordPress using plugins that provide a "Custom HTML" widget or shortcodes, which requires no PHP knowledge.
Can I add a custom widget to a website built with Squarespace or Wix?
Yes. Most website builders have a "Code Block" or "Embed HTML" element. You can use this to paste the HTML, CSS, and JS code for your custom widget (Method 2). Alternatively, a tool like Poper (Method 3) is even easier, as you just install one script and then manage the widget from the Poper dashboard.
What's the advantage of using a tool like Poper for custom widgets?
The main advantages are ease of use and advanced features. You don't need to worry about hosting files or dealing with <iframe>s. You can visually control the container, and you get access to powerful display rules to control exactly who sees your widget and on which pages, which is very difficult to do with manual coding.

