
While Poper's editor gives you a ton of control, sometimes you need to add a specific touch that only custom code can provide. That’s exactly why I made sure you can add your own CSS.
There are two great ways to do this. You can either build a popup entirely from your own code or simply add a few CSS tweaks to one of our existing templates. Let's walk through both methods together.
Method 1: Building from Scratch with Our HTML & CSS For Popup Tool
This method is perfect if you already have custom HTML and CSS ready and want to turn it into a fully functional Poper campaign. It gives you complete creative freedom from the ground up.
Step 1: Navigate to the HTML & CSS Generator
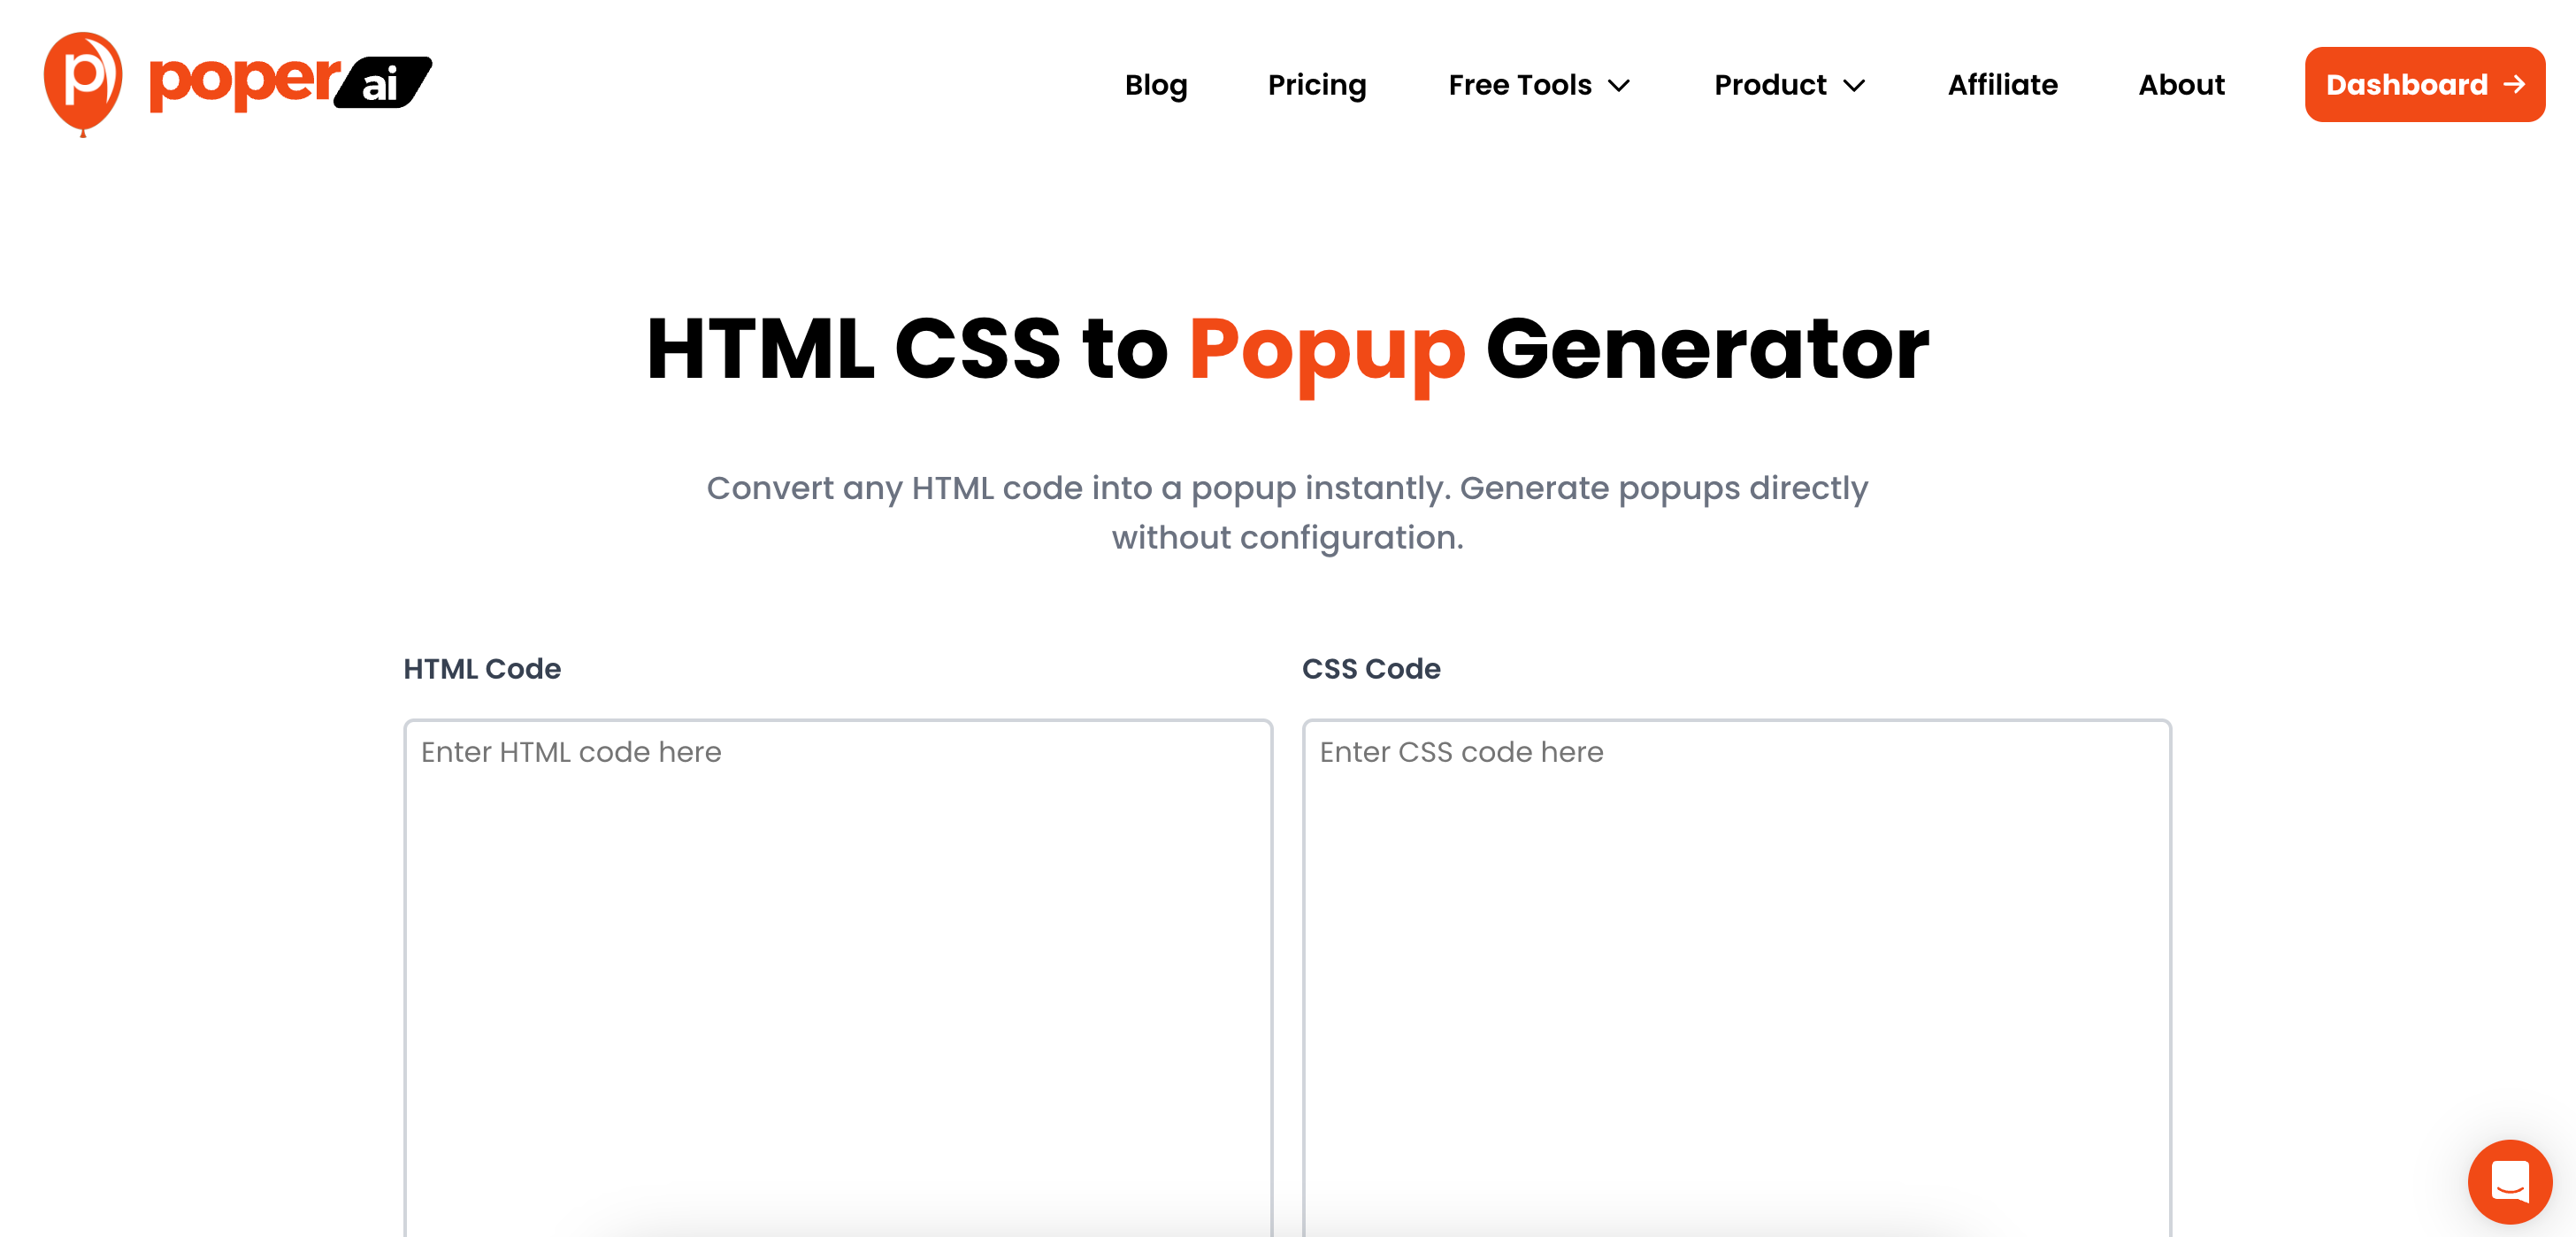
First, head over to our HTML & CSS Popup Generator tool. Think of this as your blank canvas. It’s designed specifically for users who want to bring their own code into the Poper ecosystem without starting with a template.
Step 2: Add Your Custom Code
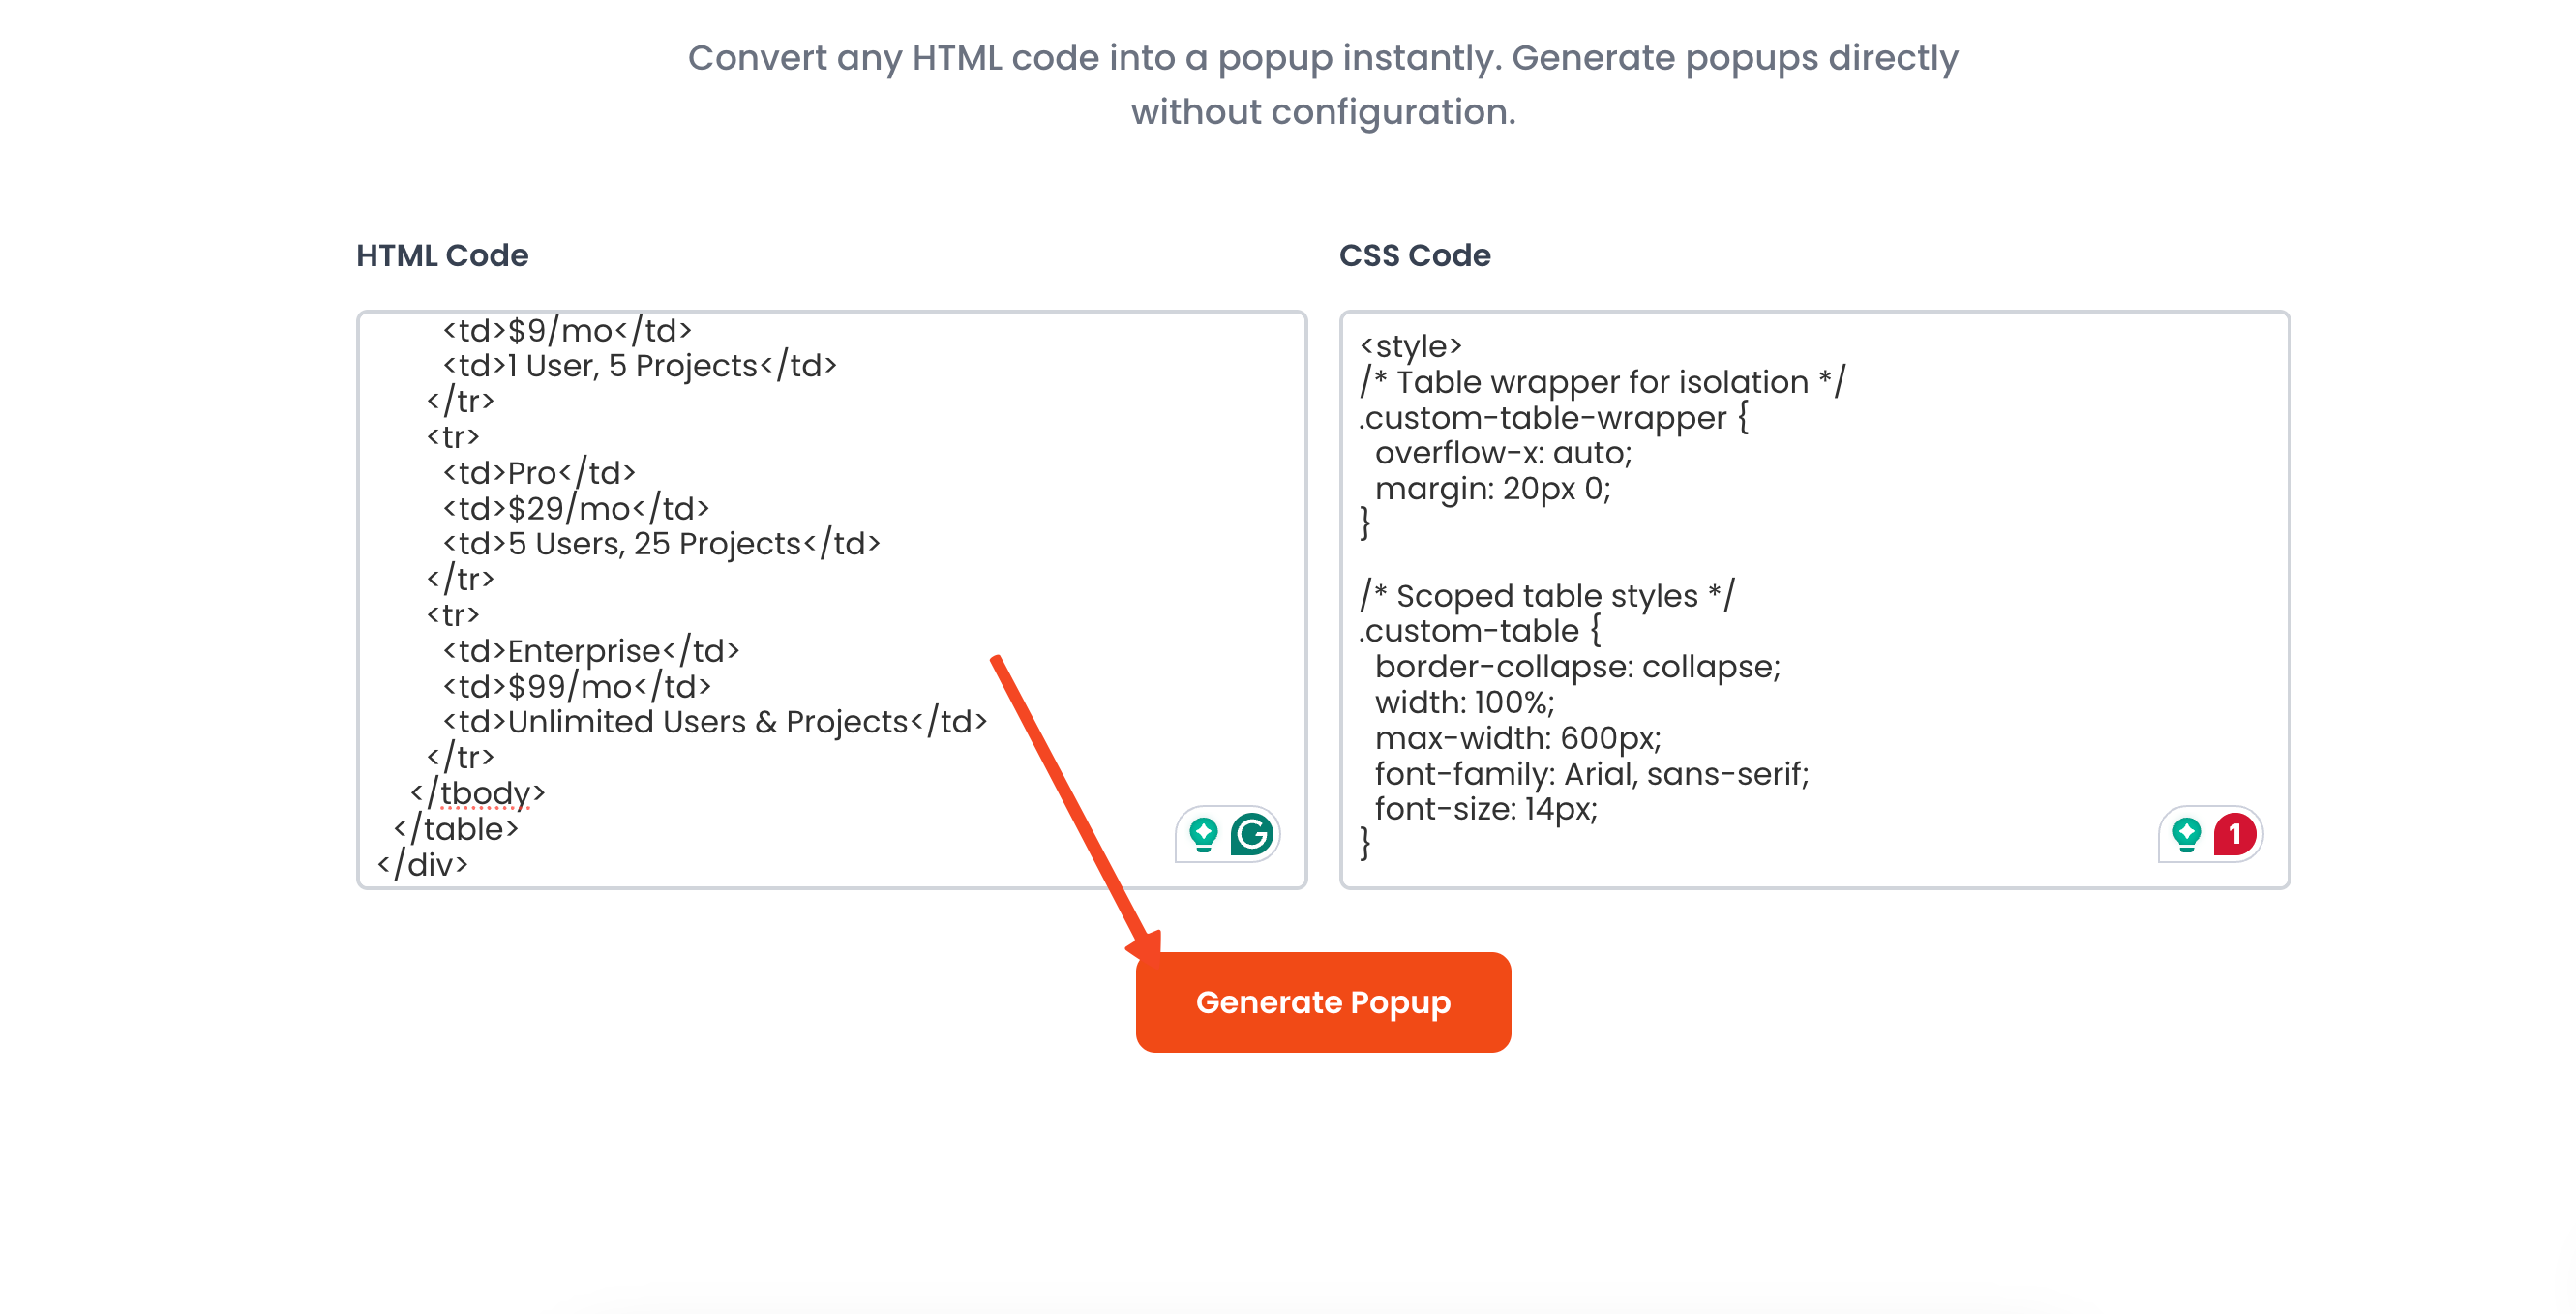
Here, you'll see two boxes: one for your HTML and one for your CSS. Paste your code directly into the corresponding fields. This is where you define the structure and the look of your popup before we turn it into an editable Poper element.
Step 3: Generate and Fine-Tune in the Editor
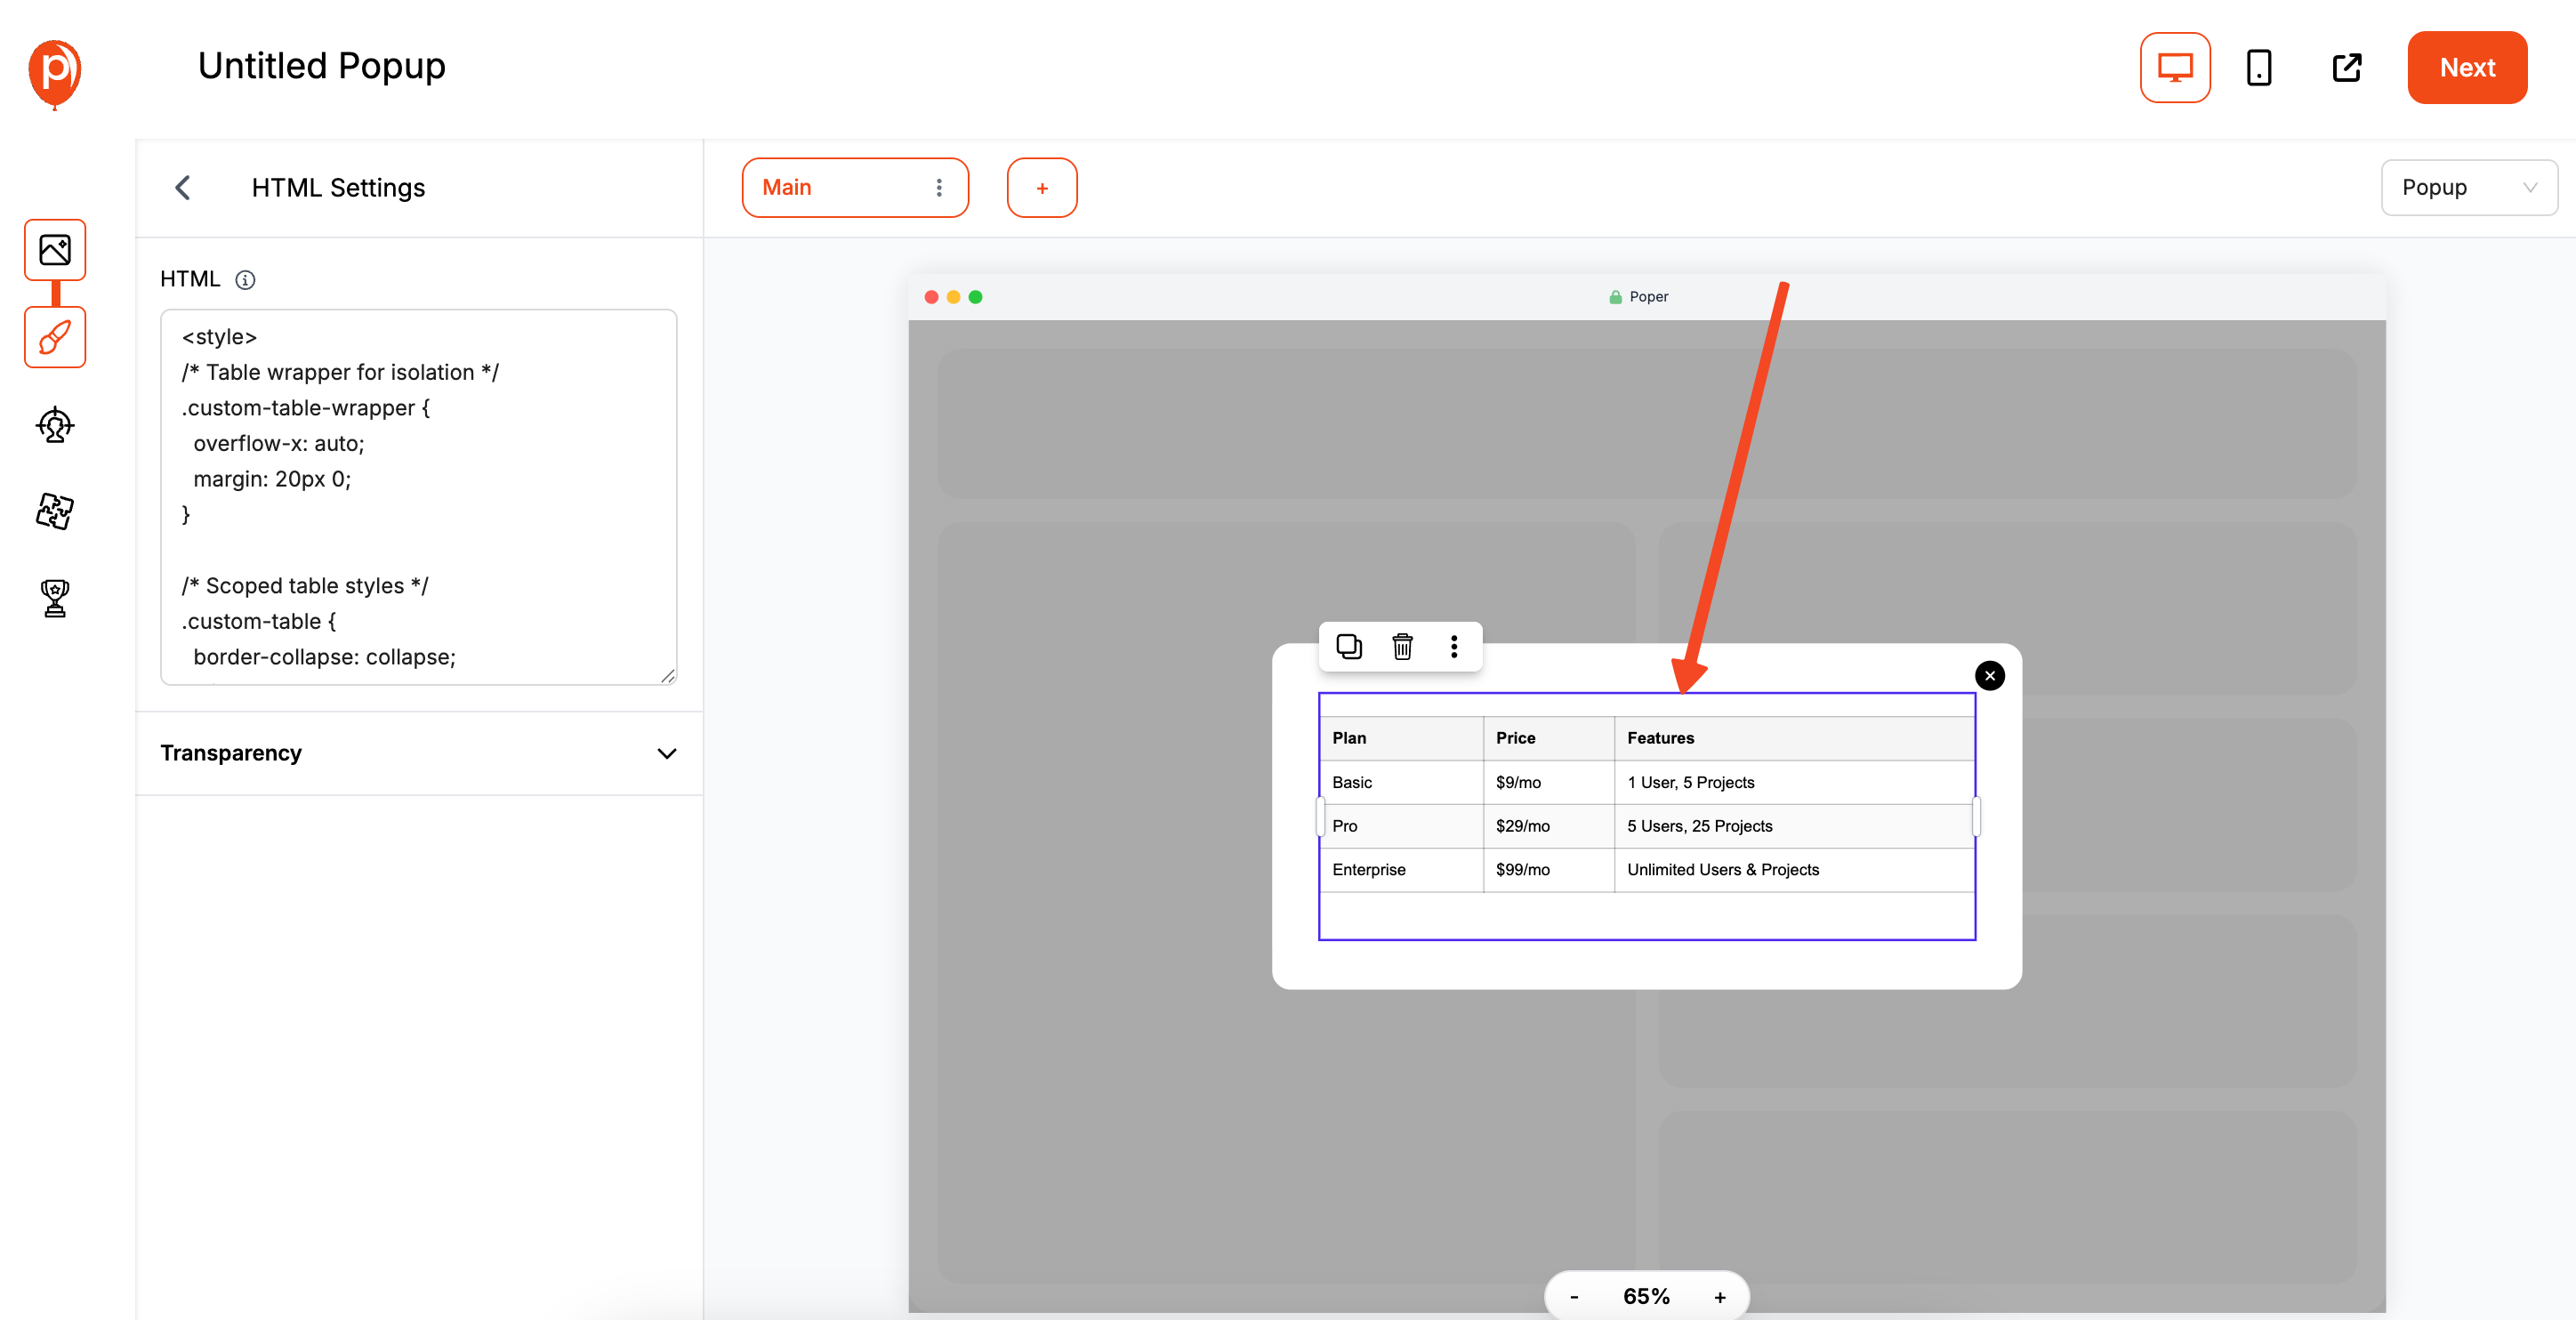
Once you click the "Generate" button, we'll automatically take you to our advanced editor. You’ll see your HTML rendered as a single block in the center of the popup canvas. This is your creation, now living inside Poper!
Step 4: Preview and Edit Your CSS Live
To make changes, just click on the HTML element. The code editor will appear on the side, allowing you to tweak your CSS or HTML and see the results update in real-time.
This live preview is great for getting colors, spacing, or fonts exactly right without any guesswork.
Step 5: Set Your Display and Targeting Rules
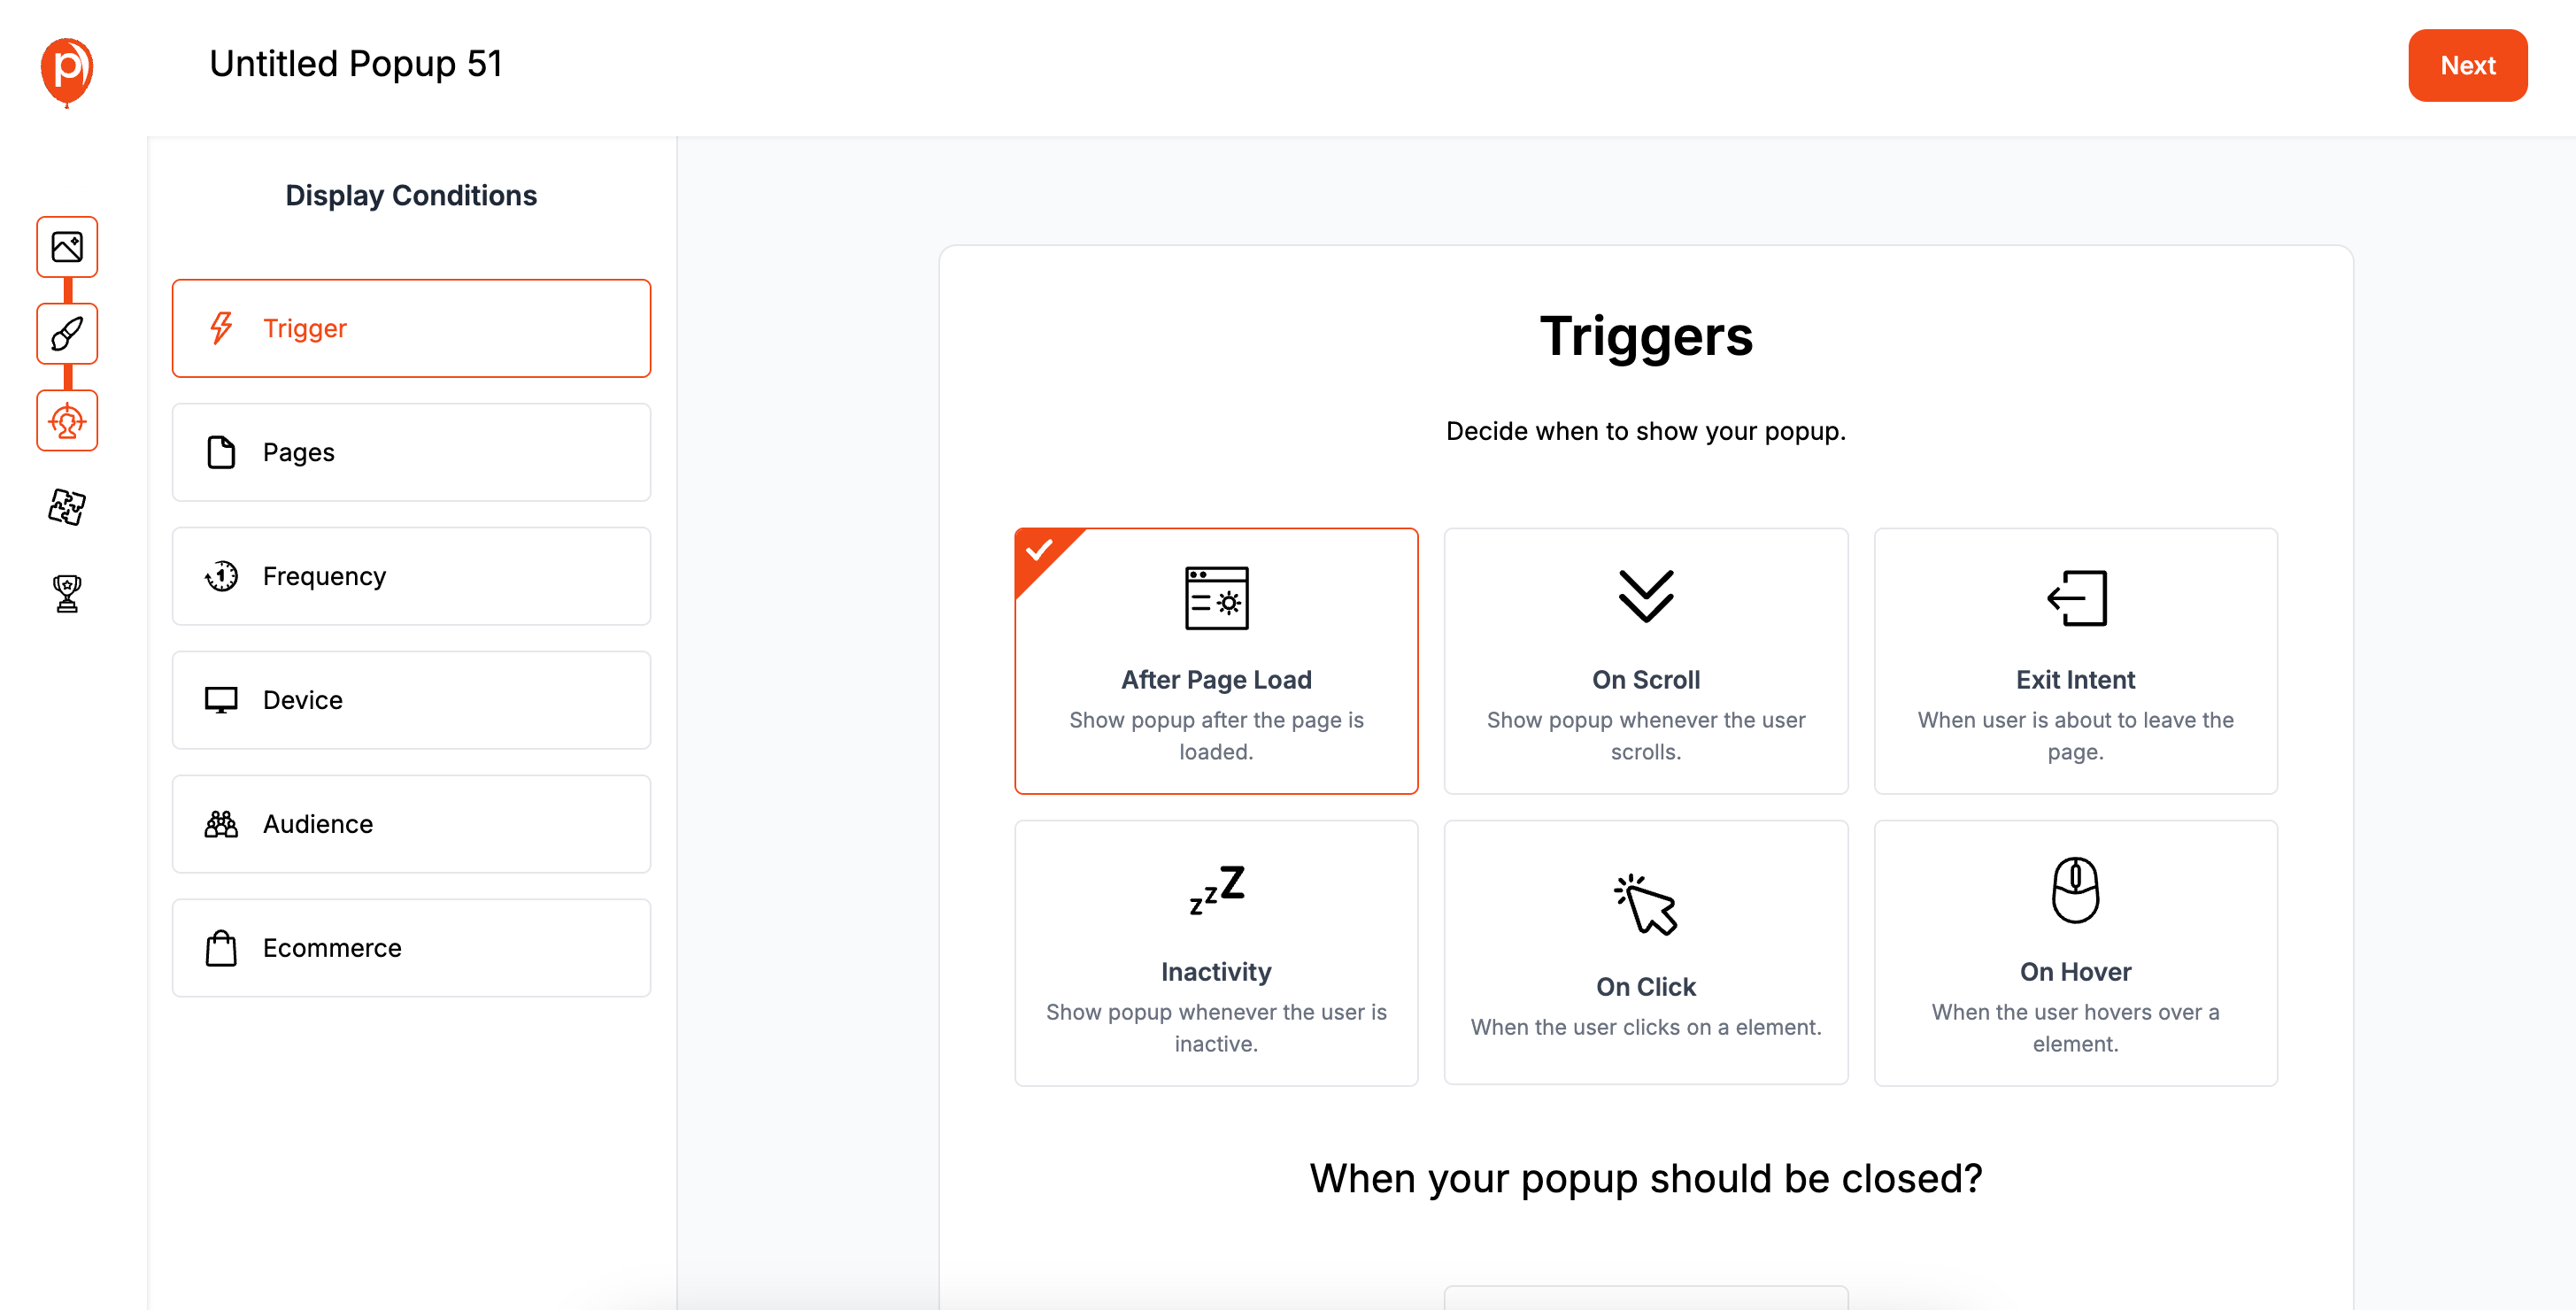
After you’re happy with the design, click "Next" to move to the display settings. Here, you can set triggers for when the popup appears, like on exit-intent or after a visitor has been on the page for 10 seconds. You can also target specific pages or even visitors from certain countries.
Step 6: Connect Your Integrations
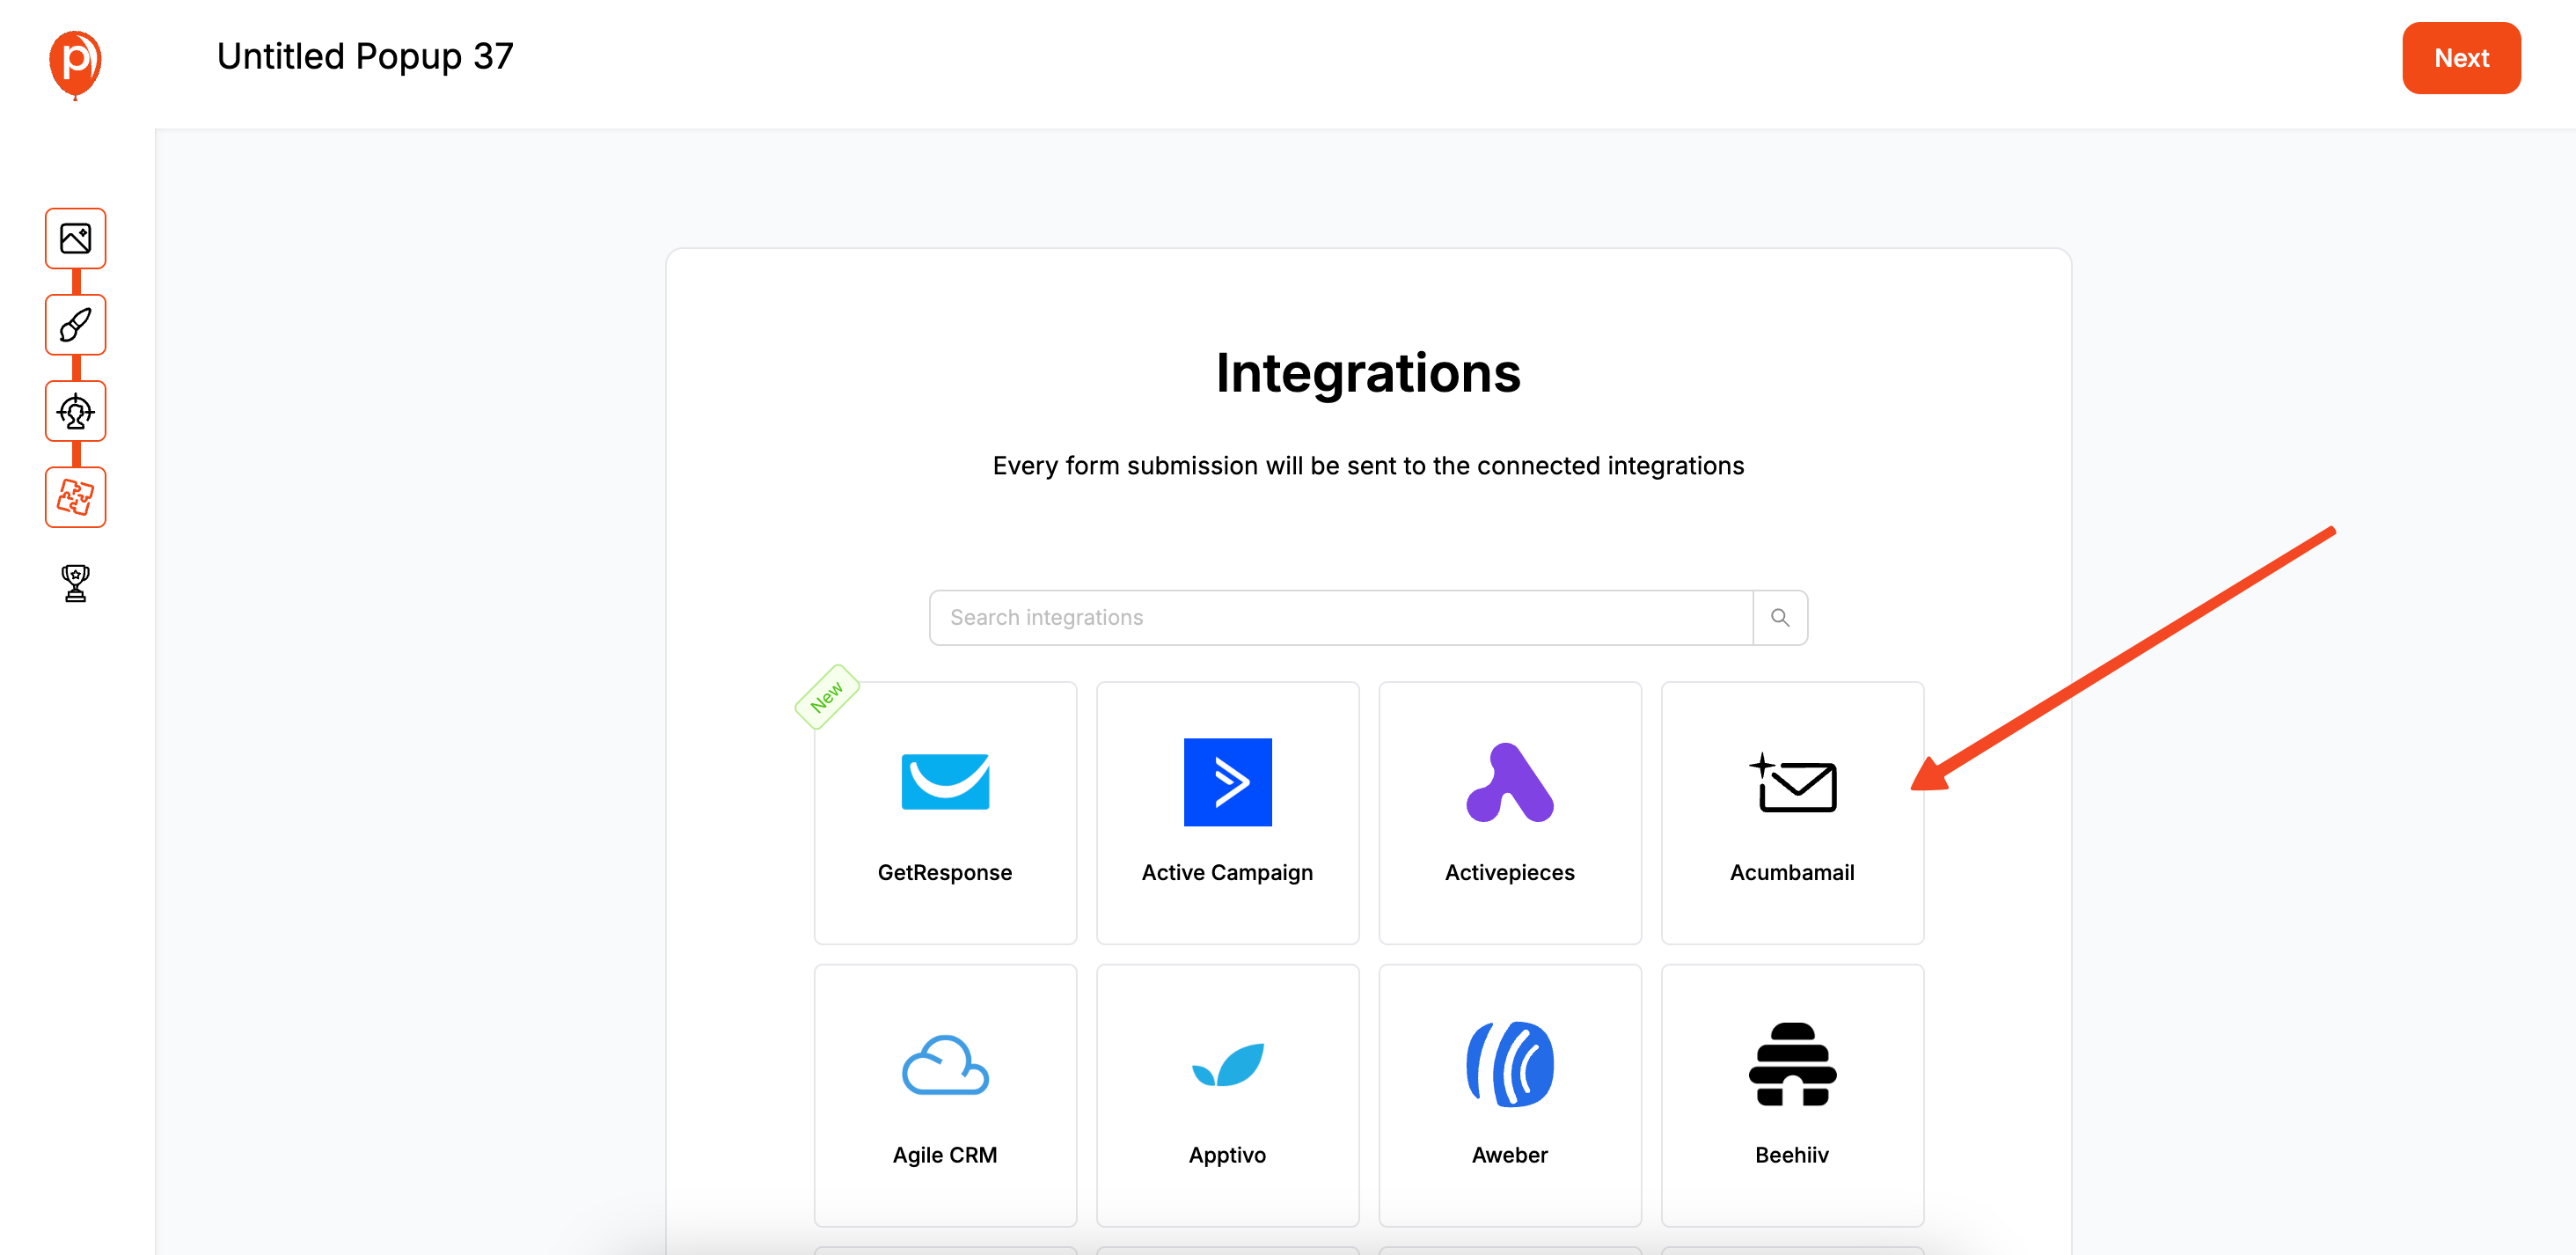
The next step is to connect your campaign to the tools you already use. You can link your popup to services like Mailchimp, Klaviyo, or Constant Contact to send new leads directly to your email lists.
Step 7: Review and Publish Your Campaign
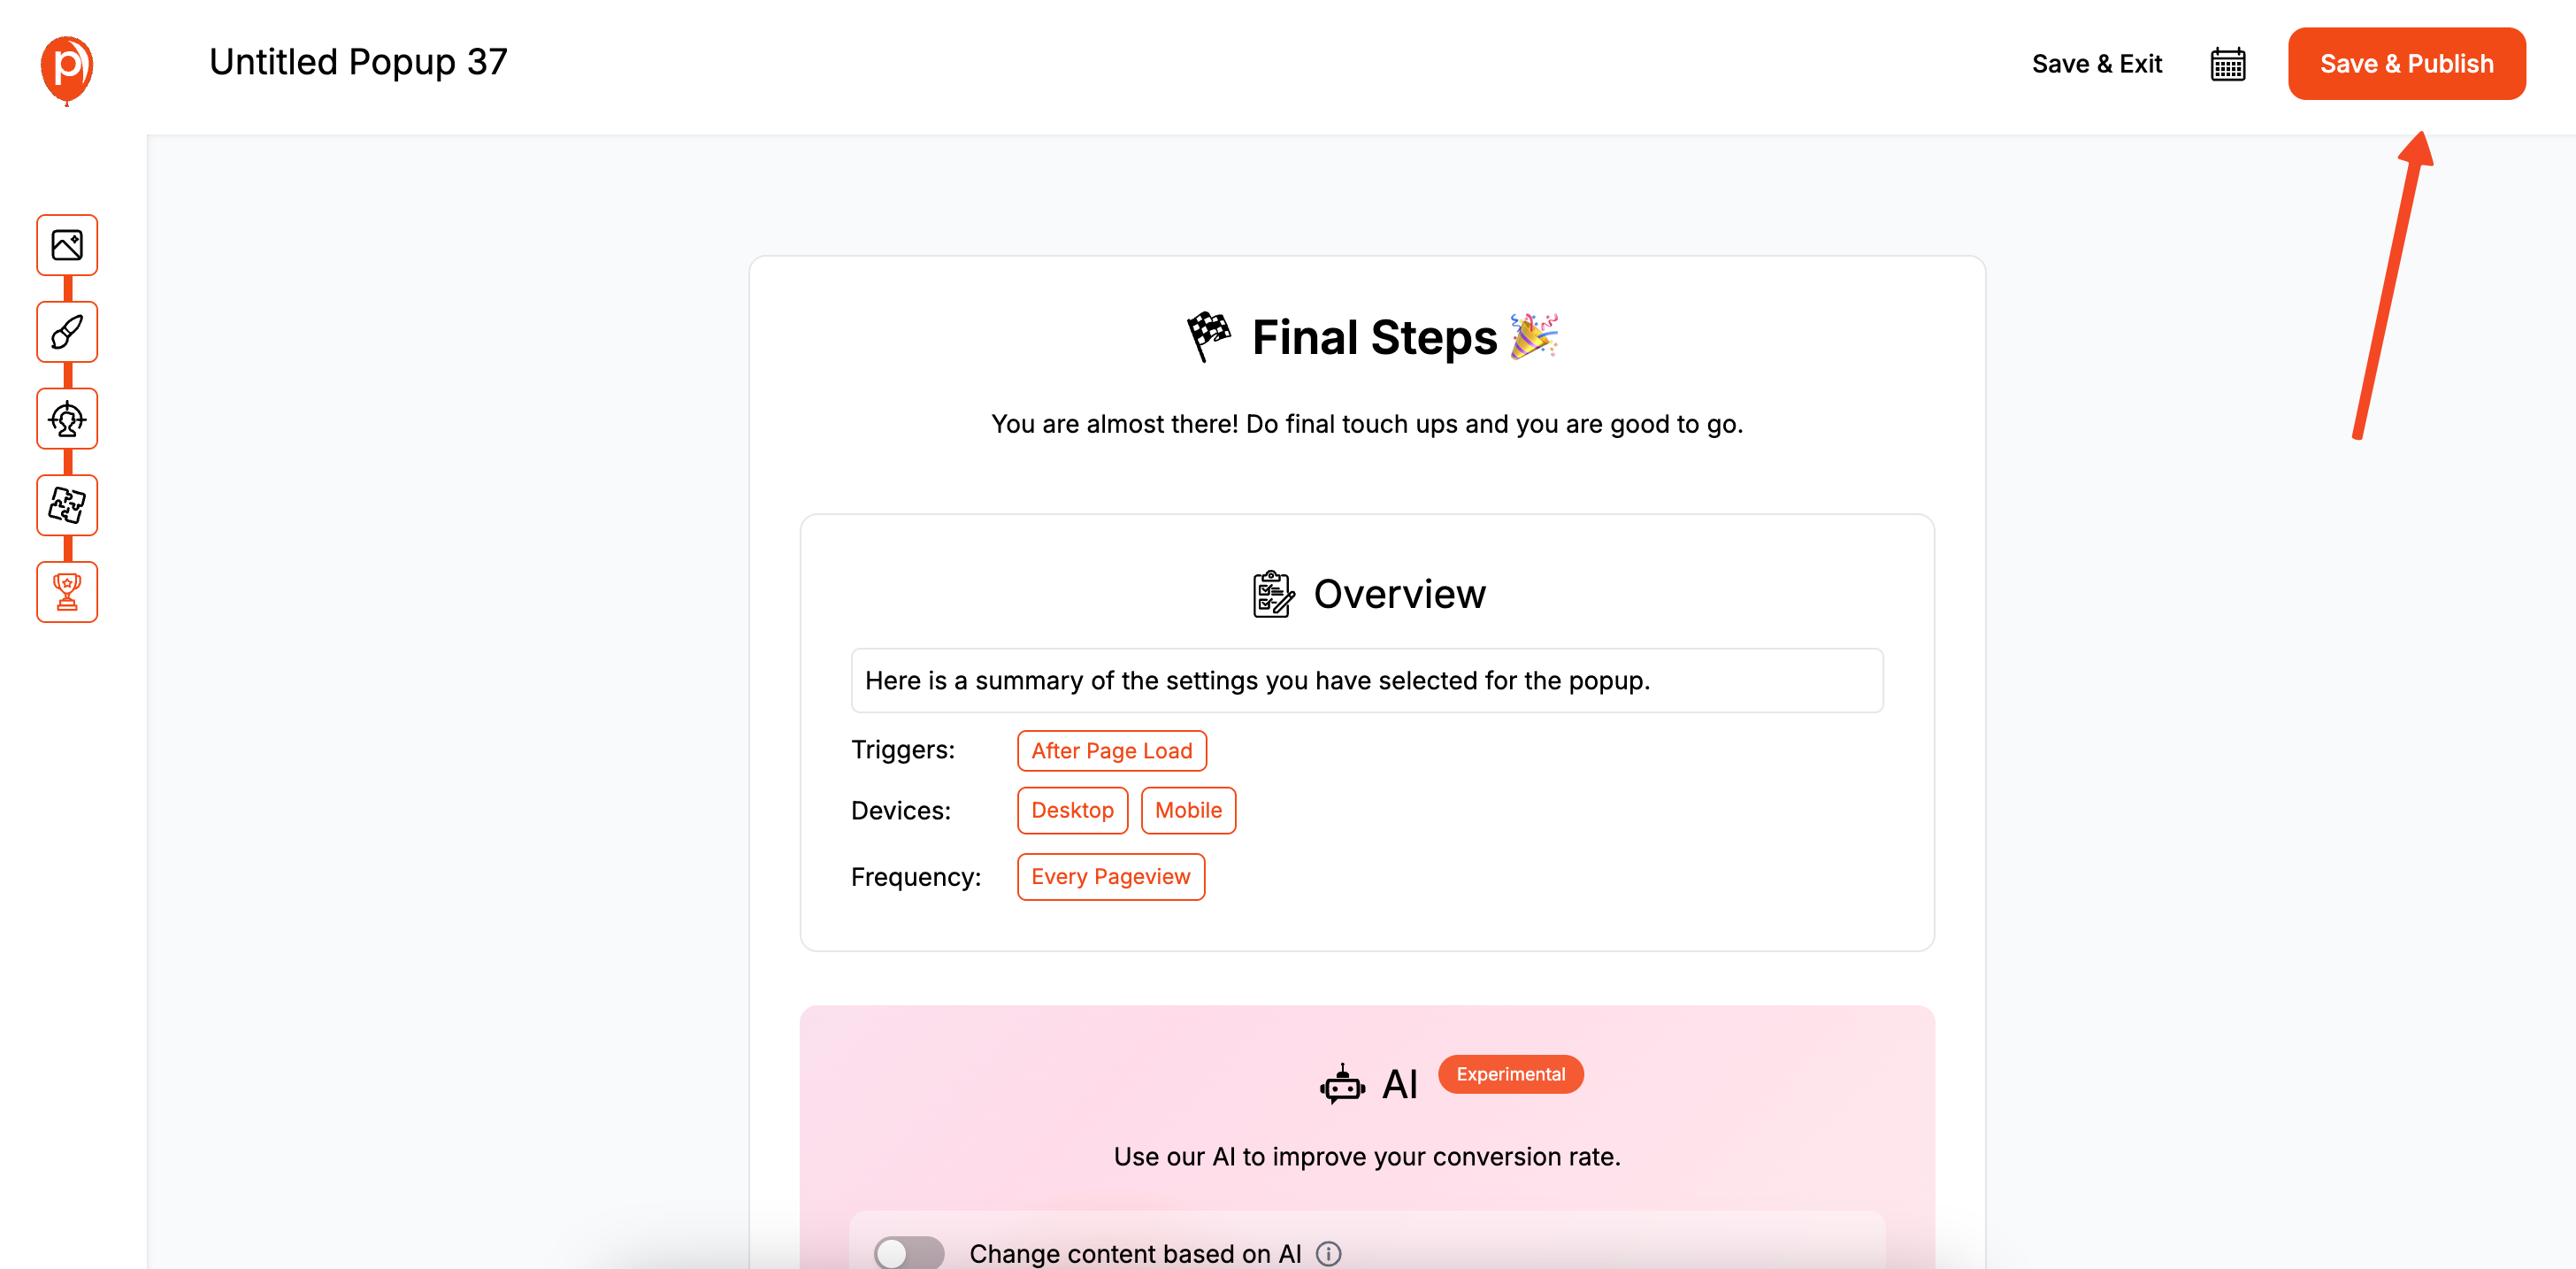
Finally, you’ll get a complete overview of your settings. Give everything a quick check to make sure it’s perfect. Then, add your domain, follow the simple installation instructions for your website platform, and click "Save and Publish" to set your custom popup live!
Method 2: Adding Custom CSS to a Poper Template
This approach is ideal when you love one of our templates but just want to make a few specific style adjustments that aren't available in the standard editor, like adding a custom font or a unique border effect.
Step 1: Create a New Popup in Your Dashboard
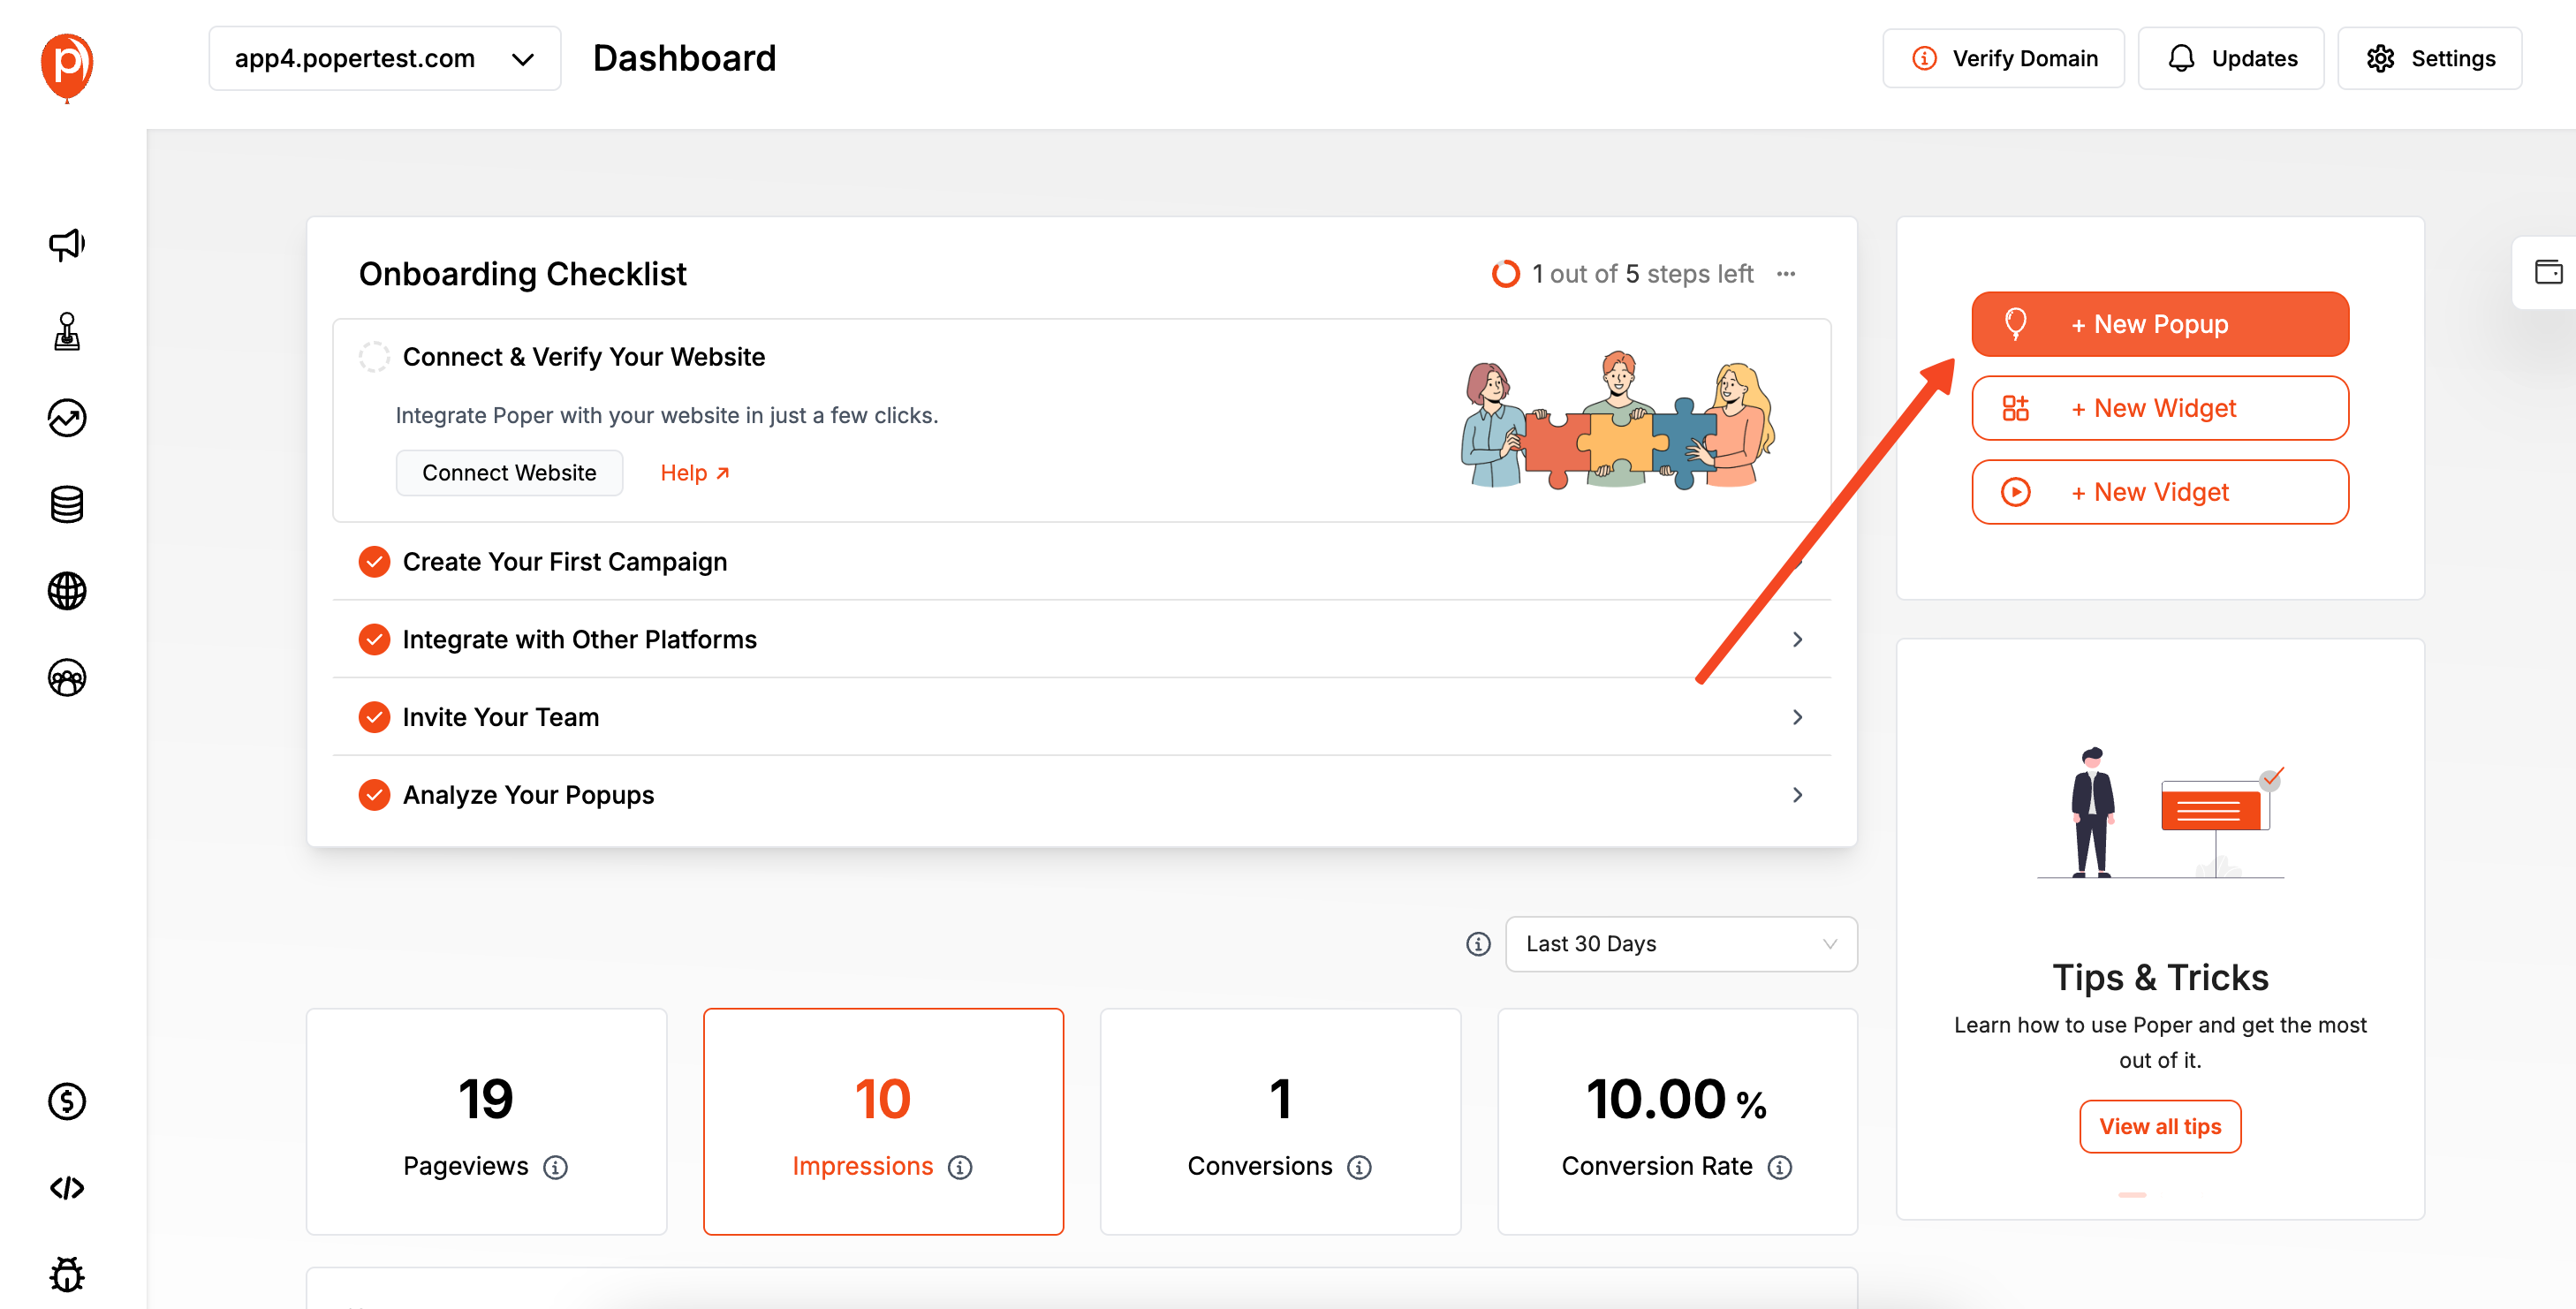
First, sign up for Poper and answer the quick onboarding questions. Once you’re in your dashboard, click the "Add a new popup" button to get started. This will take you to our template gallery.
Step 2: Choose a Template and Enter the Editor
We have dozens of templates designed for different goals, like growing your newsletter, announcing a sale, or preventing cart abandonment. Pick the one that best fits your needs. This will be your starting point.
Step 3: Add an HTML Block to Your Canvas
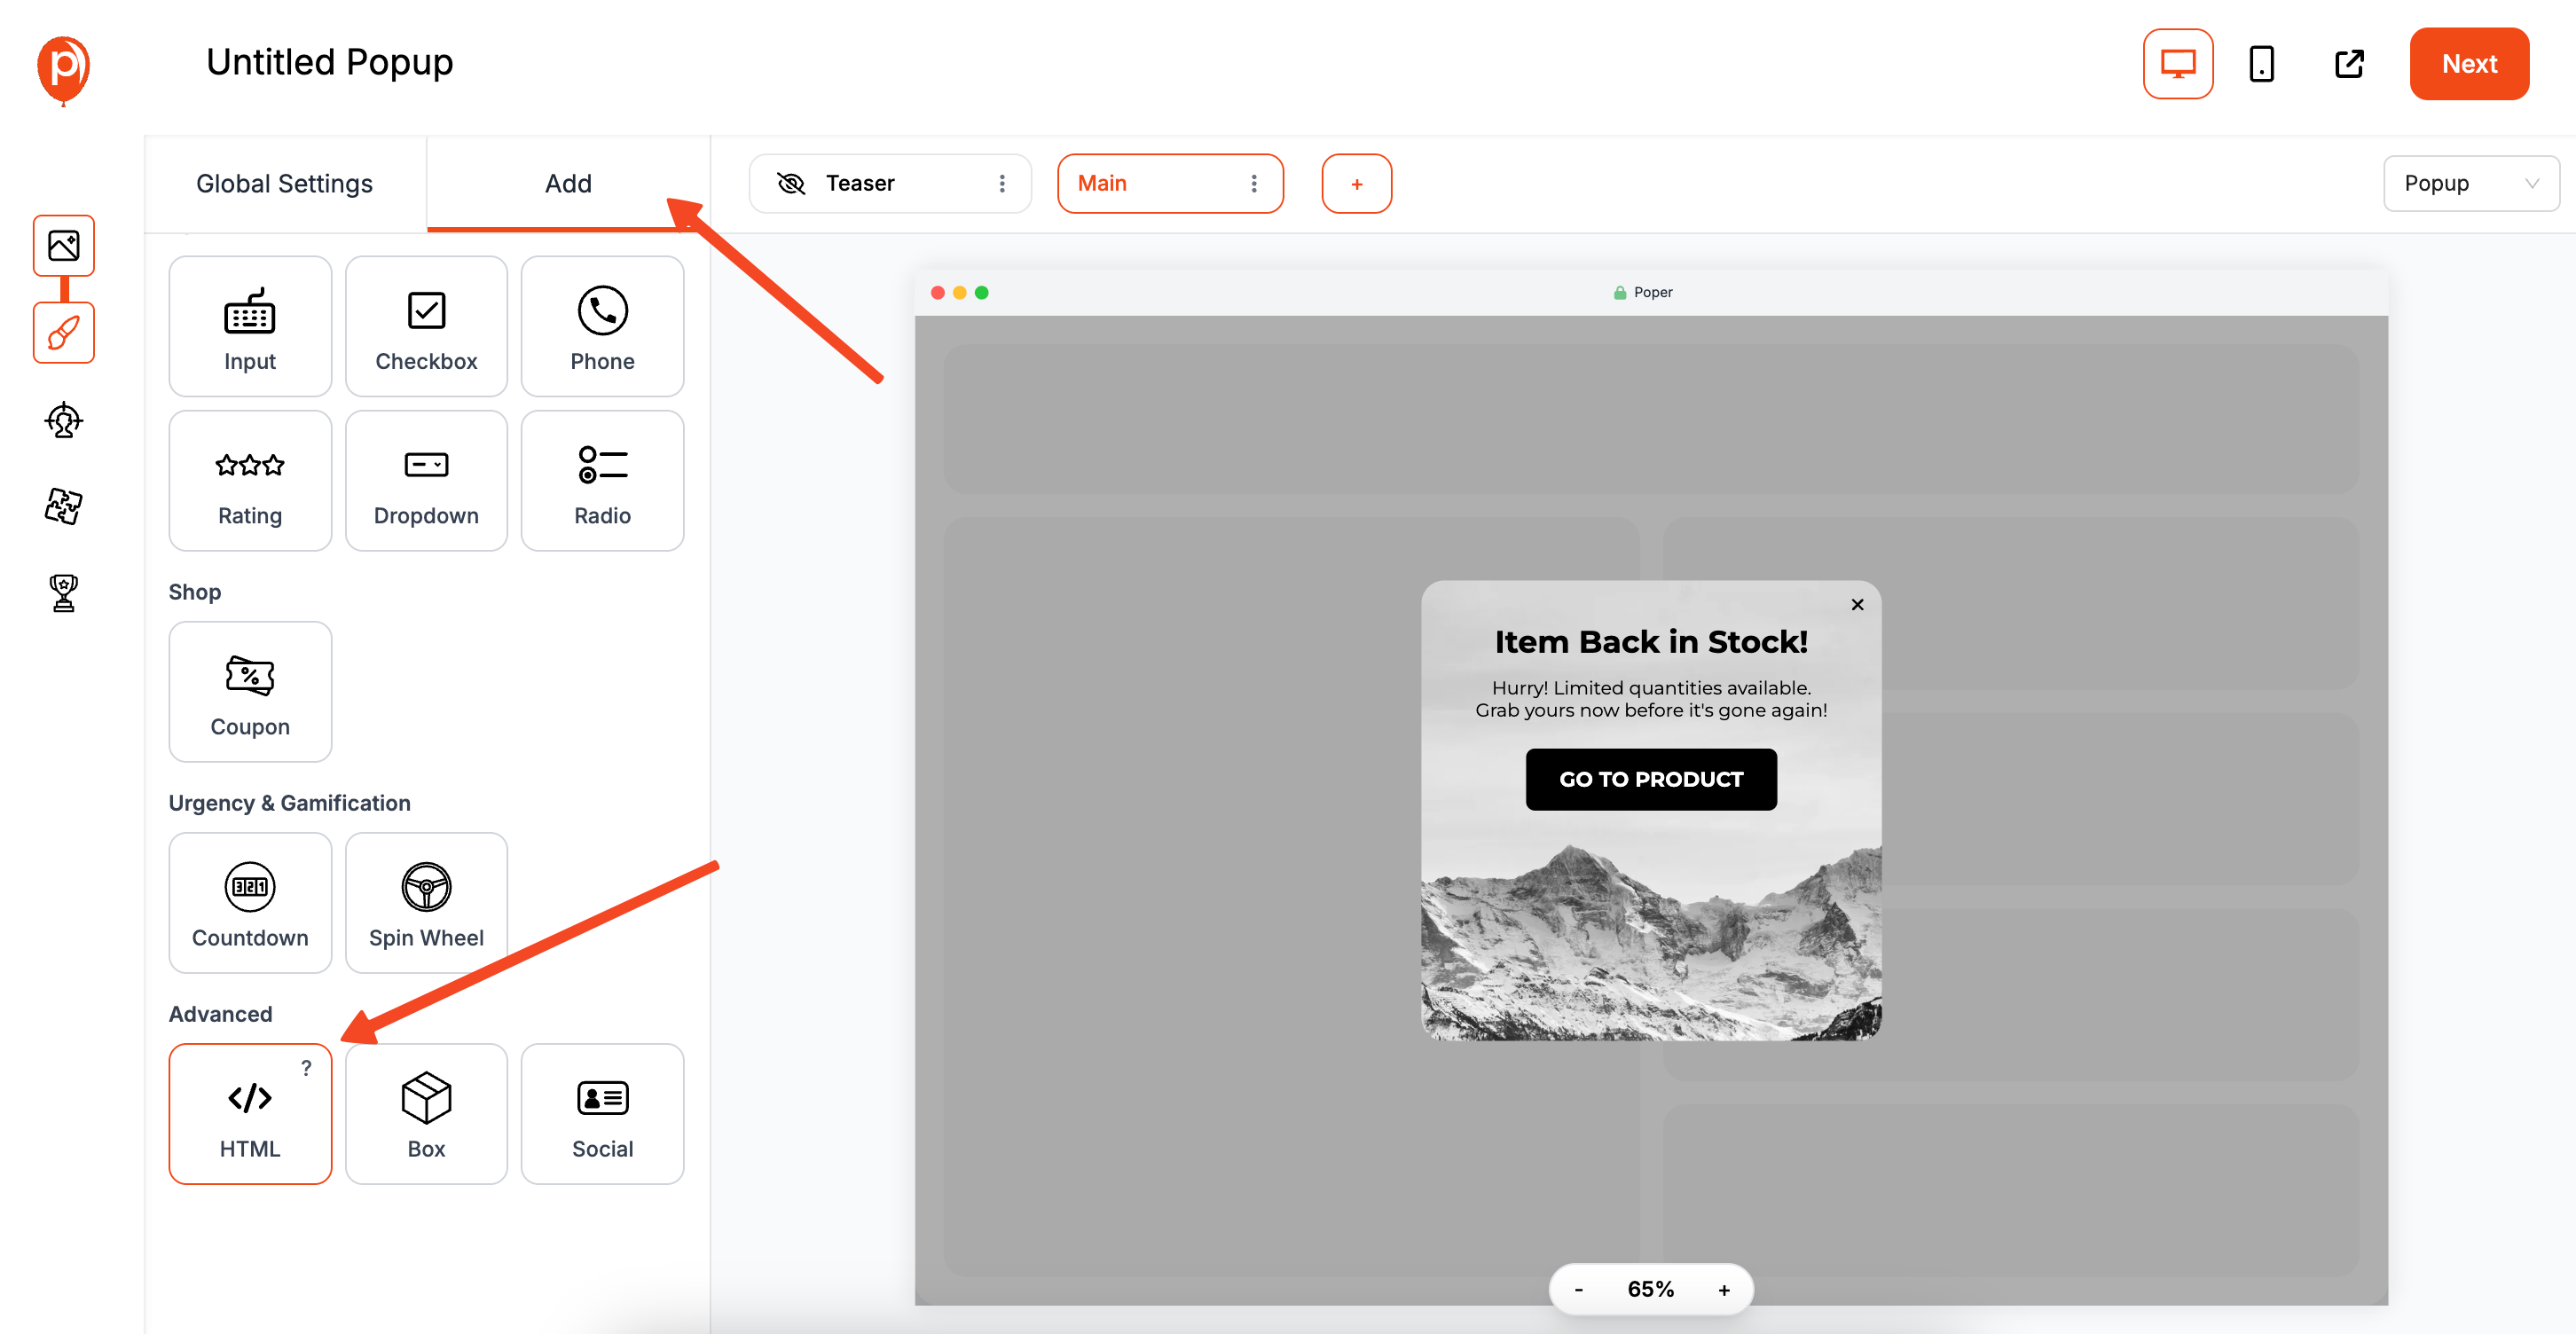
In the editor, look at the left-hand sidebar and click the "Add" button. From the menu that appears, select the "HTML" element. This will place an empty HTML block onto your popup canvas, which you can drag and position wherever you like.
Step 4: Write Your CSS Inside the HTML Block
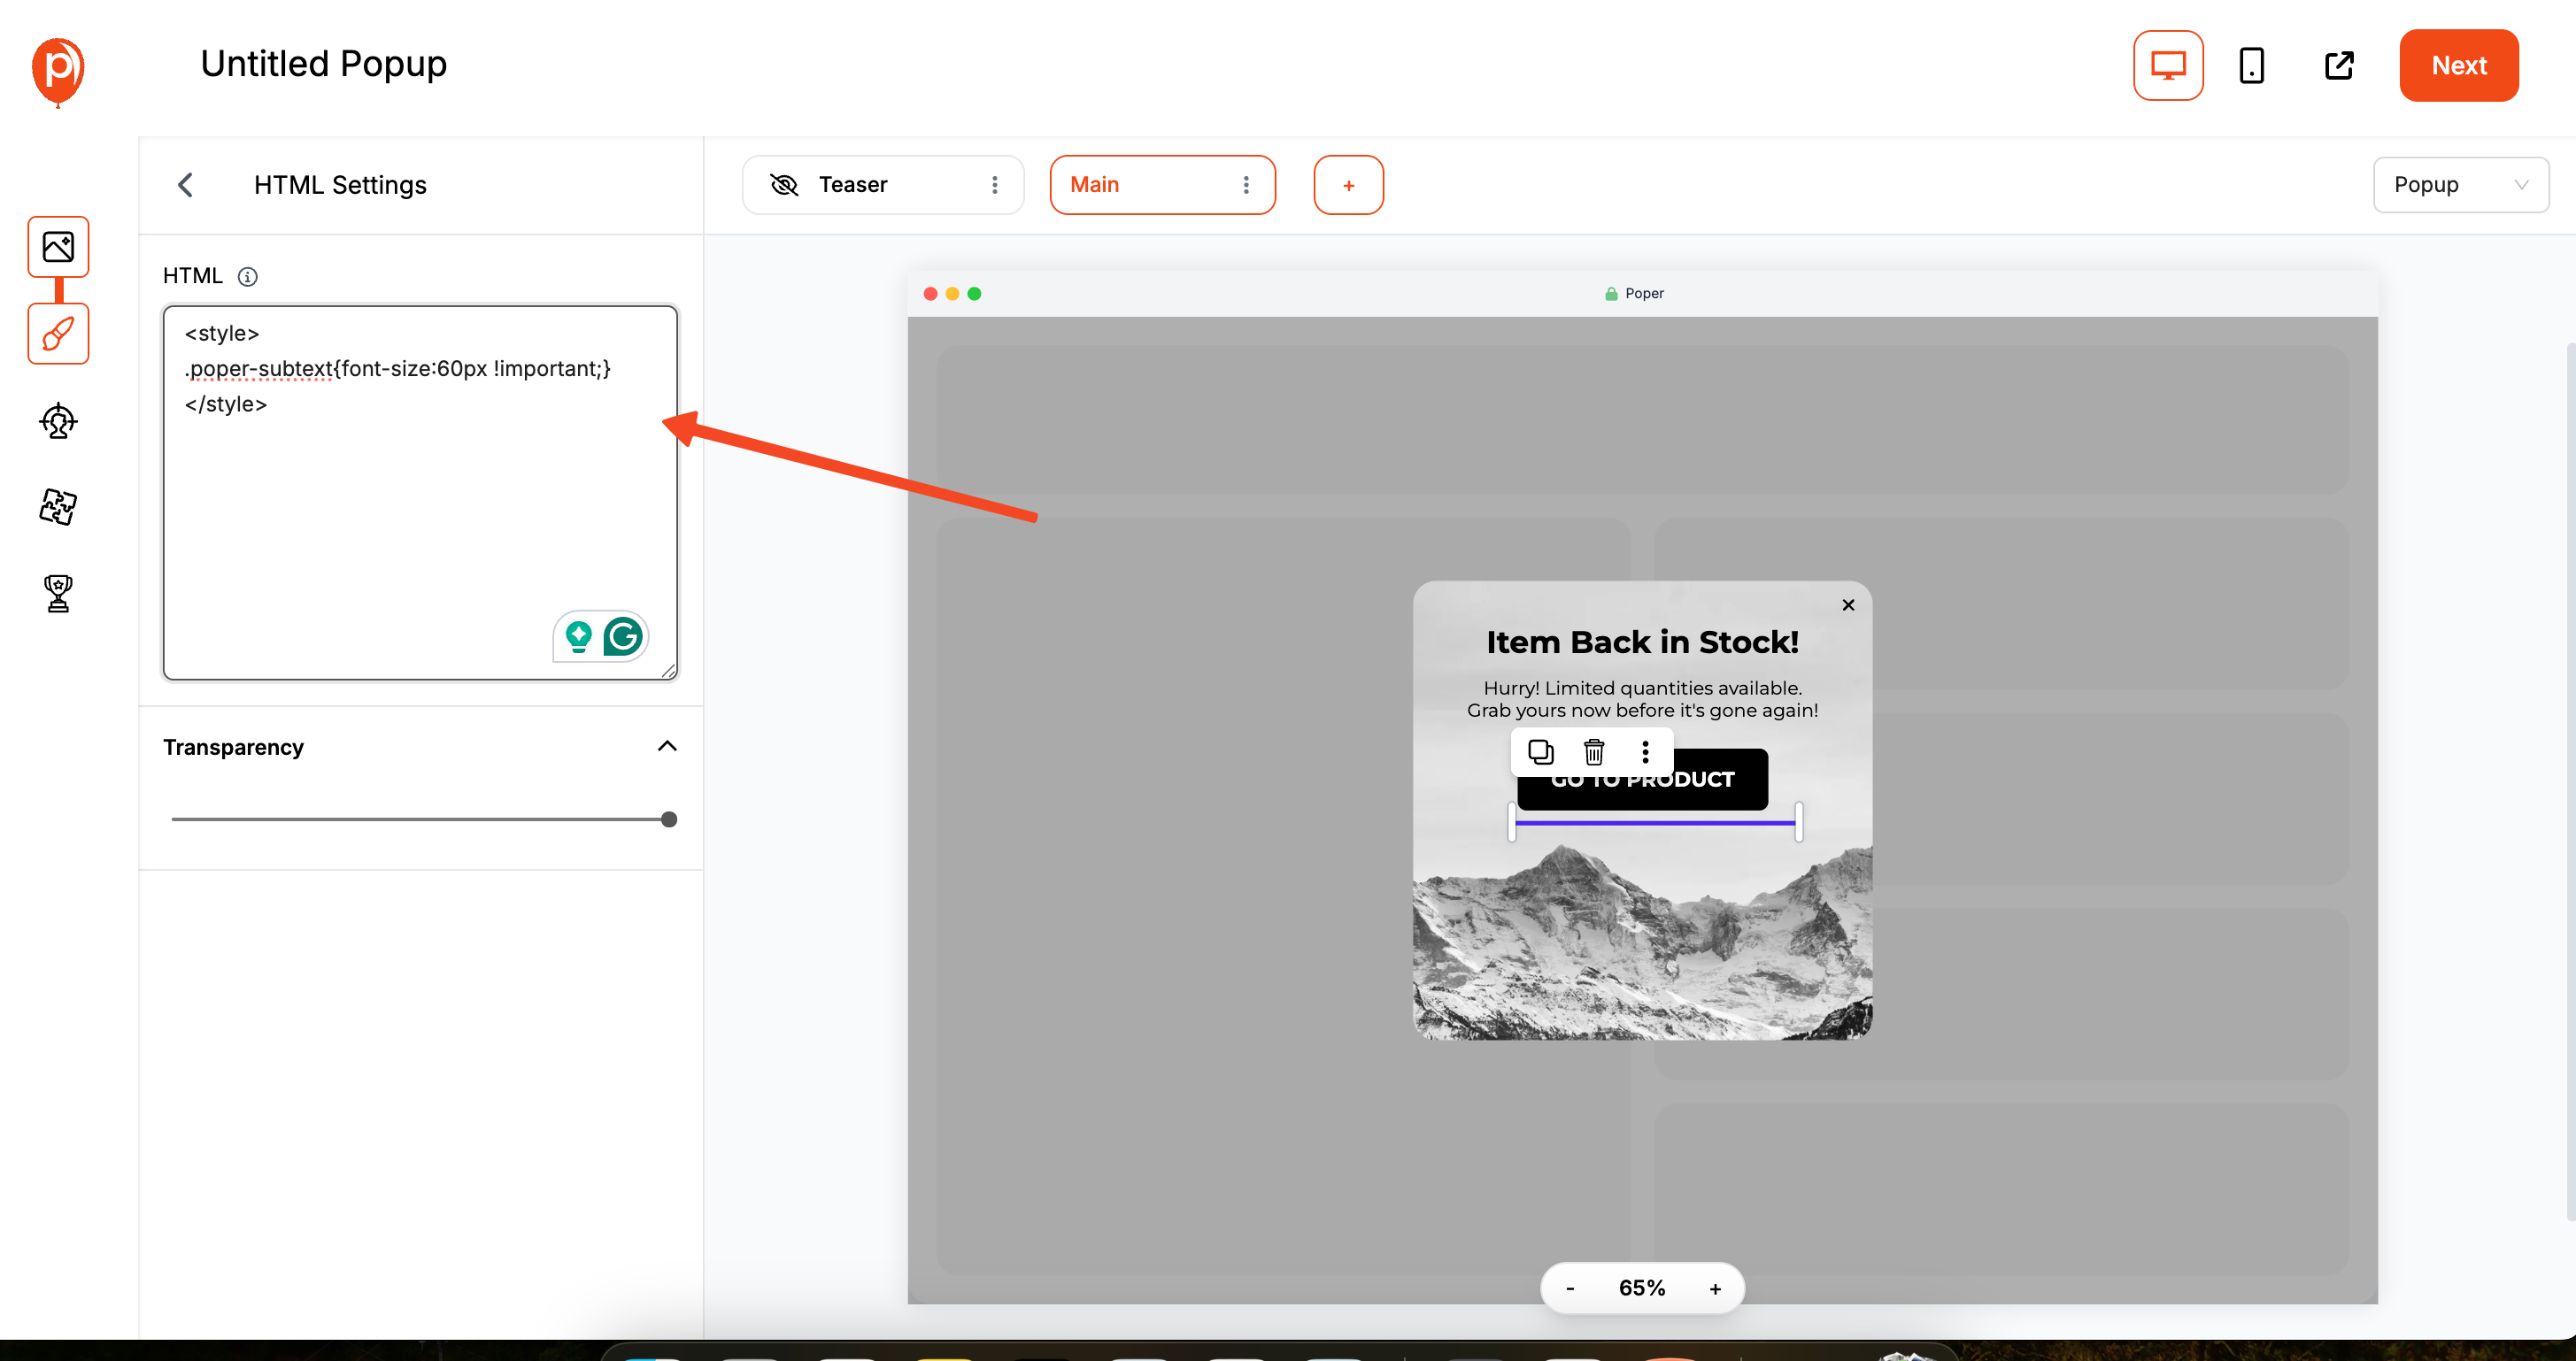
This is the key step. Click on the HTML block you just added to open the code editor. Inside this block, you'll write your custom CSS. It’s important to wrap all of your CSS code inside <style> and </style> tags so the browser knows how to read it.
To target specific elements in the popup, you can use our built-in classes. Every element in Poper has a class that starts with poper-.
For instance, to change the font of the main headline, you might write: <style> .poper-headline { font-weight: bold; } </style>. This lets you precisely override our default styles with your own.
Conclusion
Mastering the CSS for a popup gives you the power to create engaging, professional, and on-brand user experiences.
Building from scratch with HTML, CSS, and JS is the ultimate way to understand how popups work and provides complete control. It's an essential skill for any web developer.
Using a tool like Poper for a low-code approach provides the best of both worlds for marketers and designers. You can build 95% of your popup visually in minutes and then inject powerful, custom CSS to achieve that final 5% of unique branding and style, without ever having to worry about the complex JavaScript logic.
By choosing the right method, you can go beyond generic popups and create modals that truly enhance your website.
Frequently Asked Questions (FAQ)
What is the most important CSS property for a popup?
position: fixed; is arguably the most critical. It ensures the popup overlay stays in a fixed position in the browser's viewport, covering the entire screen even when the user scrolls the page content behind it. z-index is a close second, as it ensures the popup appears on top of other elements.
Can I use CSS to make a popup draggable?
No, making an element draggable requires JavaScript to track mouse movements and update the element's position. CSS can handle the styling, but the dragging functionality itself is JavaScript-based.
How do I find the CSS class of an element in a Poper popup?
The easiest way is to use your browser's "Inspect" tool. Publish your Poper popup, open it on your live site, right-click the element you want to style (e.g., the button), and choose "Inspect." The developer console will show you the HTML for that element, including its classes (e.g., class="poper-button").

