
One of my favorite things to see is how our users gather real, honest feedback from their customers. A Net Promoter Score (NPS) survey is a fantastic way to do this, giving you a clear snapshot of customer loyalty.
What is an NPS Survey? (And Why It Matters)
The Net Promoter Score is a metric based on a single question:
"On a scale of 0 to 10, how likely are you to recommend our company/product/service to a friend or colleague?"
Based on their response, customers are categorized into three groups:
Promoters (9-10): Loyal enthusiasts who will keep buying and refer others.
Passives (7-8): Satisfied but unenthusiastic customers who are vulnerable to competitive offerings.
Detractors (0-6): Unhappy customers who can damage your brand and impede growth through negative word-of-mouth.
Your NPS score is calculated by subtracting the percentage of Detractors from the percentage of Promoters. An equally important part of the survey is the open-ended follow-up question: "What is the most important reason for your score?" This qualitative feedback is where you'll find actionable insights.
Benefits of an On-Website NPS Survey:
Real-time Feedback: Capture insights at key moments in the customer journey.
Identify Issues Quickly: Spot problems with user experience or product satisfaction.
Find Your Biggest Fans: Identify promoters you can ask for testimonials or referrals.
Improve Customer Retention: Address feedback from detractors to prevent churn.
I’m going to walk you through how to set up an effective NPS survey popup on your website using Poper. Let’s get started.
How to Set Up an NPS Survey on Your Website
Step 1: Sign Up and Add Your Website
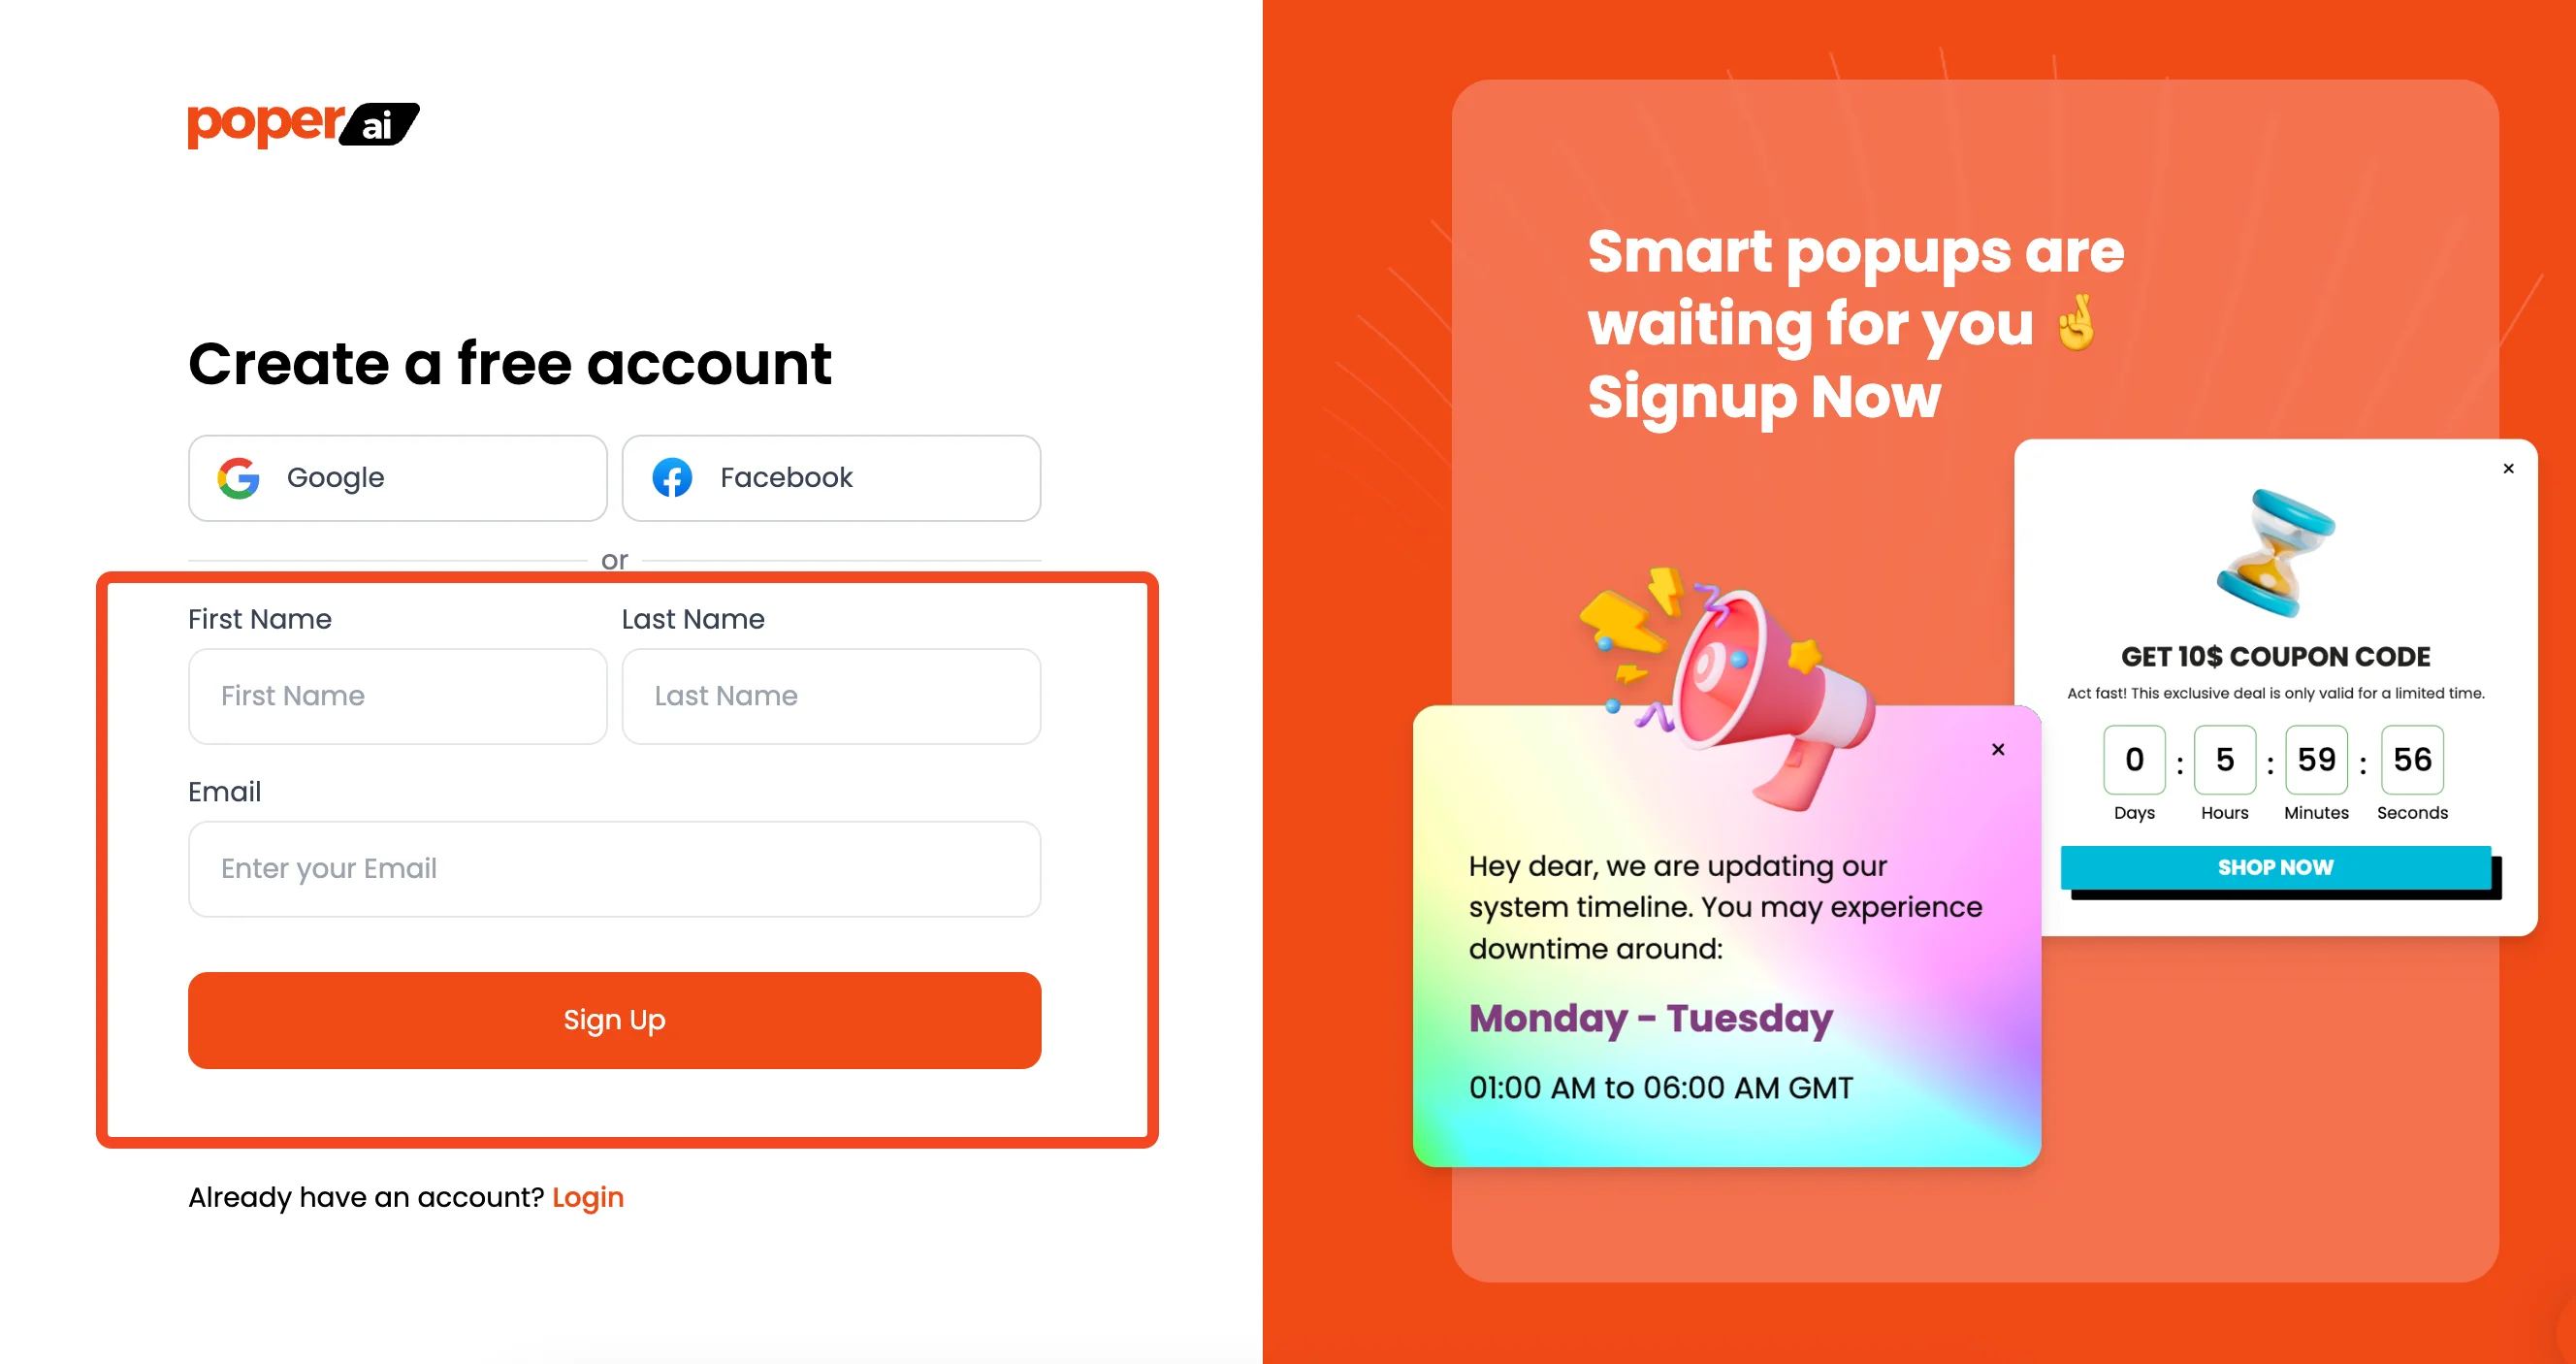
First things first, you'll need a Poper account. Head over to our site and sign up. Once you're in, the first thing we'll ask for is your website's domain.
Adding it connects your site to Poper, which is how we'll display the survey later on.
Step 2: Choose the Right Survey Template
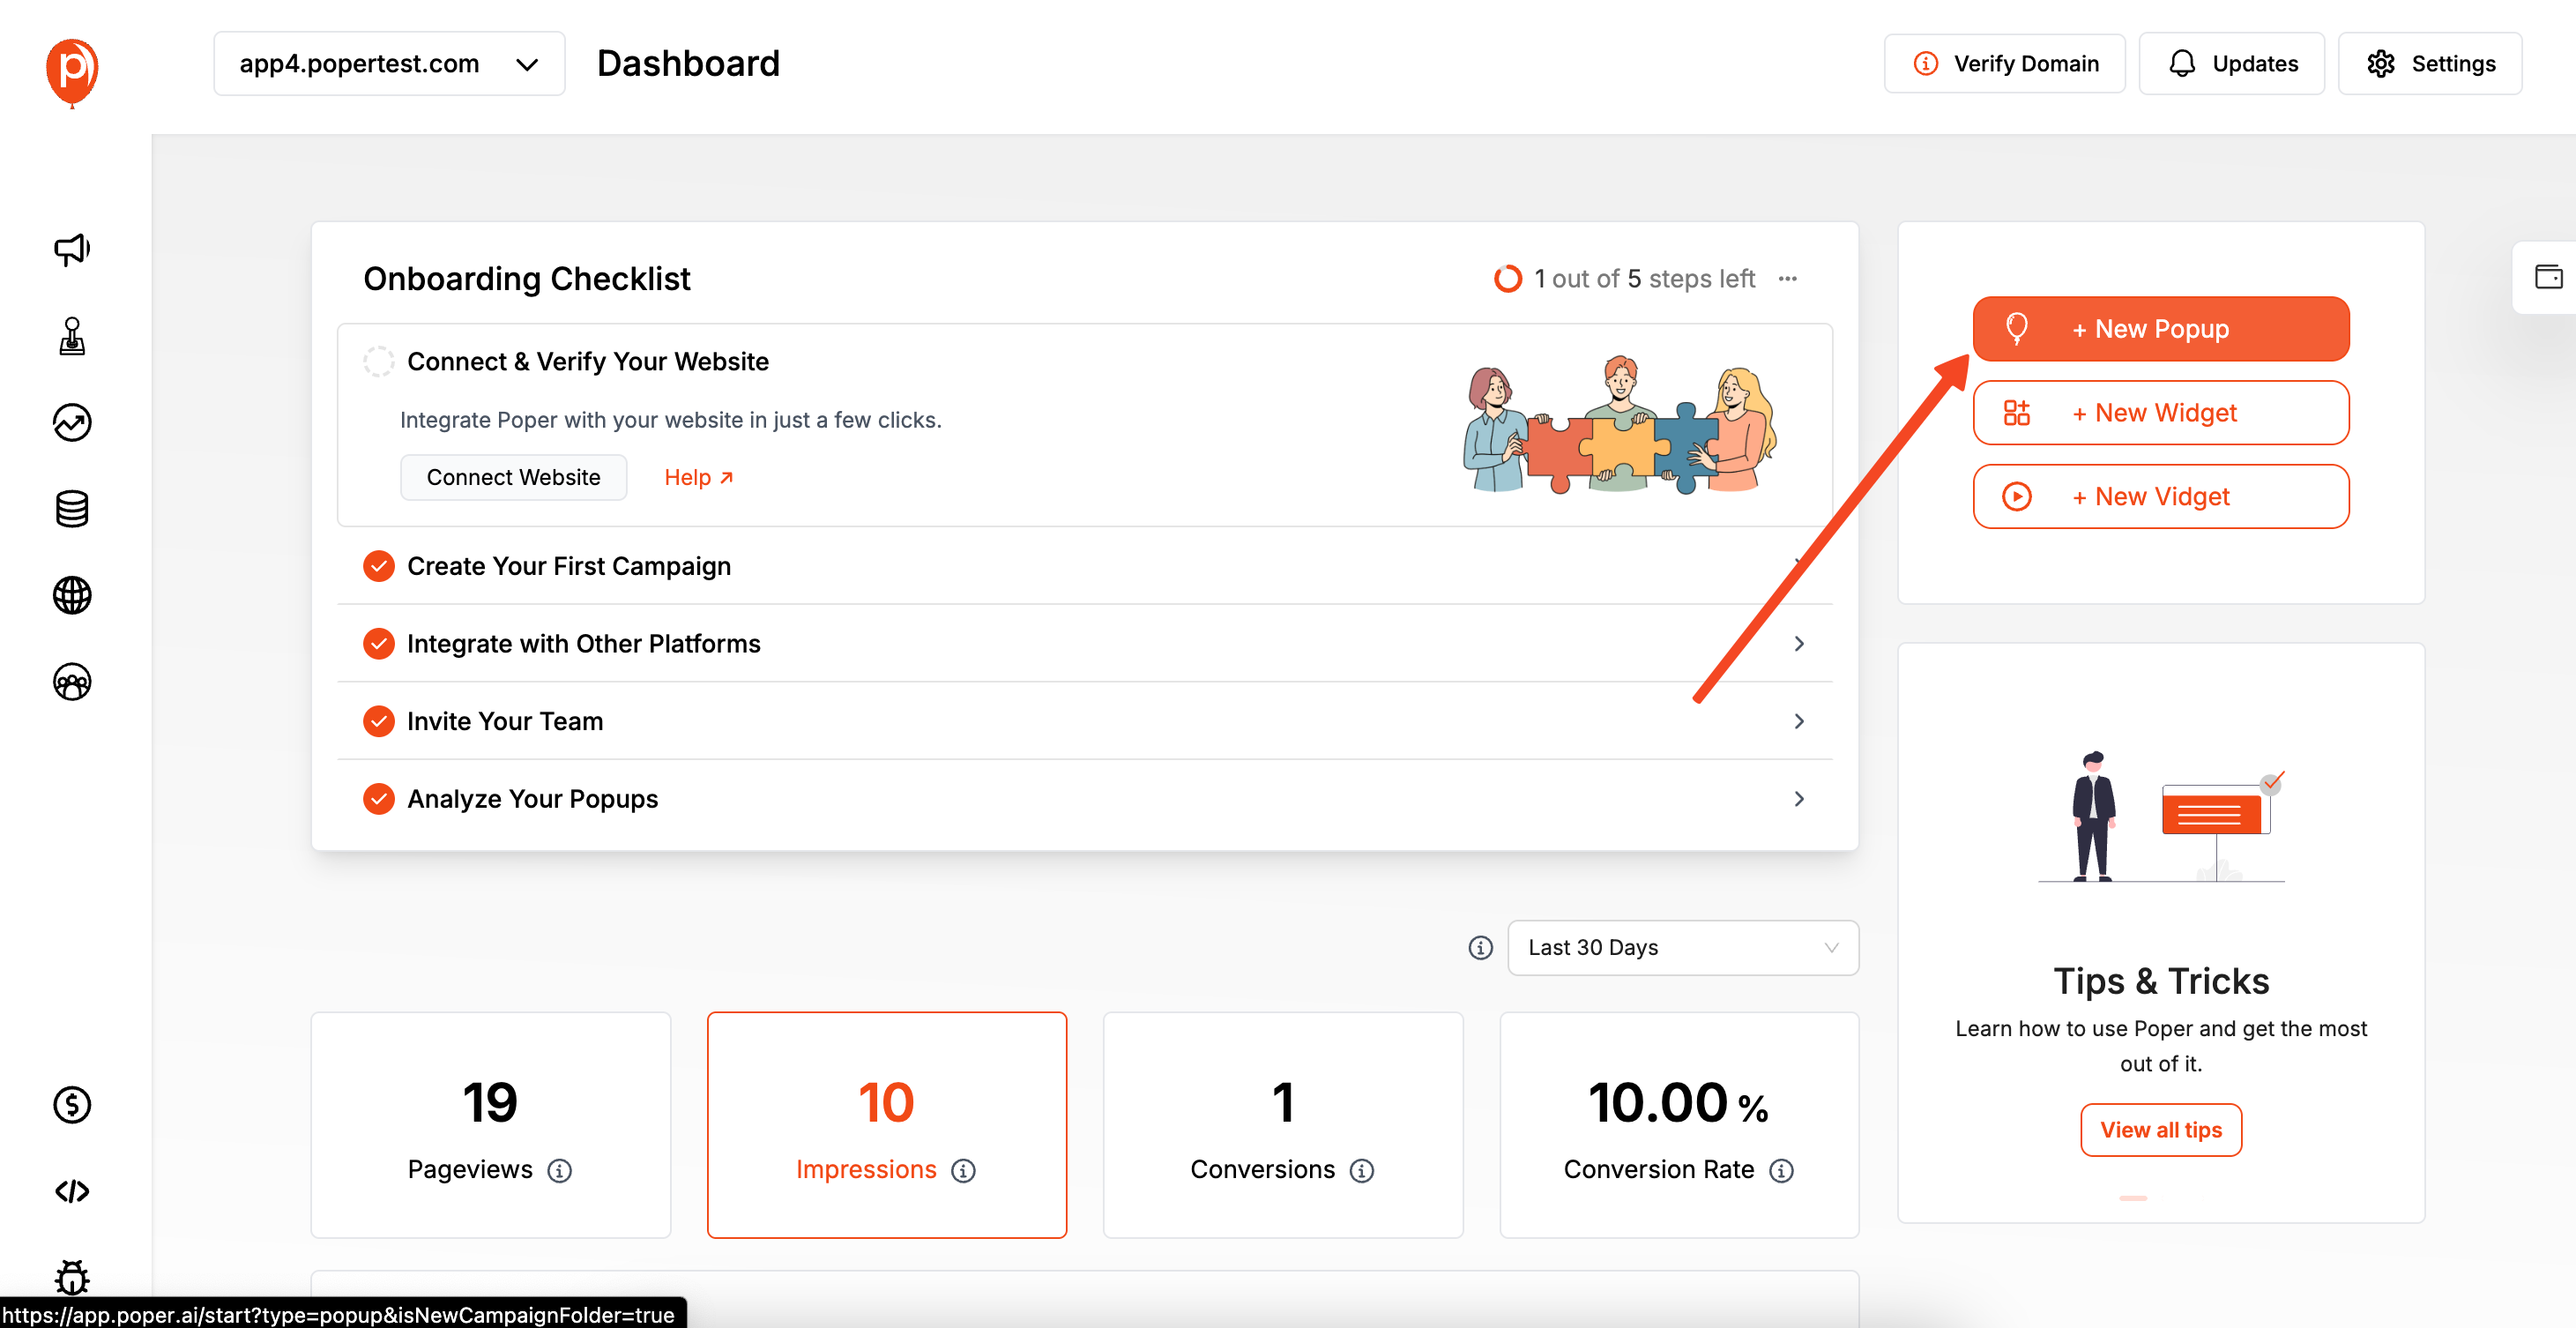
From your Poper dashboard, click the "New Popup" button. You’ll see an option to "Choose from Templates."
This is the fastest way to get going. In the search bar, just type "Survey" to quickly find our pre-built satisfaction and NPS templates.
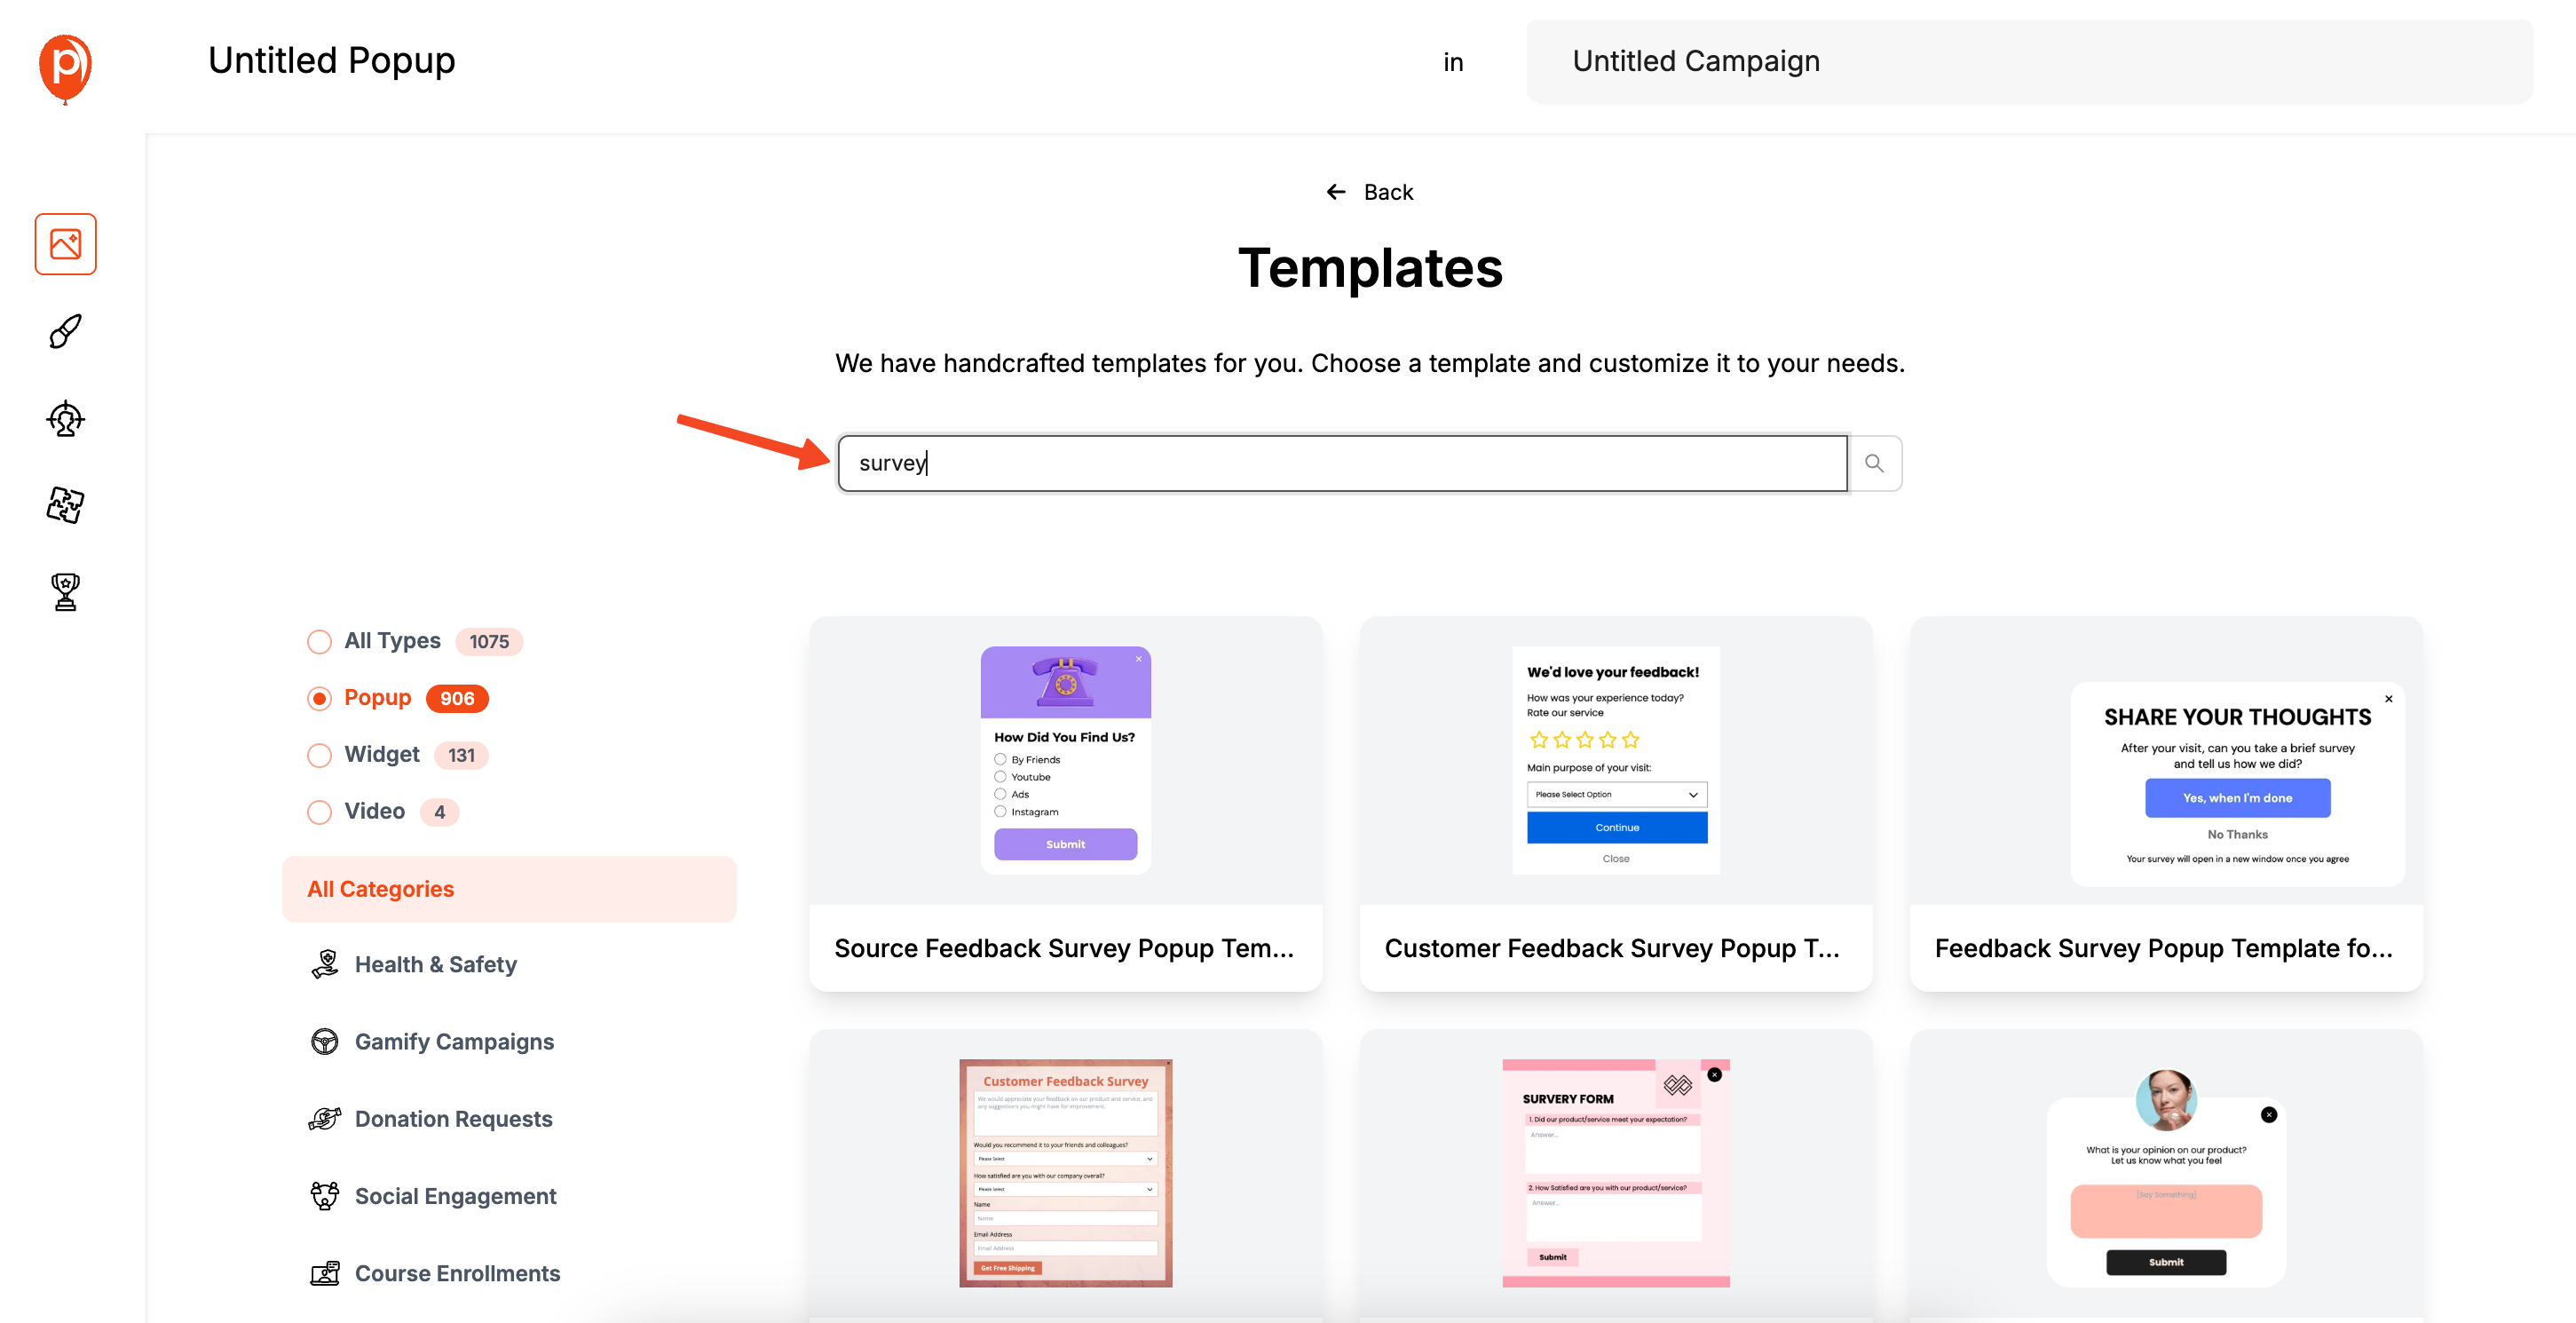
I recommend starting with a template because we’ve already designed it for high response rates.
You get a professional look right out of the box, which you can then tweak to match your brand perfectly.
Step 3: Customize the Survey in the Editor
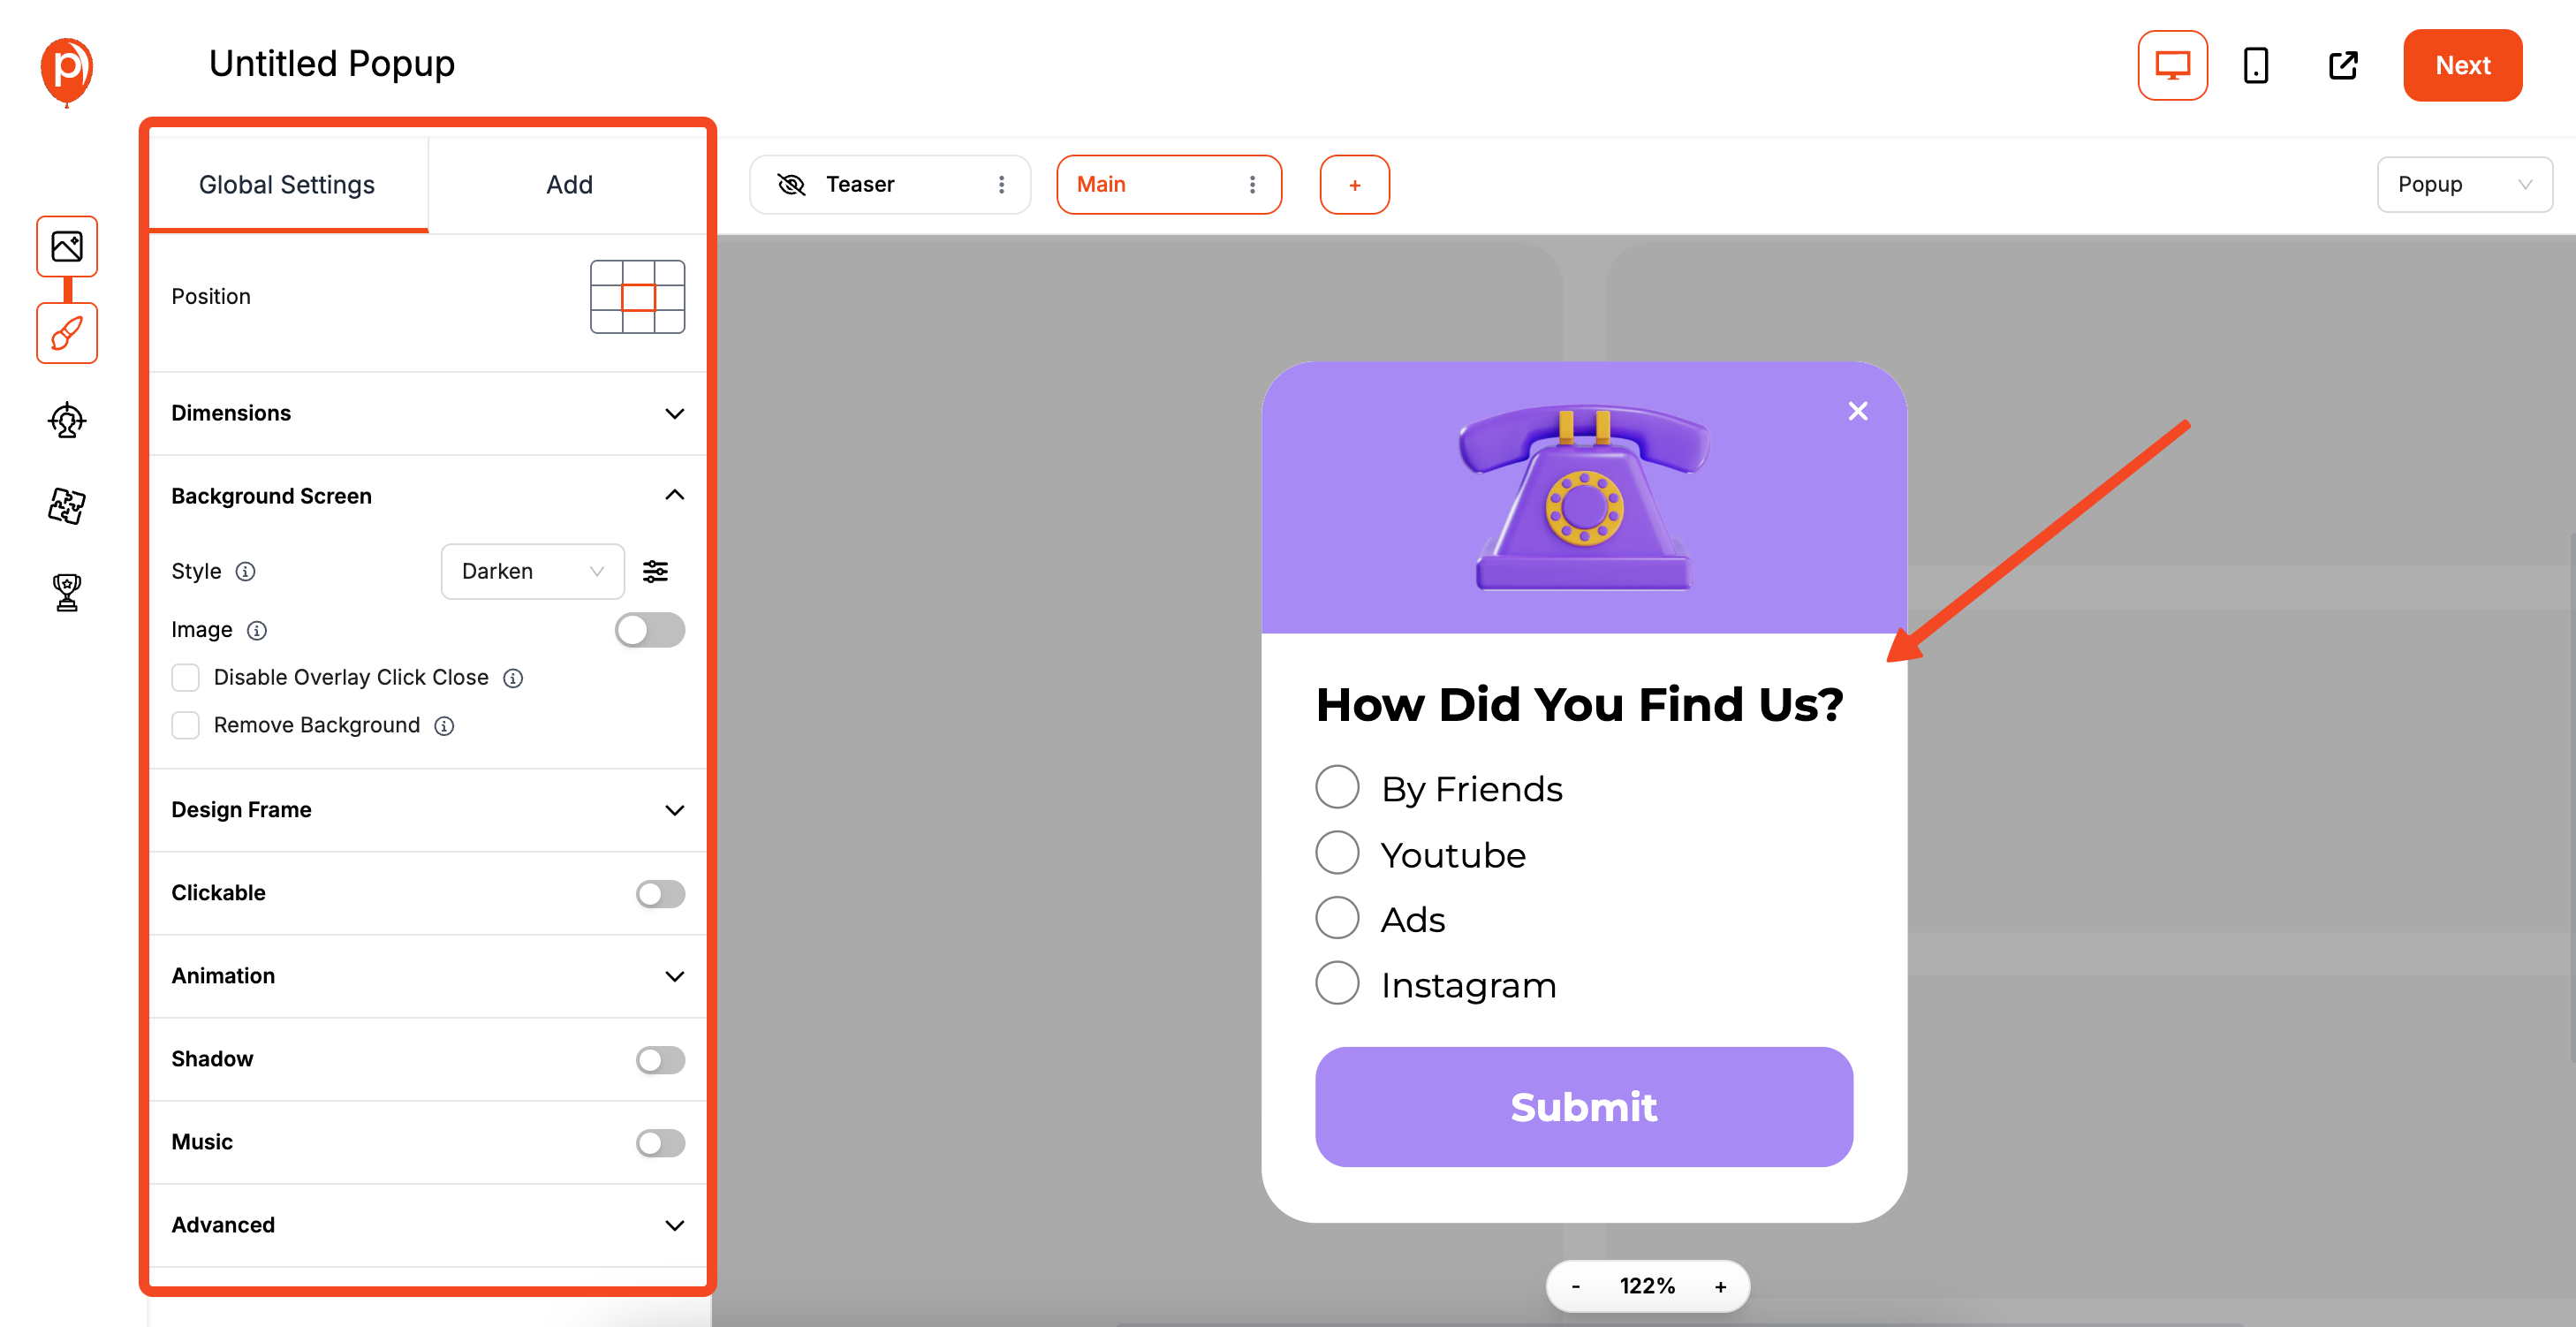
This will open our editor, where the fun begins. Here, you can change the colors, fonts, and text to align with your website’s style. A survey that looks like a natural part of your site feels more trustworthy to visitors.
You can also edit the form fields. For a classic NPS survey, you’ll want the 0-10 rating scale. You might also add an optional text field to ask customers why they chose that score. This qualitative feedback is pure gold.
Step 4: Set Your Display Conditions and Frequency

Once you're happy with the design, click "Next" to go to the "Display Conditions" page. This is where you control who sees your survey and when. You can trigger it on exit-intent (when a user is about to leave) or after they've scrolled down a certain percentage of the page.
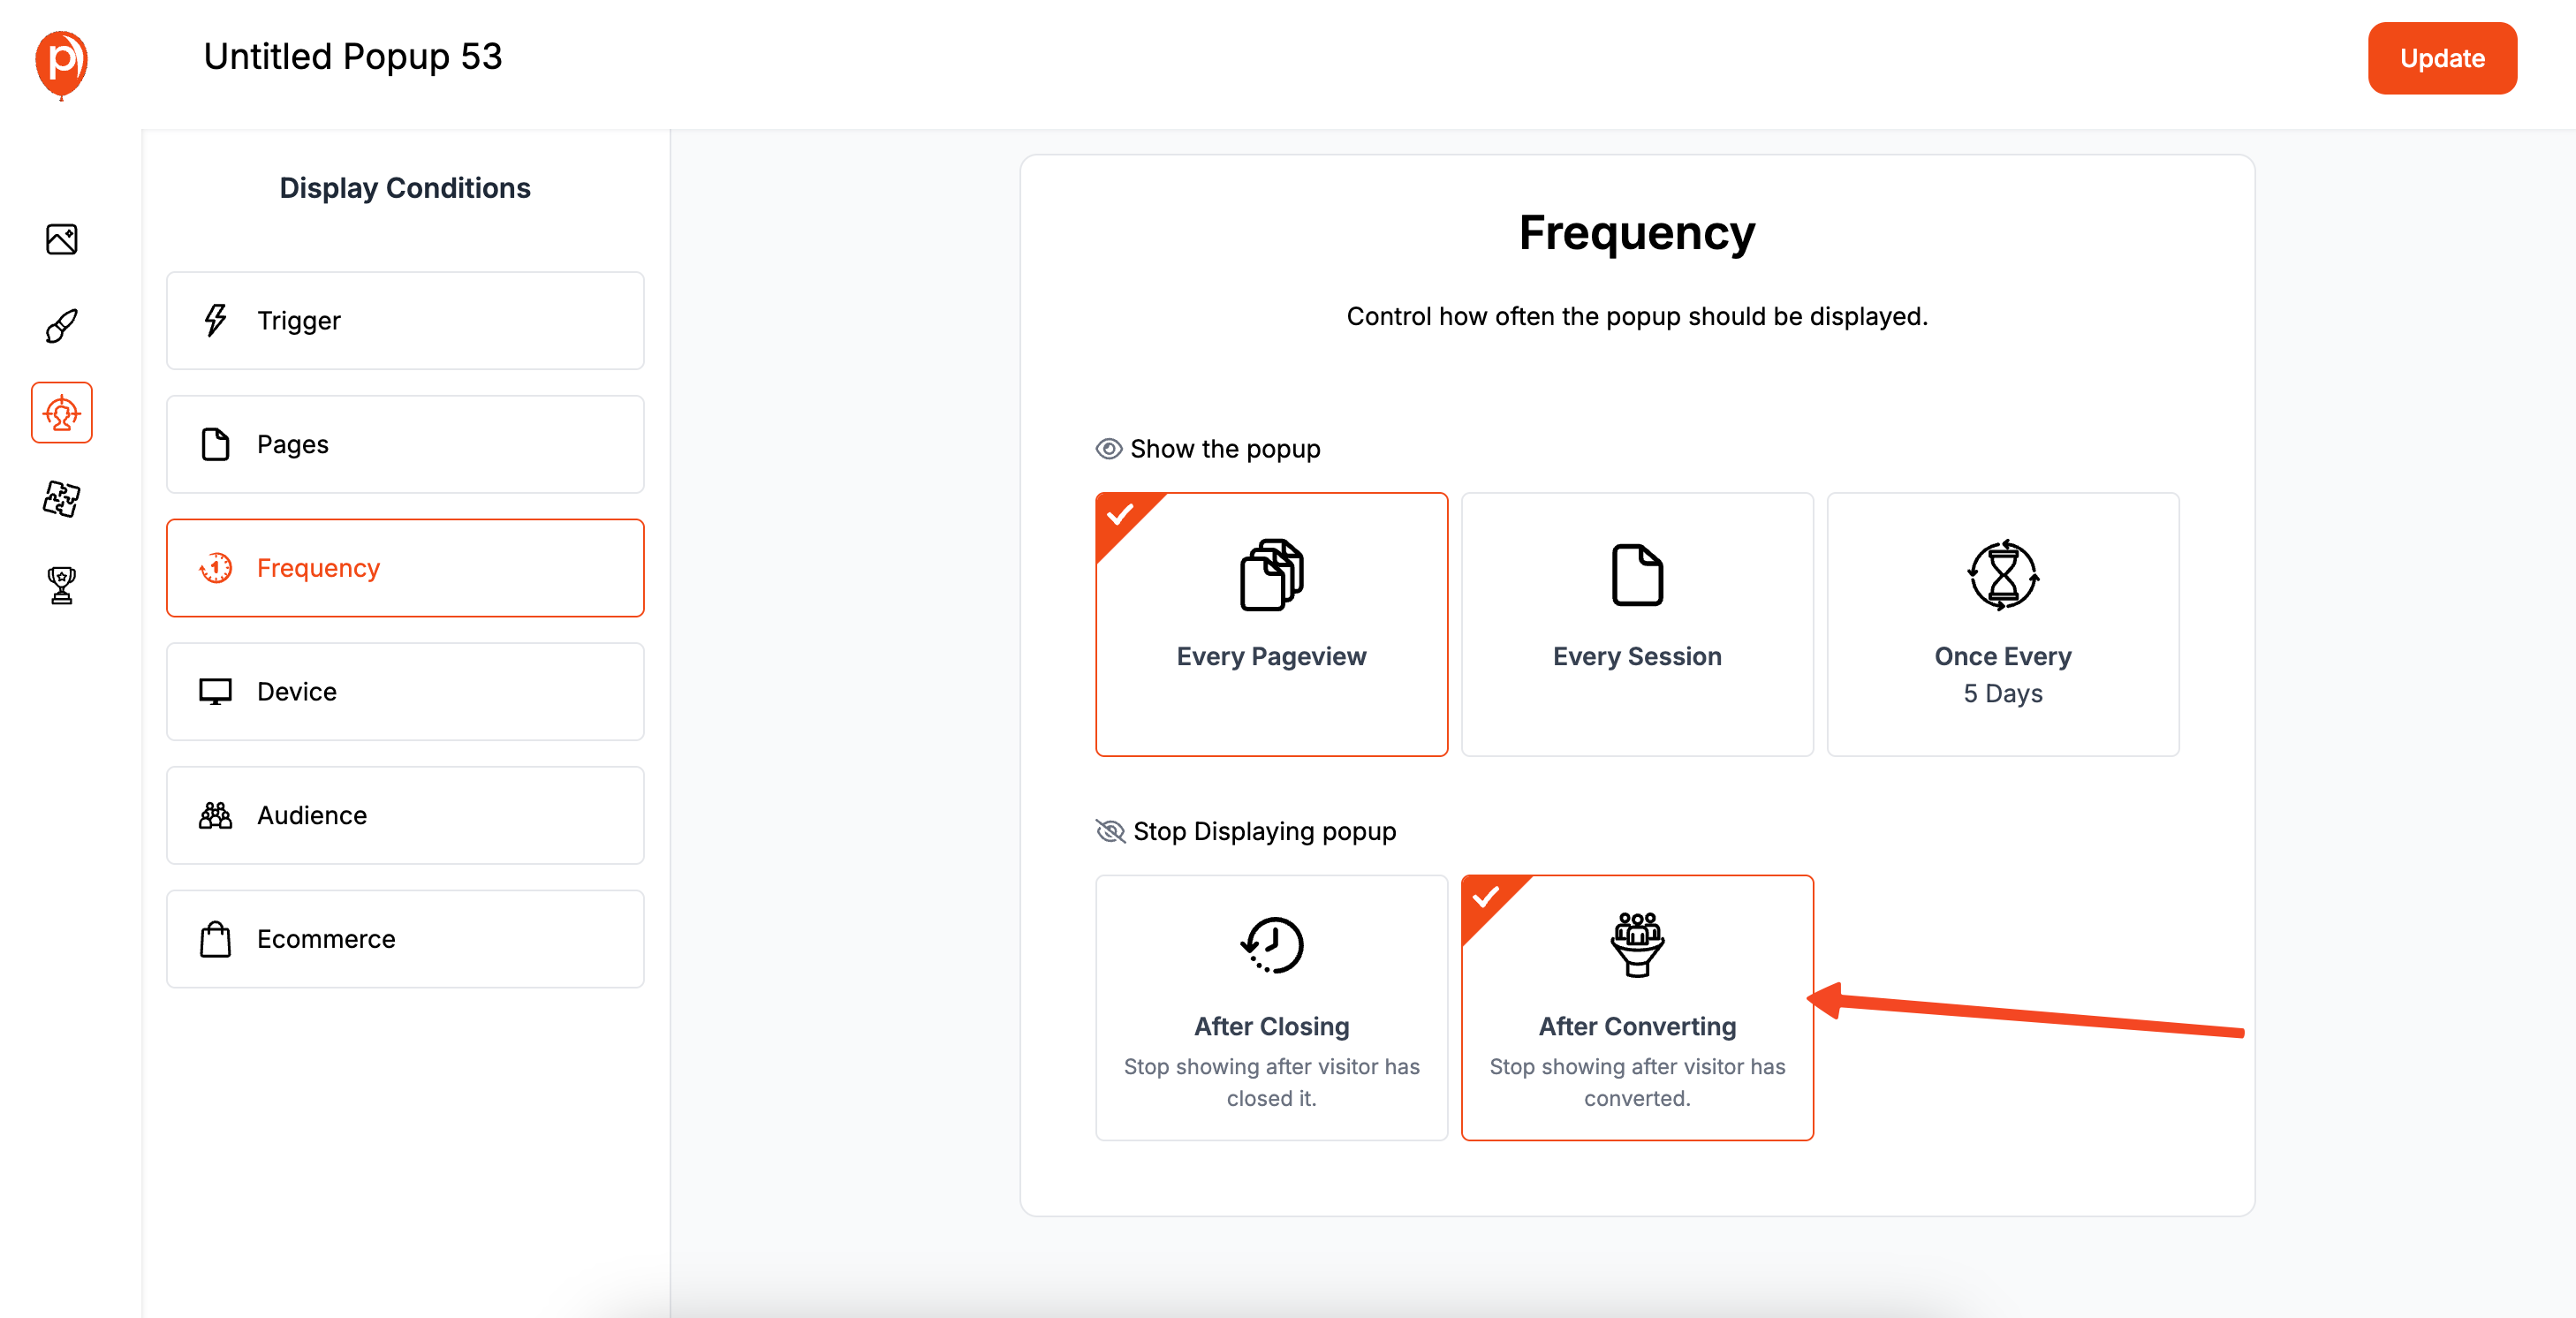
For an NPS survey, the frequency setting is crucial. Find the "Frequency" section and select "Stop Displaying once the user converts." This ensures that once a visitor completes the survey, they won't see it again. I also suggest setting it to show only once every 30 or 60 days to avoid survey fatigue.
Step 5: Publish Your Popup and Copy the Code

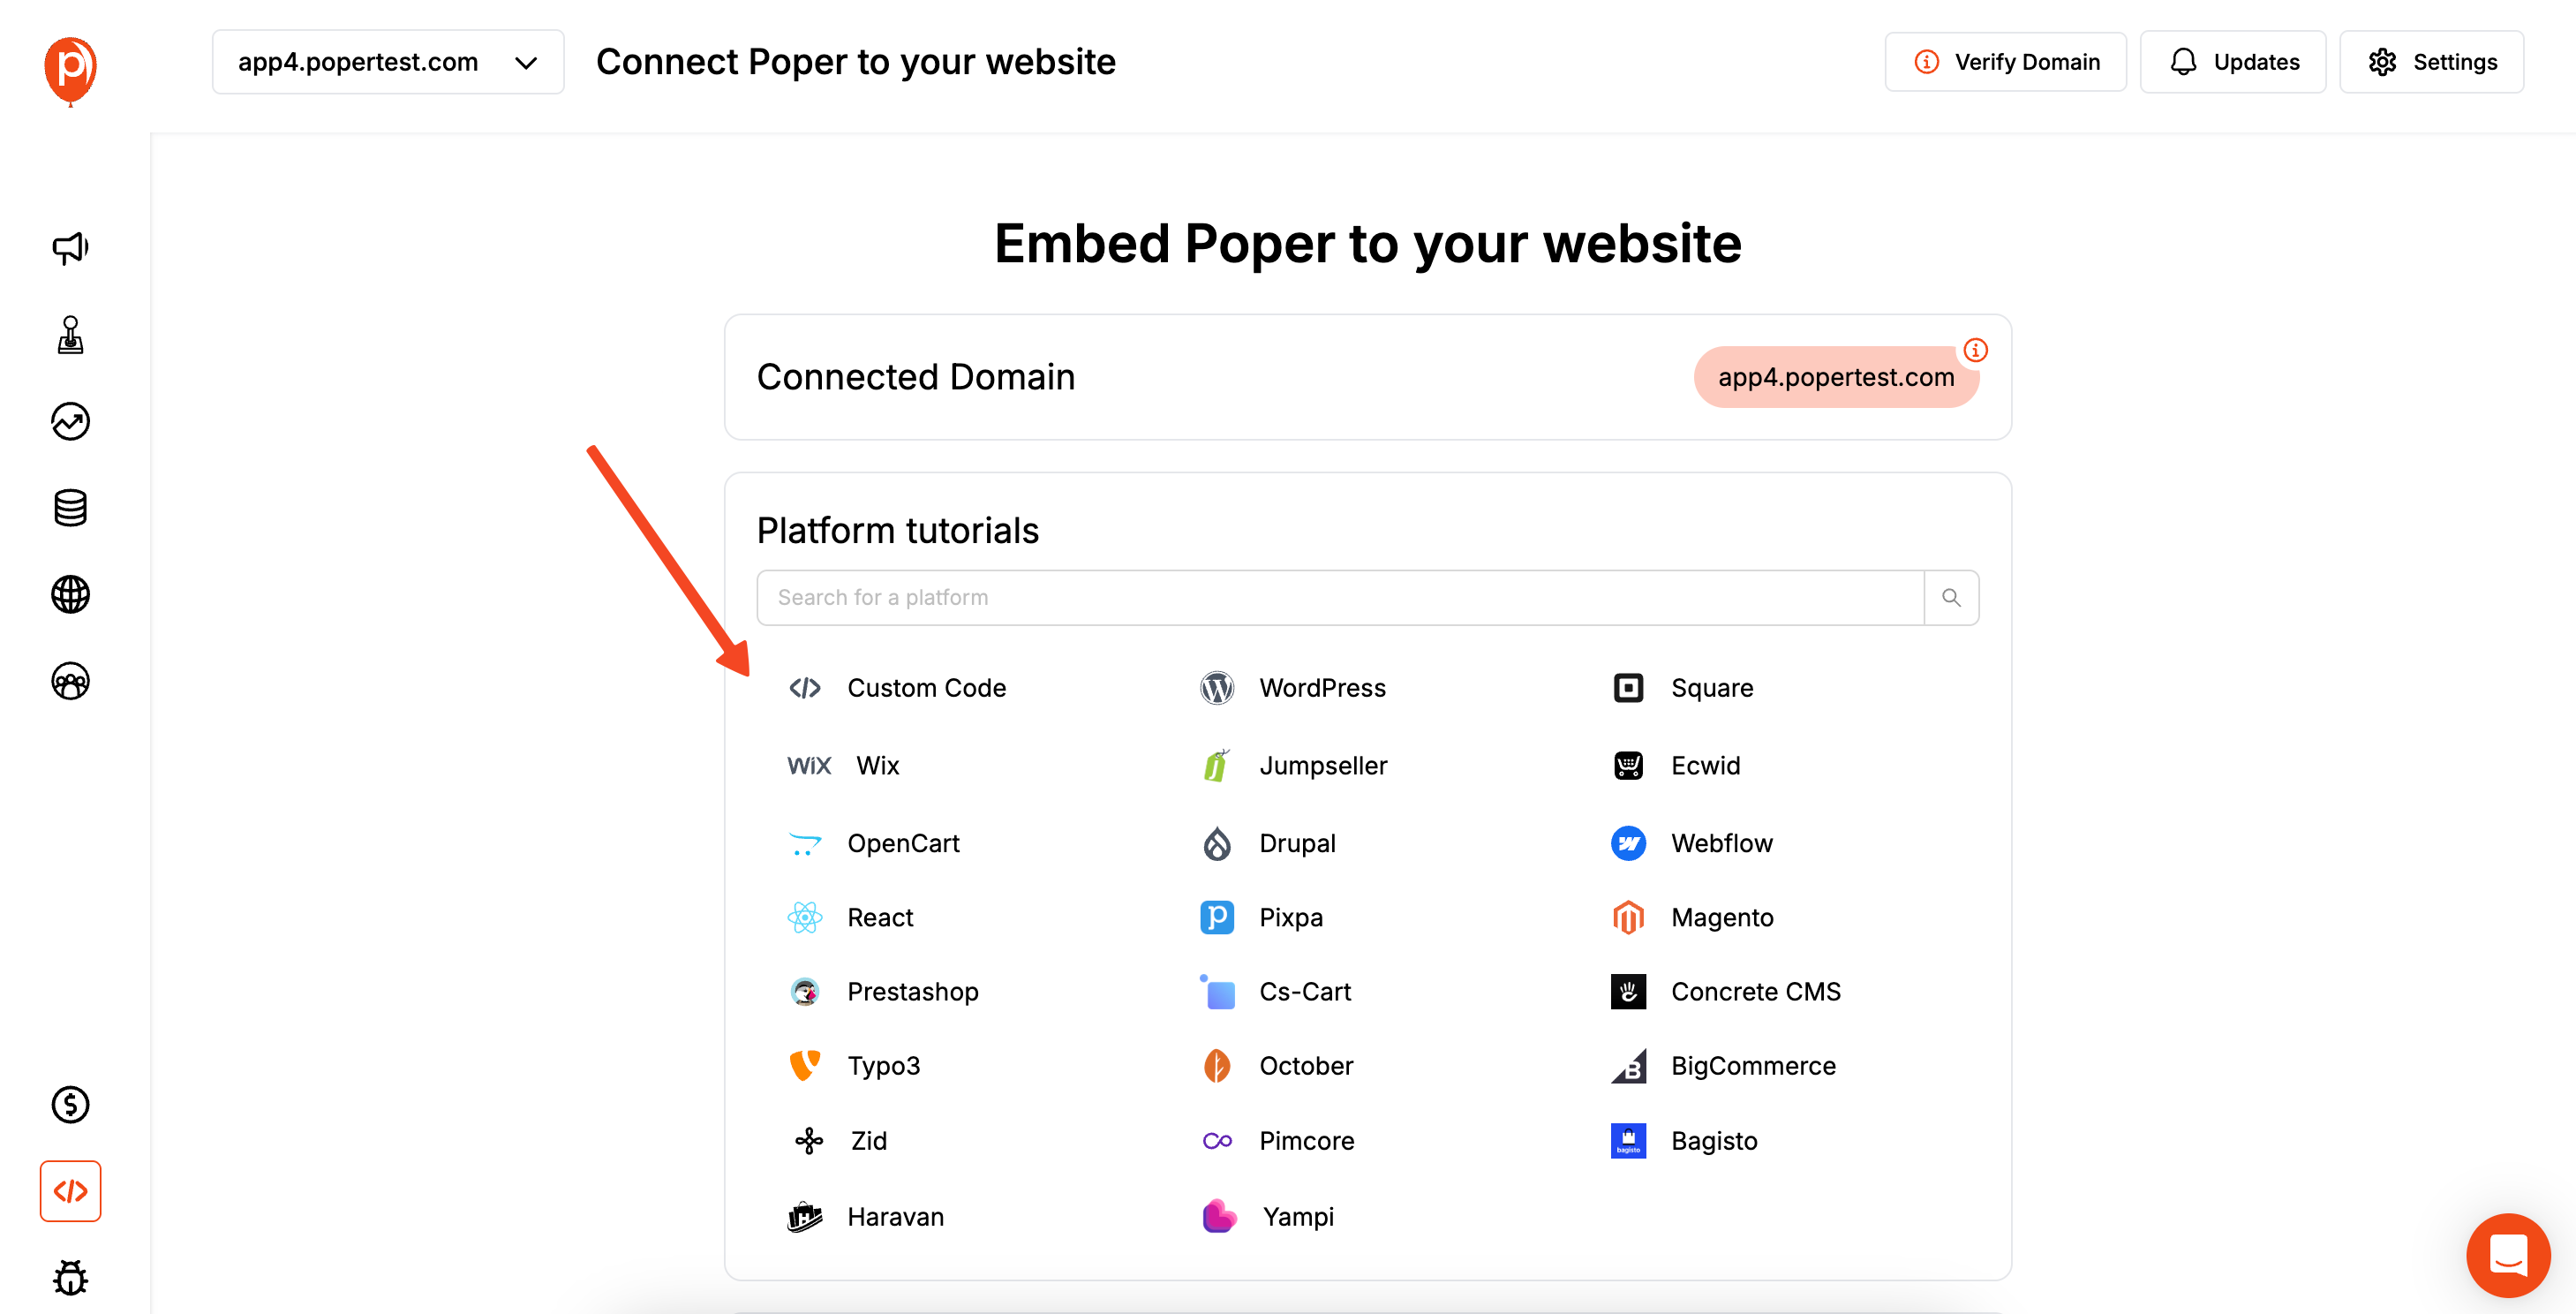
With your display rules set, click "Save & Publish." Your survey is now live! The final step is to install the Poper code snippet on your website. This one-time setup allows all your Poper campaigns to work.
Go to your main Poper Dashboard, find "Code," and click "Custom Code" to copy your unique workspace code.
Step 6: Add the Poper Code to Your Website's Header
Now, log in to your website’s admin panel. You need to paste the code you just copied into your site’s header section. This is often found under a menu like "Settings > Code Injection" or in your theme’s header settings.
Pasting it in the header ensures Poper can run smoothly on every page of your site without slowing anything down.
Step 7: Test Your Live Survey
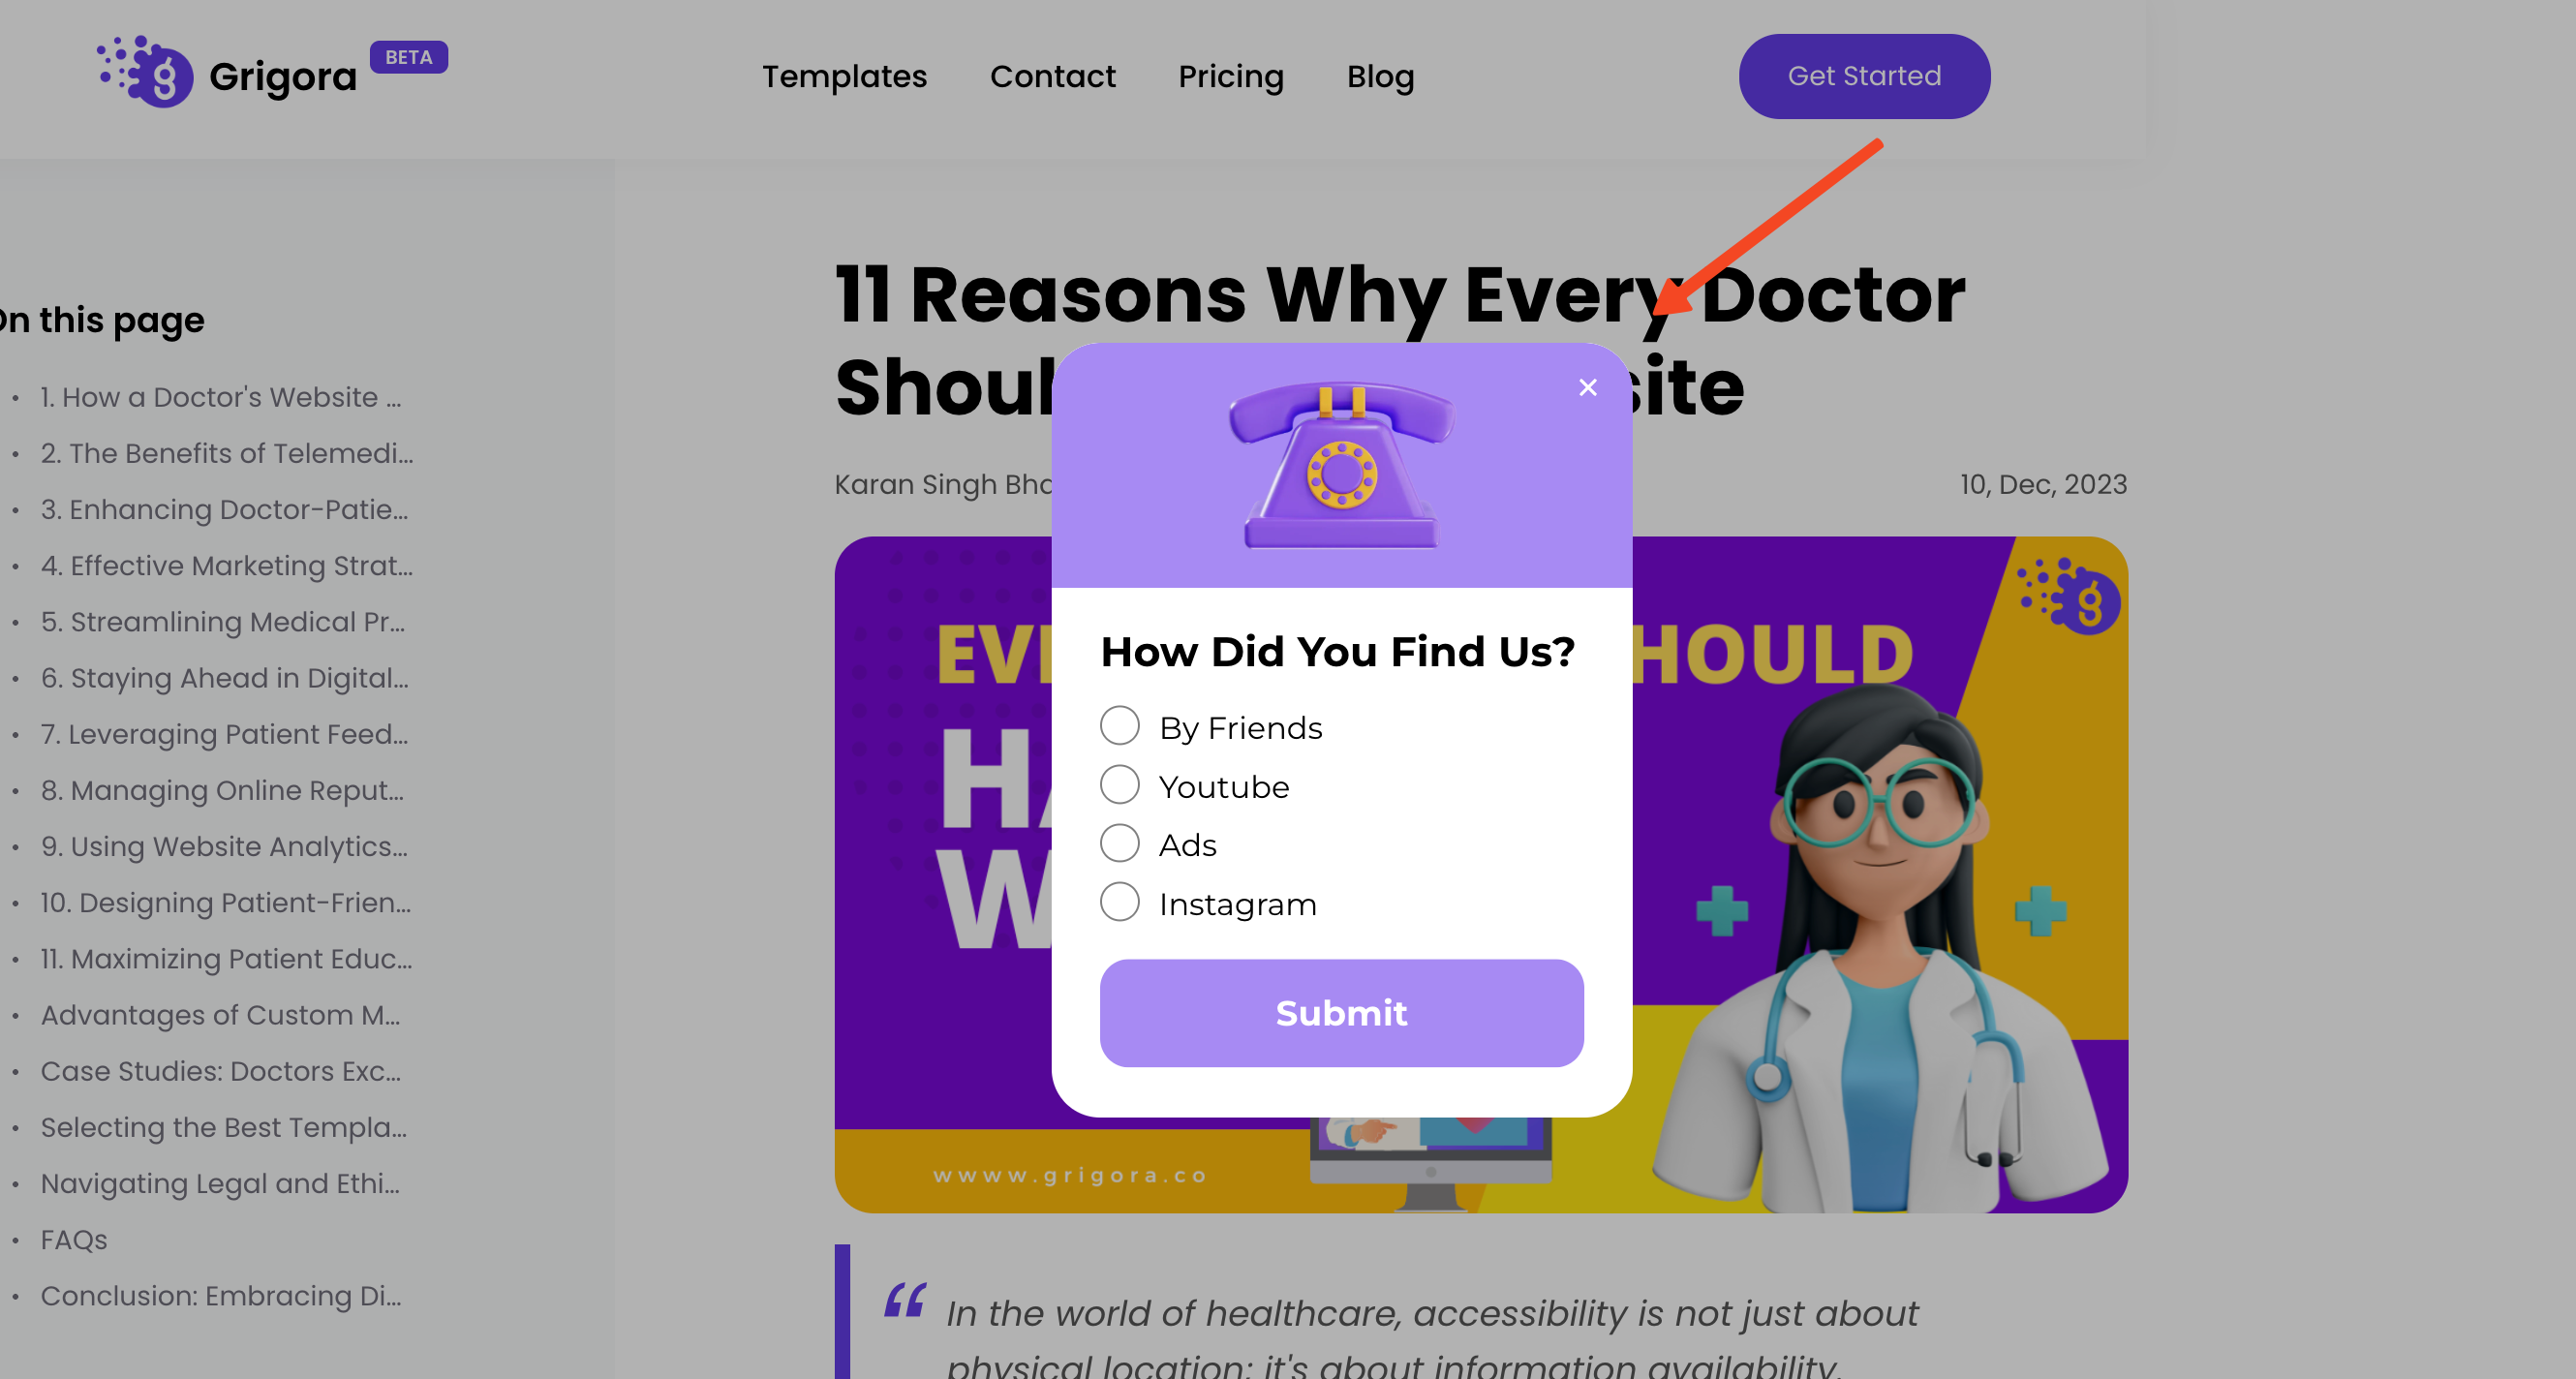
After saving the changes on your website, open a new incognito browser window and visit your site. This allows you to see it as a new visitor would. Check if the survey appears based on the triggers you set. Submit a test response to make sure everything works perfectly.
And that’s it! You’re now collecting valuable NPS data directly from your users.
Best Practices for Your On-Website NPS Survey
Timing is Everything: Don't ask a brand new visitor for their opinion. Trigger your NPS survey at moments of truth in the customer journey:
- Post-Purchase: On the order confirmation page is a perfect time.
- After a Support Interaction: Trigger after a live chat session ends.
- For SaaS: Ask logged-in users after they've used a key feature or have been a customer for a certain period (e.g., 30 days).
Post-Purchase: On the order confirmation page is a perfect time.
After a Support Interaction: Trigger after a live chat session ends.
For SaaS: Ask logged-in users after they've used a key feature or have been a customer for a certain period (e.g., 30 days).
Always Ask the Follow-Up Question: The number is the "what," but the open-ended feedback is the "why." This qualitative data is where you'll find the most valuable insights for improvement.
Keep it Anonymous (Usually): For general website feedback, an anonymous survey encourages more honest responses. If you are surveying logged-in customers, it can be non-anonymous, but you should be transparent about it.
Don't Annoy Users: Use frequency capping to avoid asking the same user for feedback repeatedly. A user should only see an NPS survey once every 90 days, for example.
Analyze and Act on the Data: Don't just collect scores. Read the feedback. Follow up with detractors to solve their problems. Thank promoters and ask for testimonials. Use passive feedback to guide your product roadmap.
Conclusion
Placing an NPS survey on your website is a direct line to understanding your customer's voice. It provides a simple metric to track loyalty over time and a wealth of qualitative feedback to guide your business strategy.
For a fast, flexible, and visually appealing way to deploy NPS surveys as popups on any site, a tool like Poper is an excellent choice, making it easy for marketers to get started.
For those already invested in analytics platforms, dedicated tools like Hotjar or Qualaroo offer powerful, integrated solutions.
For developers needing full control, building a custom survey with code is always an option.
By choosing the right tool and, more importantly, acting on the feedback you receive, you can turn your NPS survey from a simple metric into a powerful engine for growth.
Frequently Asked Questions (FAQ)
What is a "good" NPS score?
An NPS score can range from -100 to +100. Any score above 0 is considered "good," above 20 is "favorable," above 50 is "excellent," and above 80 is "world-class." However, scores vary widely by industry, so it's most important to compare your score to your industry's benchmarks and track your own score over time.
Where is the best place on a website to put an NPS survey?
The best place depends on your business. For e-commerce, the post-purchase "Thank You" page is ideal. For SaaS, a logged-in dashboard area is effective. For content sites, you might trigger it for returning visitors who have visited multiple pages. Avoid placing it on your homepage for first-time visitors.
Should my on-site NPS survey be anonymous?
It depends. Anonymous surveys often yield more candid feedback about general website experience. Non-anonymous surveys (e.g., for logged-in customers) allow you to tie the feedback to a specific user, so you can follow up with detractors to solve their issues or ask promoters for a testimonial. If it's not anonymous, be transparent about it.
How often should I run an NPS survey?
You can run it continuously on your website, but use frequency capping to ensure an individual user doesn't see it too often (e.g., once every 90 days). This gives you a constant stream of feedback without fatiguing your audience.

