

One of the most common questions is, “How can I make a popup appear only when someone clicks a specific button on my site?” If you're exploring this approach, you might also be interested in other on-click popup button strategies that can help boost engagement on your website.
If you want to take your strategy further, consider learning about how to trigger Mailchimp popups on button click for more integration options.
This is a fantastic way to engage users because they are initiating the action. It feels less like an interruption and more like a helpful response. Many website builders make this tricky, but I built a feature in Poper just for this.
Why Open a Popup on a Button Click?
High User Intent: The user is actively requesting more information or an action, leading to higher conversion rates.
Excellent User Experience (UX): It's not an interruption; it's a direct response to a user's action.
Keeps Pages Clean: You can hide complex forms or detailed information (like a size guide or video) inside a popup, keeping your page layout uncluttered.
Versatile Applications: Use it for anything from lead generation and contact forms to image galleries and special promotions.
Let’s walk through how to set this up. It’s easier than you think.
Step 1: Create and Design Your Popup
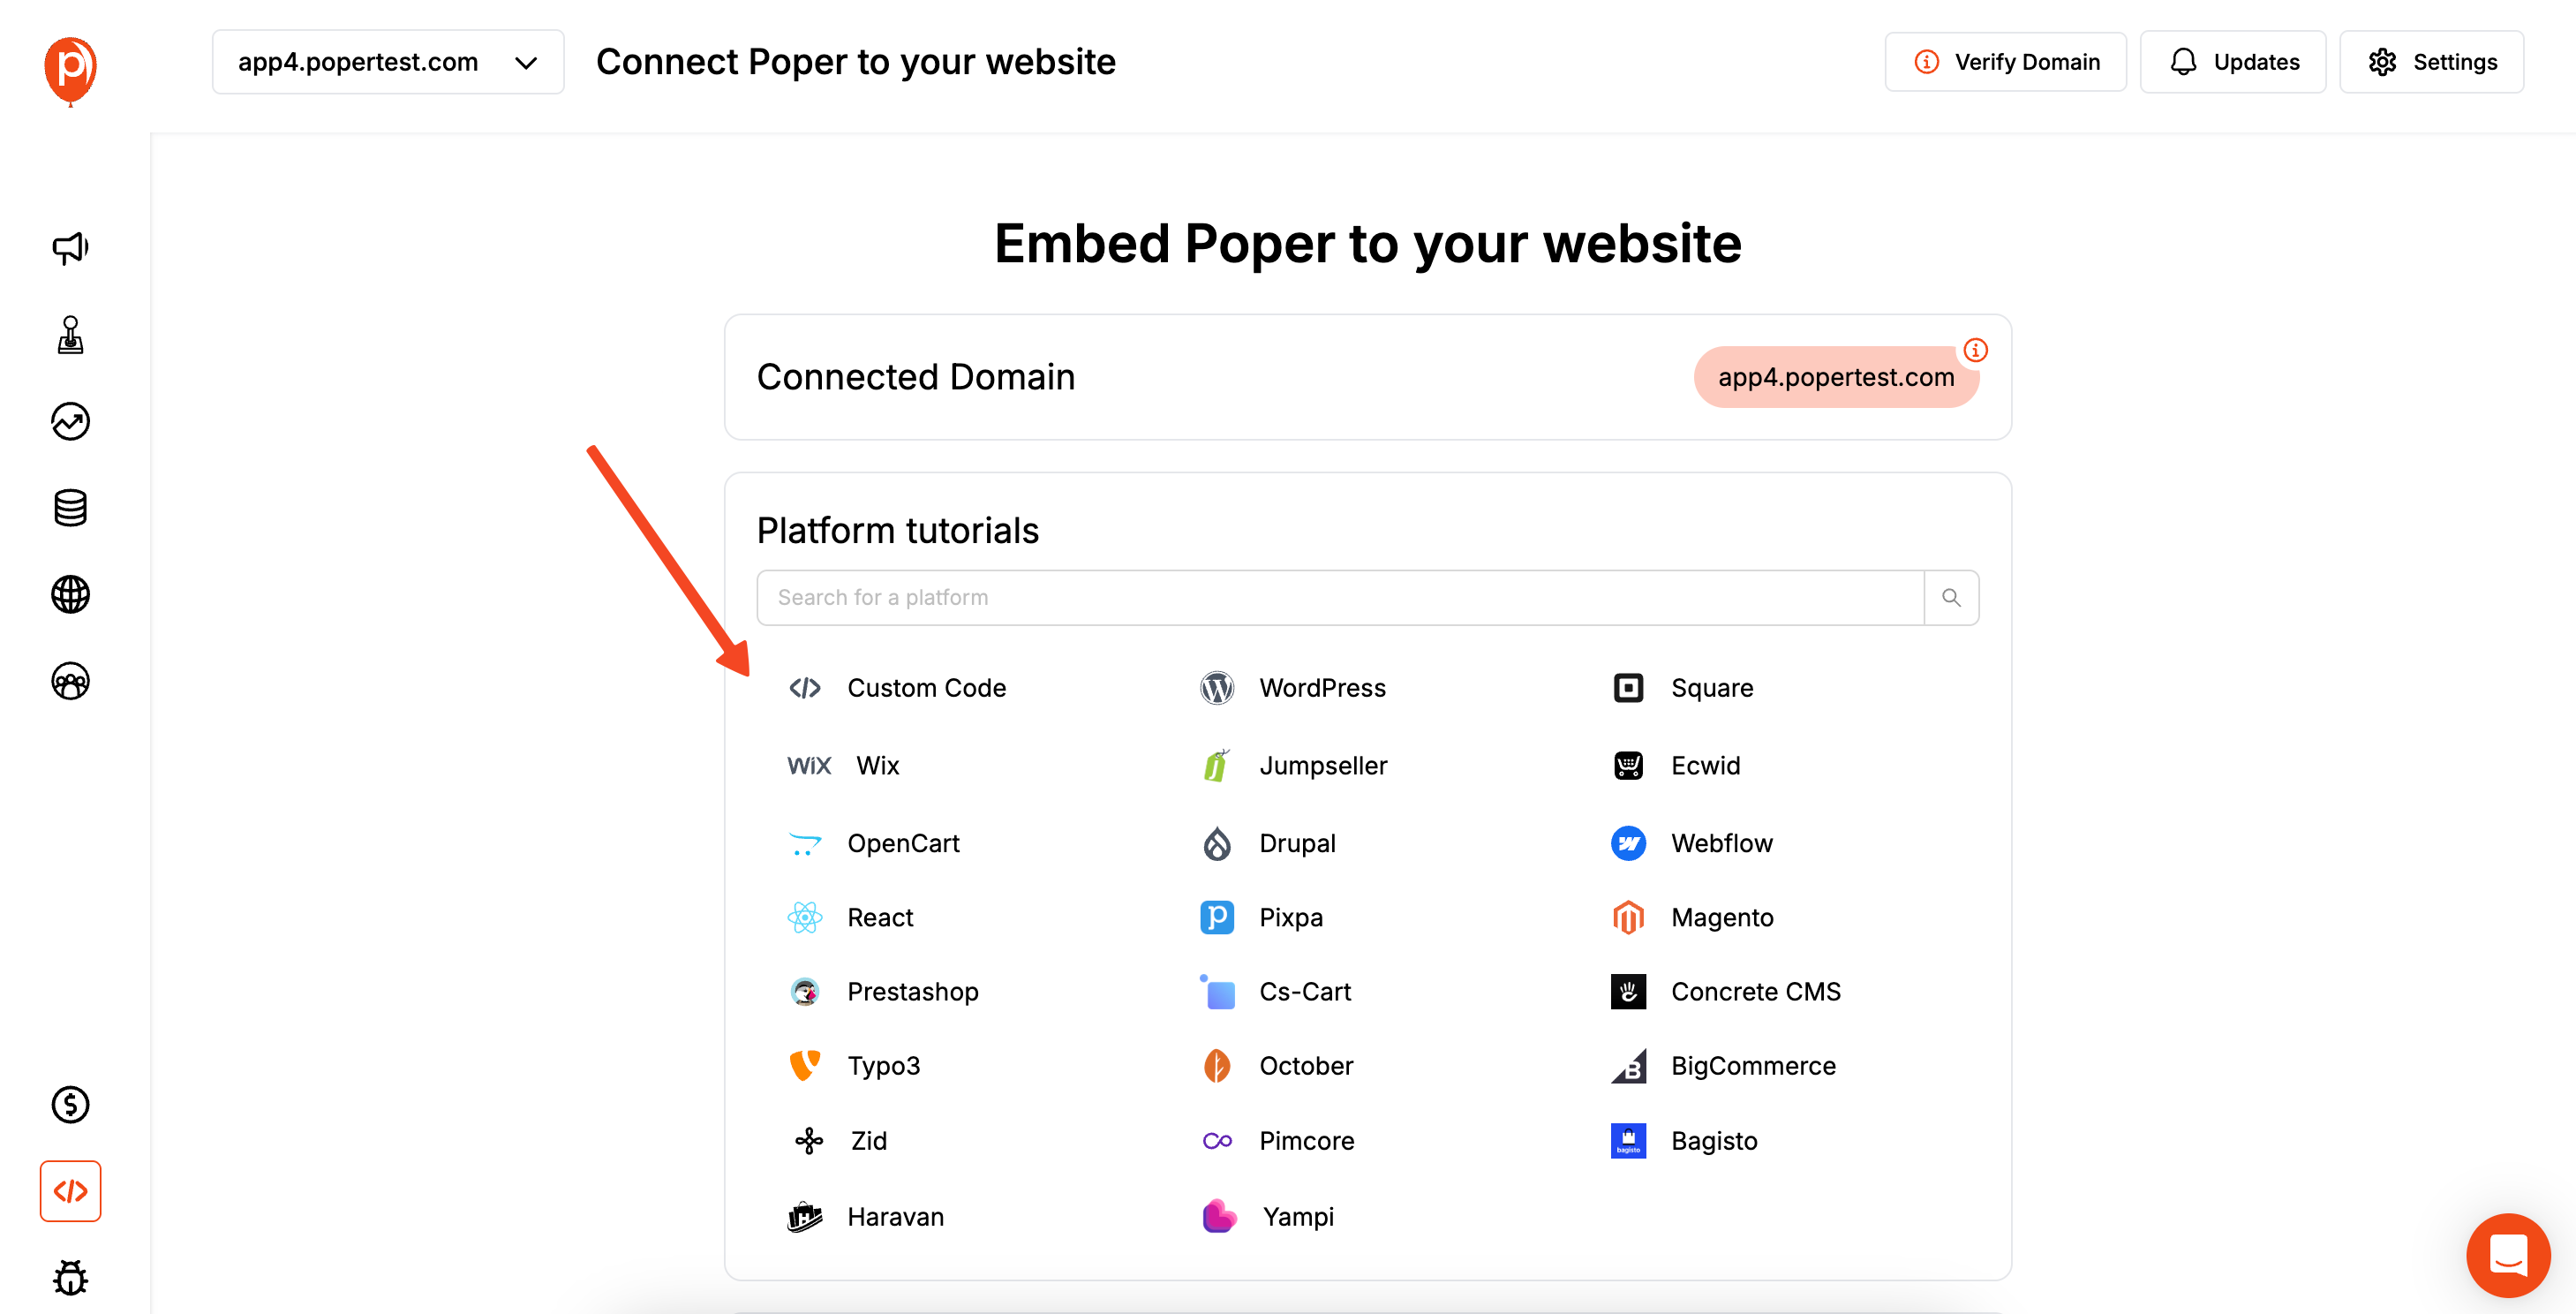
First things first, you need the popup that will appear. If you haven’t already, create your Poper account and add your website domain. From your dashboard, click to create a new campaign.
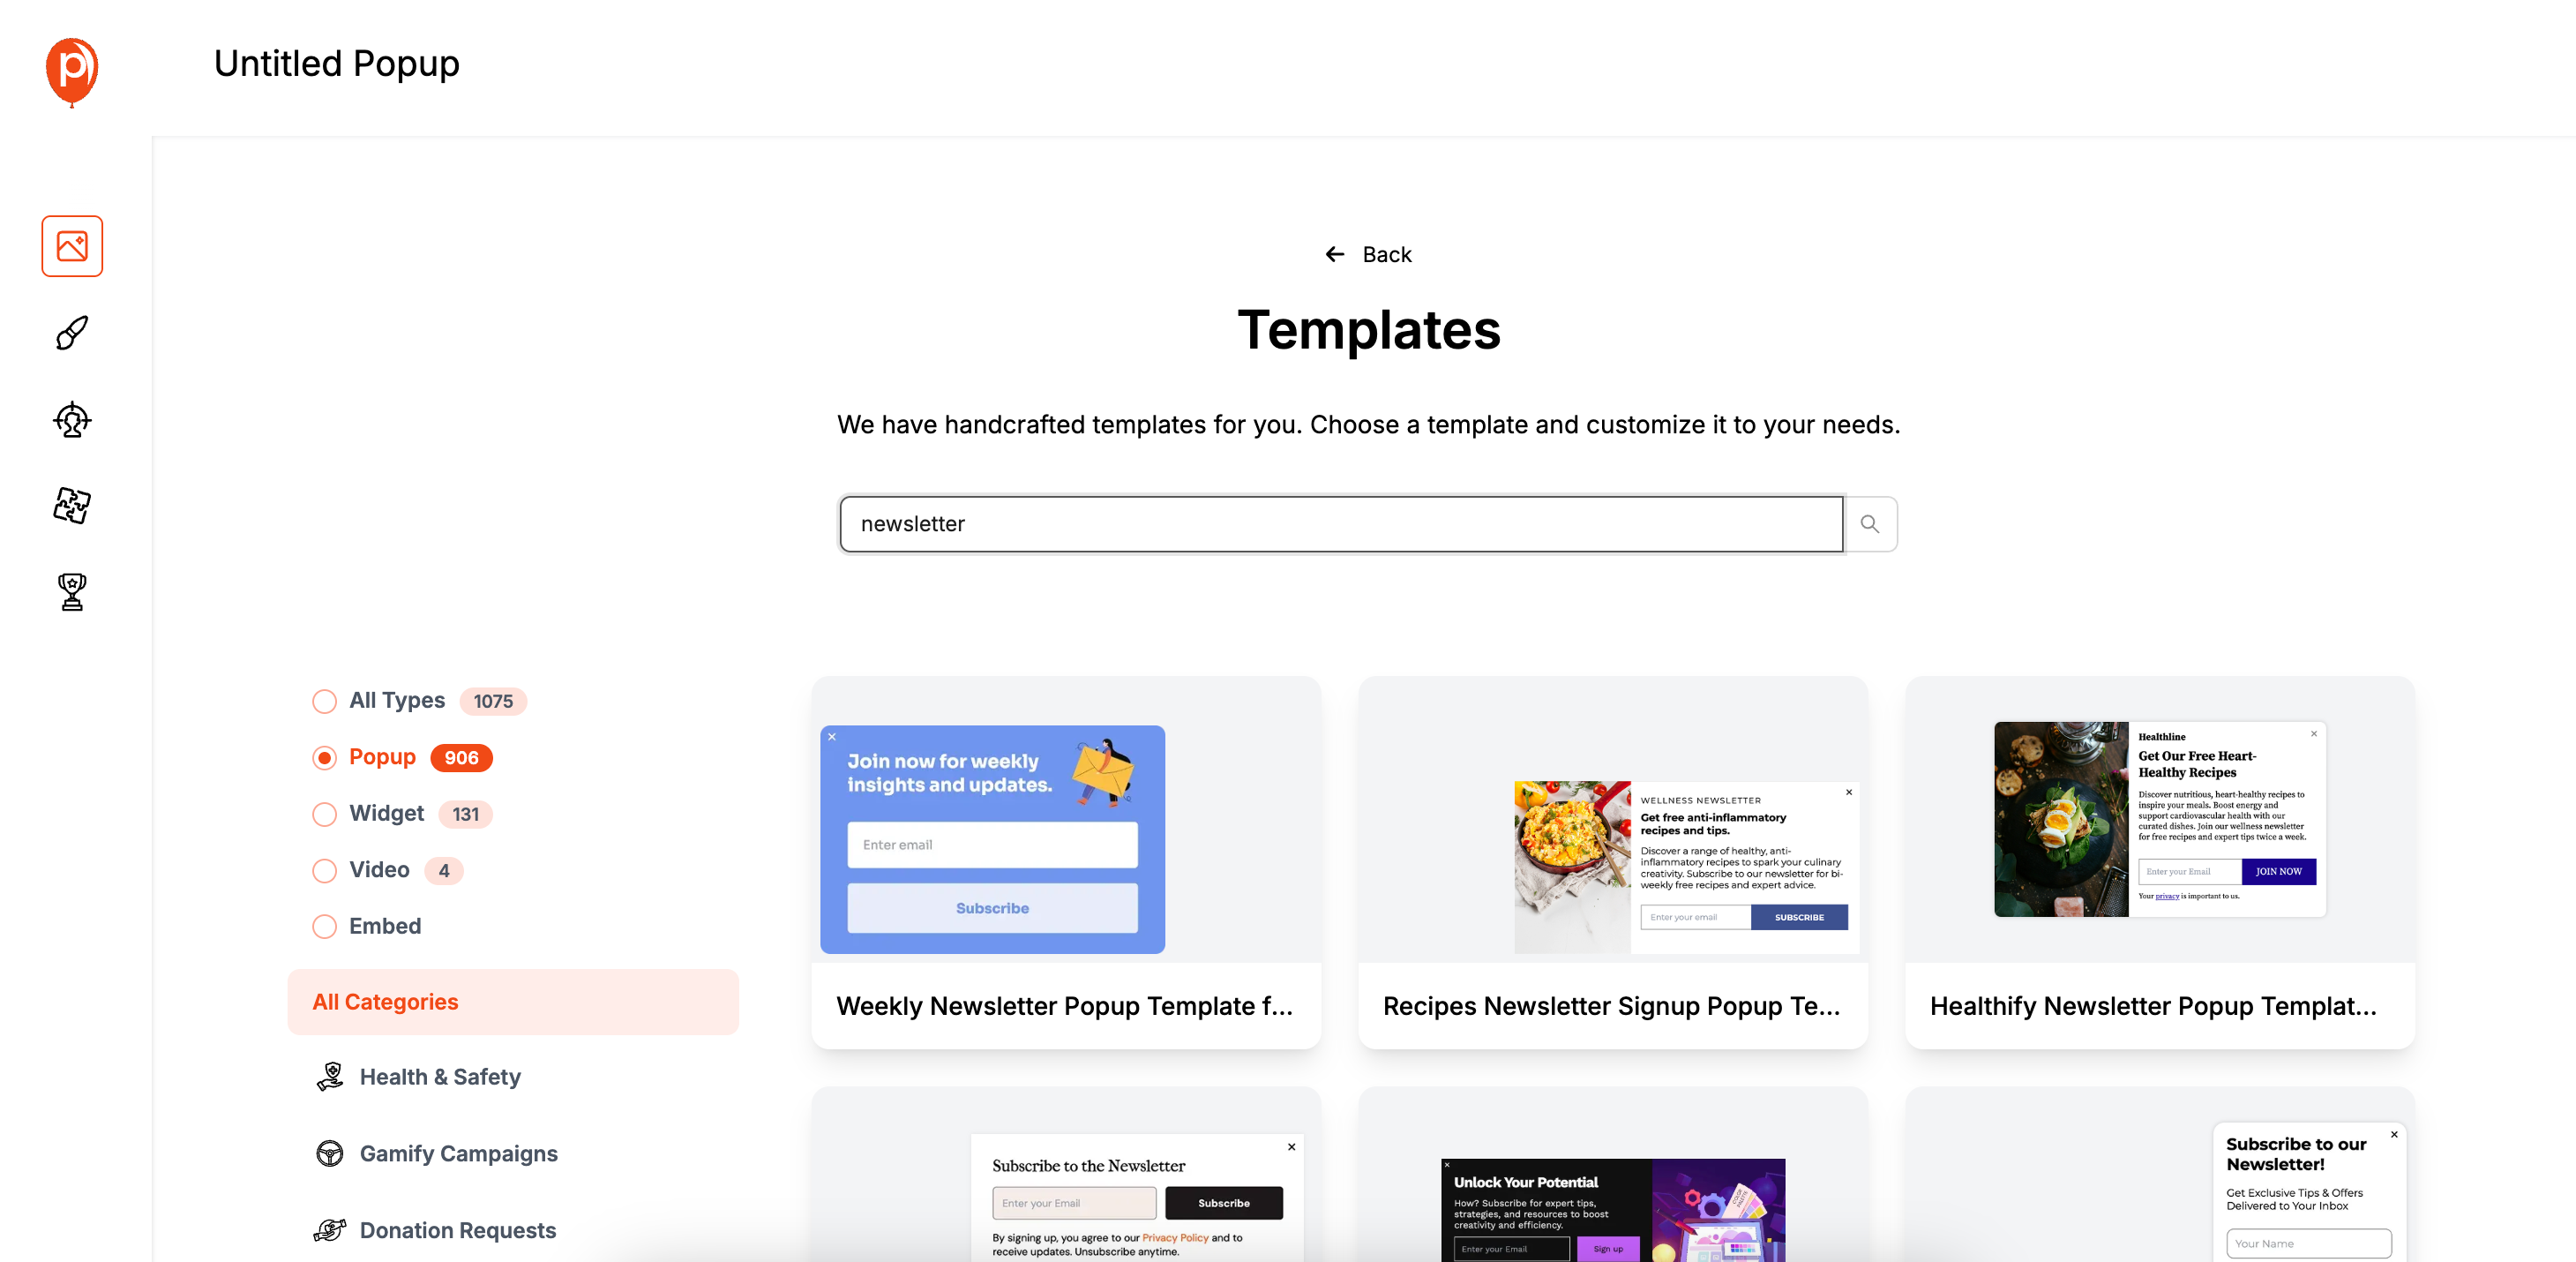
I recommend choosing a template that matches your goal. For instance, if your button says "Subscribe," search for a "Newsletter" template. You can browse our popup template library to find the perfect fit for your campaign, or explore our blog guide on the popup template library for inspiration and tips. For more inspiration, you might also check our list of the best popup plugins for WordPress for further design strategies.
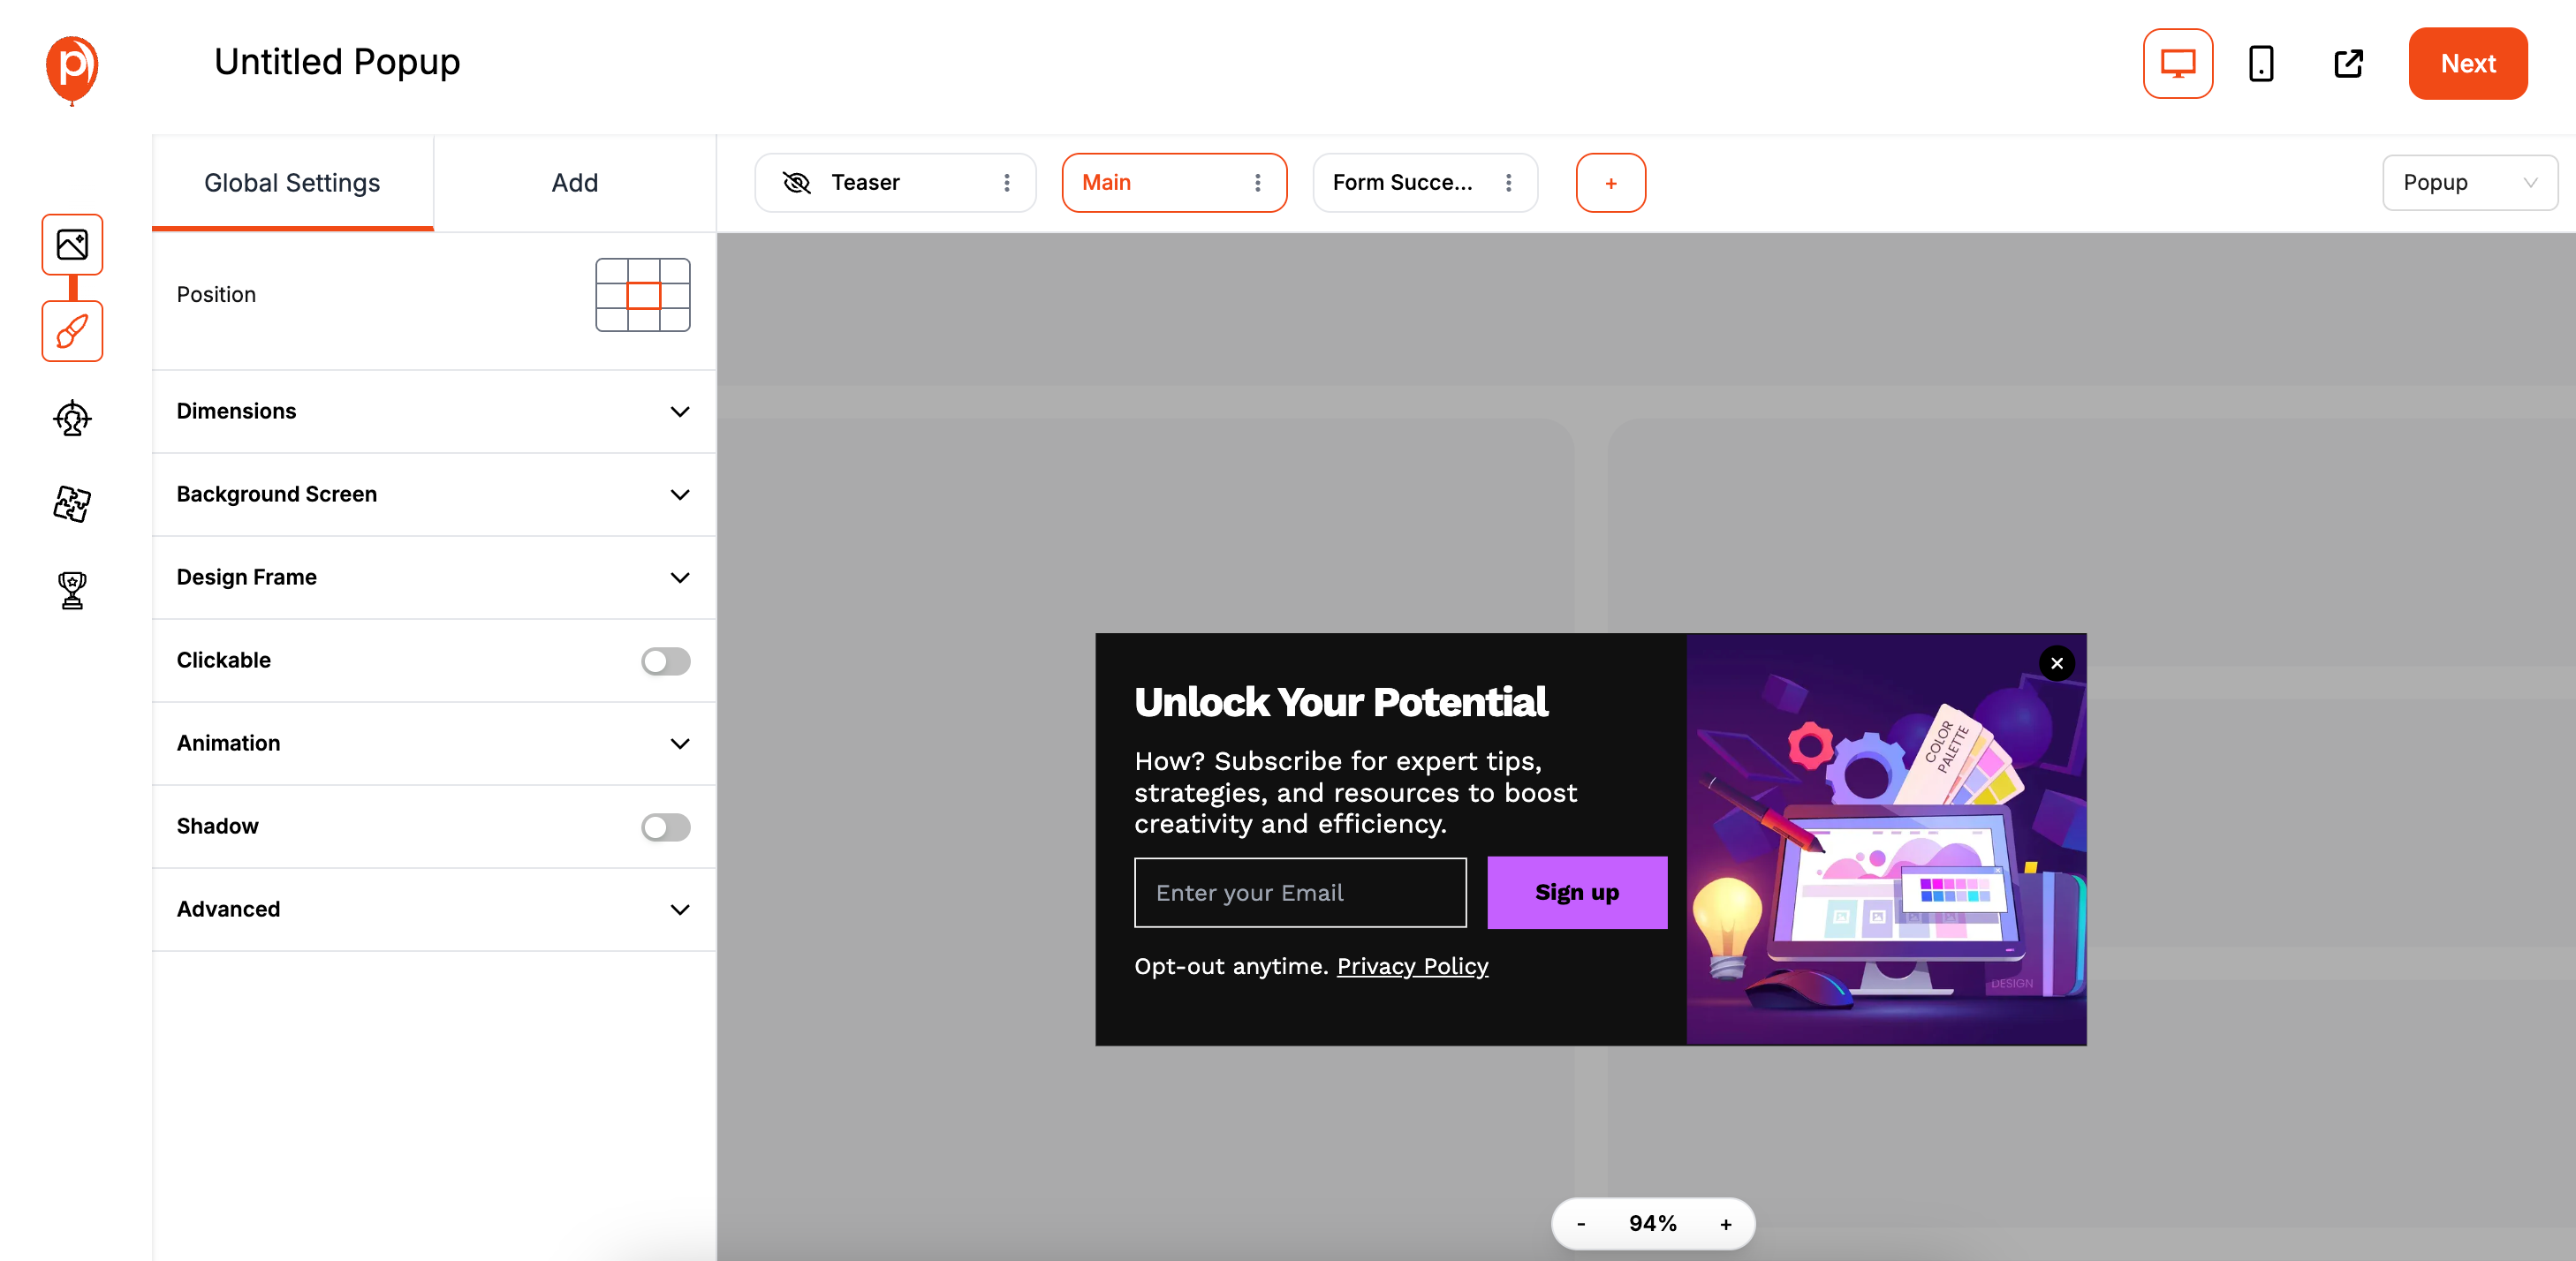
Once you pick one, you'll land in our editor where you can adjust the colors, fonts, and text to perfectly match your brand. Get the design just right before moving on.
Step 2: Set the "On-Click" Display Trigger
Once you’re happy with your design, click “Next” to go to the Display Conditions screen. This is where you tell Poper how and when to show your popup. You’ll see several options like "On Exit-Intent" or "After Page Load." See our guide to showing popups on page load for more trigger alternatives.

For this guide, we're interested in one specific trigger. Find and select the On-Click option. This tells Poper to keep the popup hidden until a very specific action—a click—happens on your website.
Step 3: Target Your Specific Button with a CSS Selector
After selecting the On-Click trigger, a field will appear asking for the CSS Targeting. This sounds technical, but it’s just a unique address for the button on your page. Poper needs this address to know which click to listen for.
To find it, go to your website, right-click on the button you want to use, and choose "Inspect." A developer panel will open with the button's code highlighted. Look for an id or a class. An ID looks like id="signup-button" and a class looks like class="promo-btn".
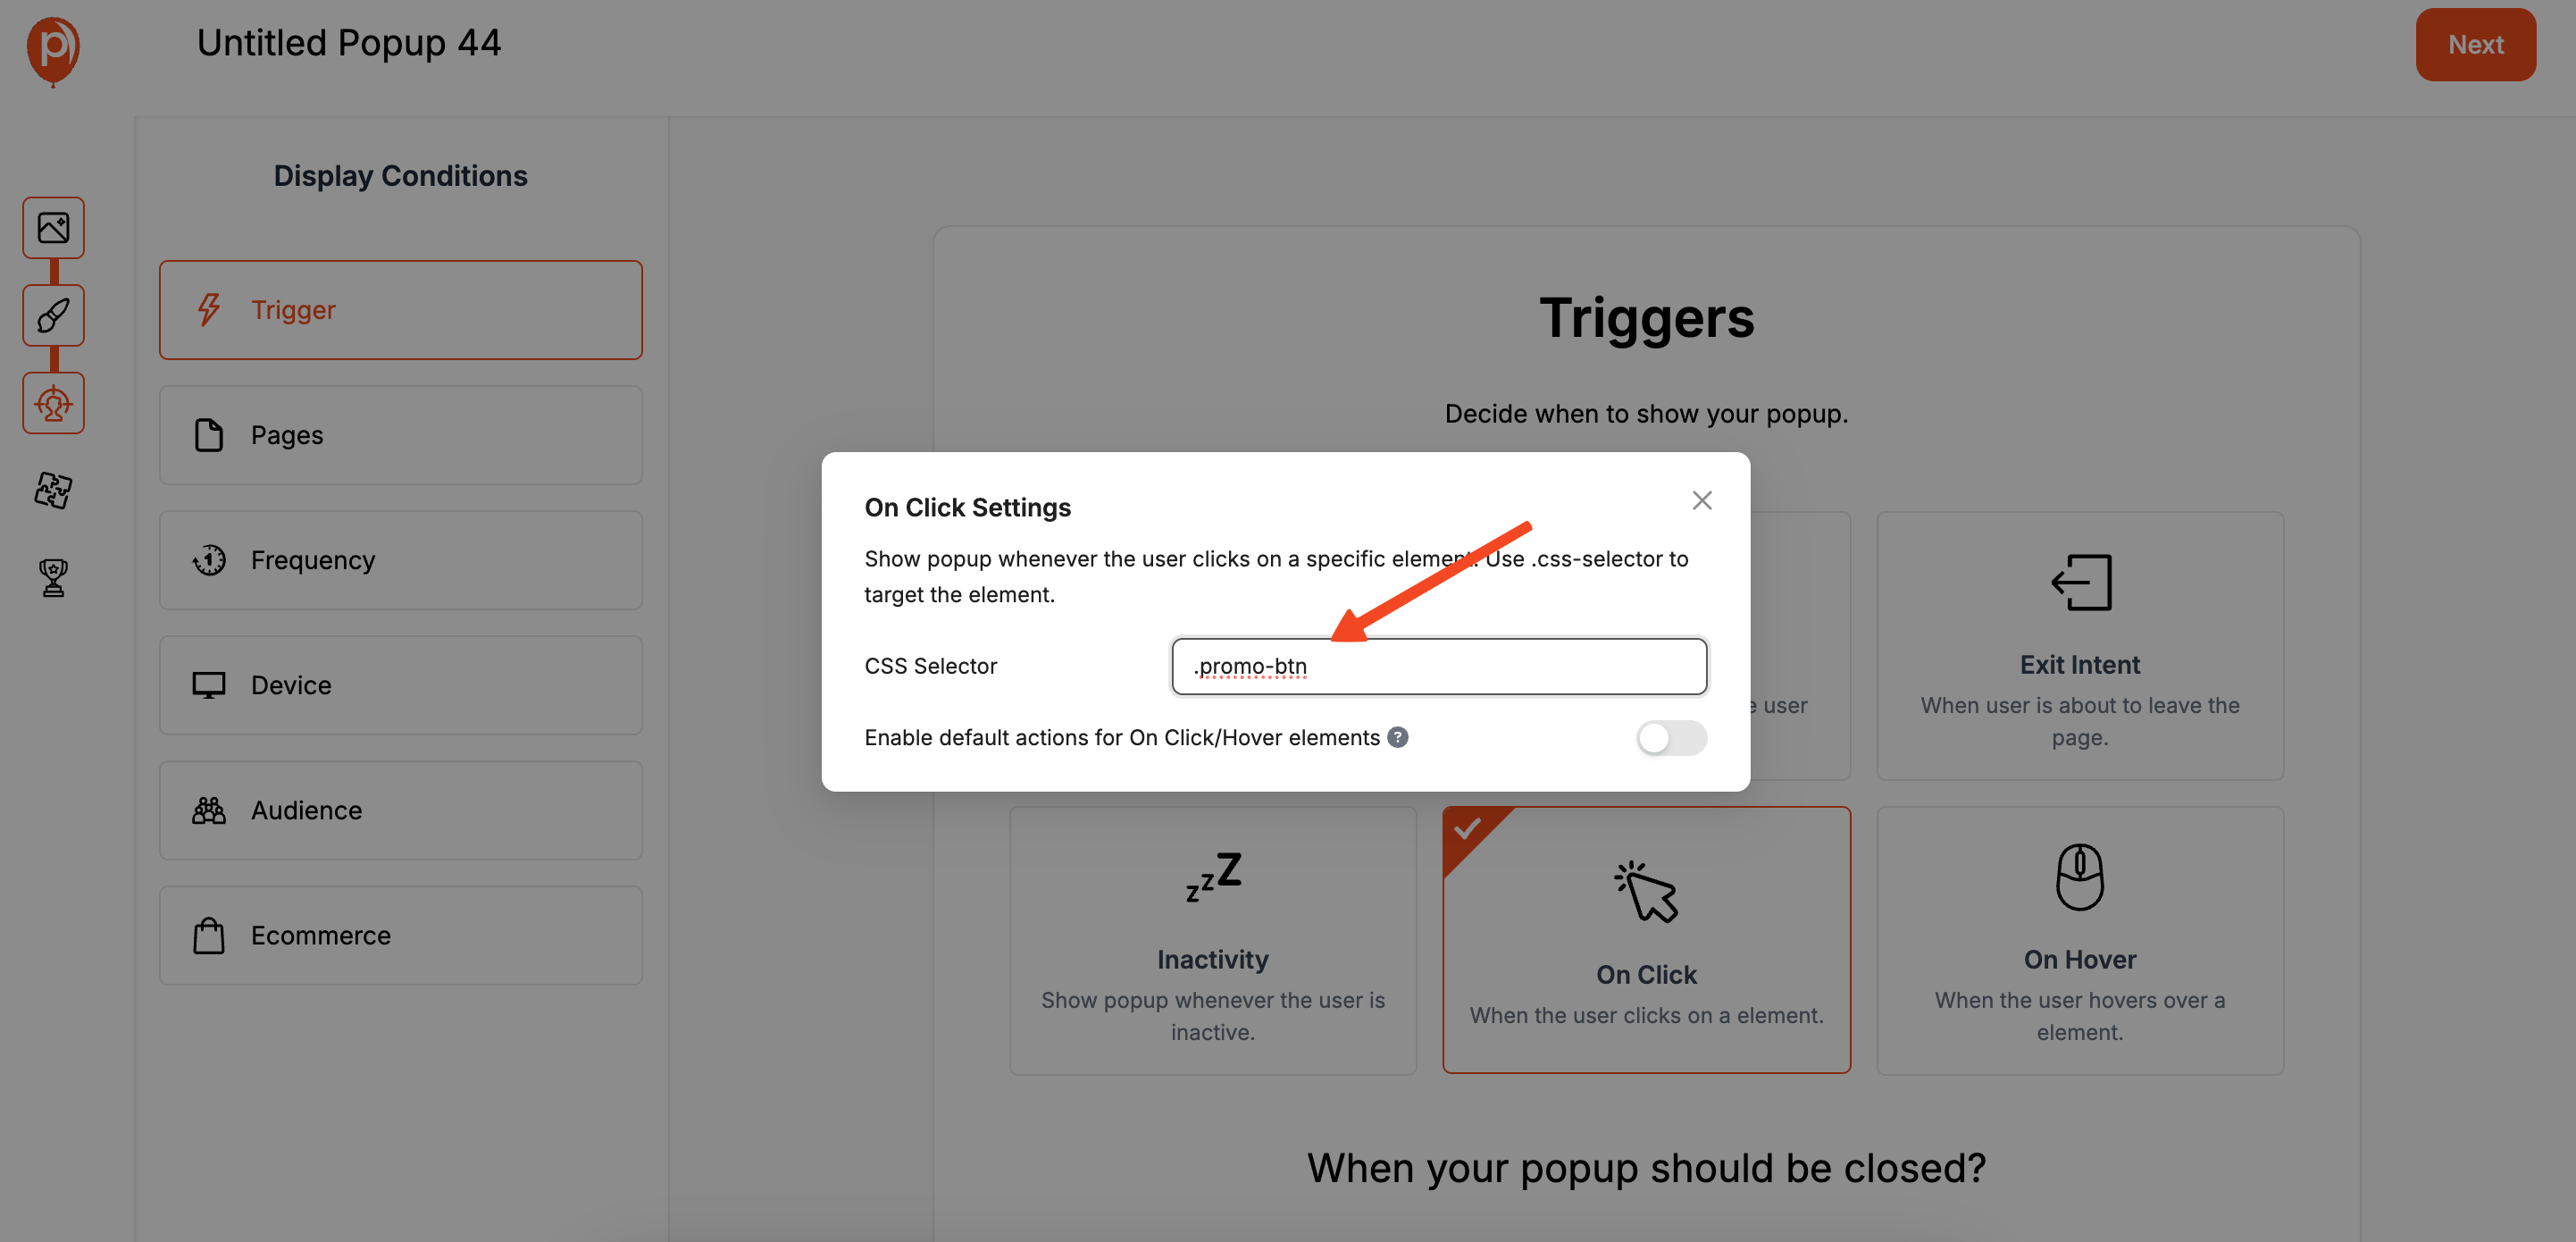
Copy that selector and paste it into the Poper field. If it's an ID, you'd paste #signup-button. If it's a class, you'd paste .promo-btn. Getting this right is the key to the whole setup.
Step 4: Refine Your Audience and Page Targeting
Even though the popup is triggered by a click, you can still add more rules. For example, you might only want this button-click popup to work on your pricing page, or maybe only for visitors from a certain country. You can also consider using location-based popups for advanced audience targeting.
This step is optional, but it’s a great way to make your campaigns even smarter. You can set these rules right here in the Display Conditions screen to ensure you’re always showing the right message to the right person.
Step 5: Connect Your Email and Marketing Tools
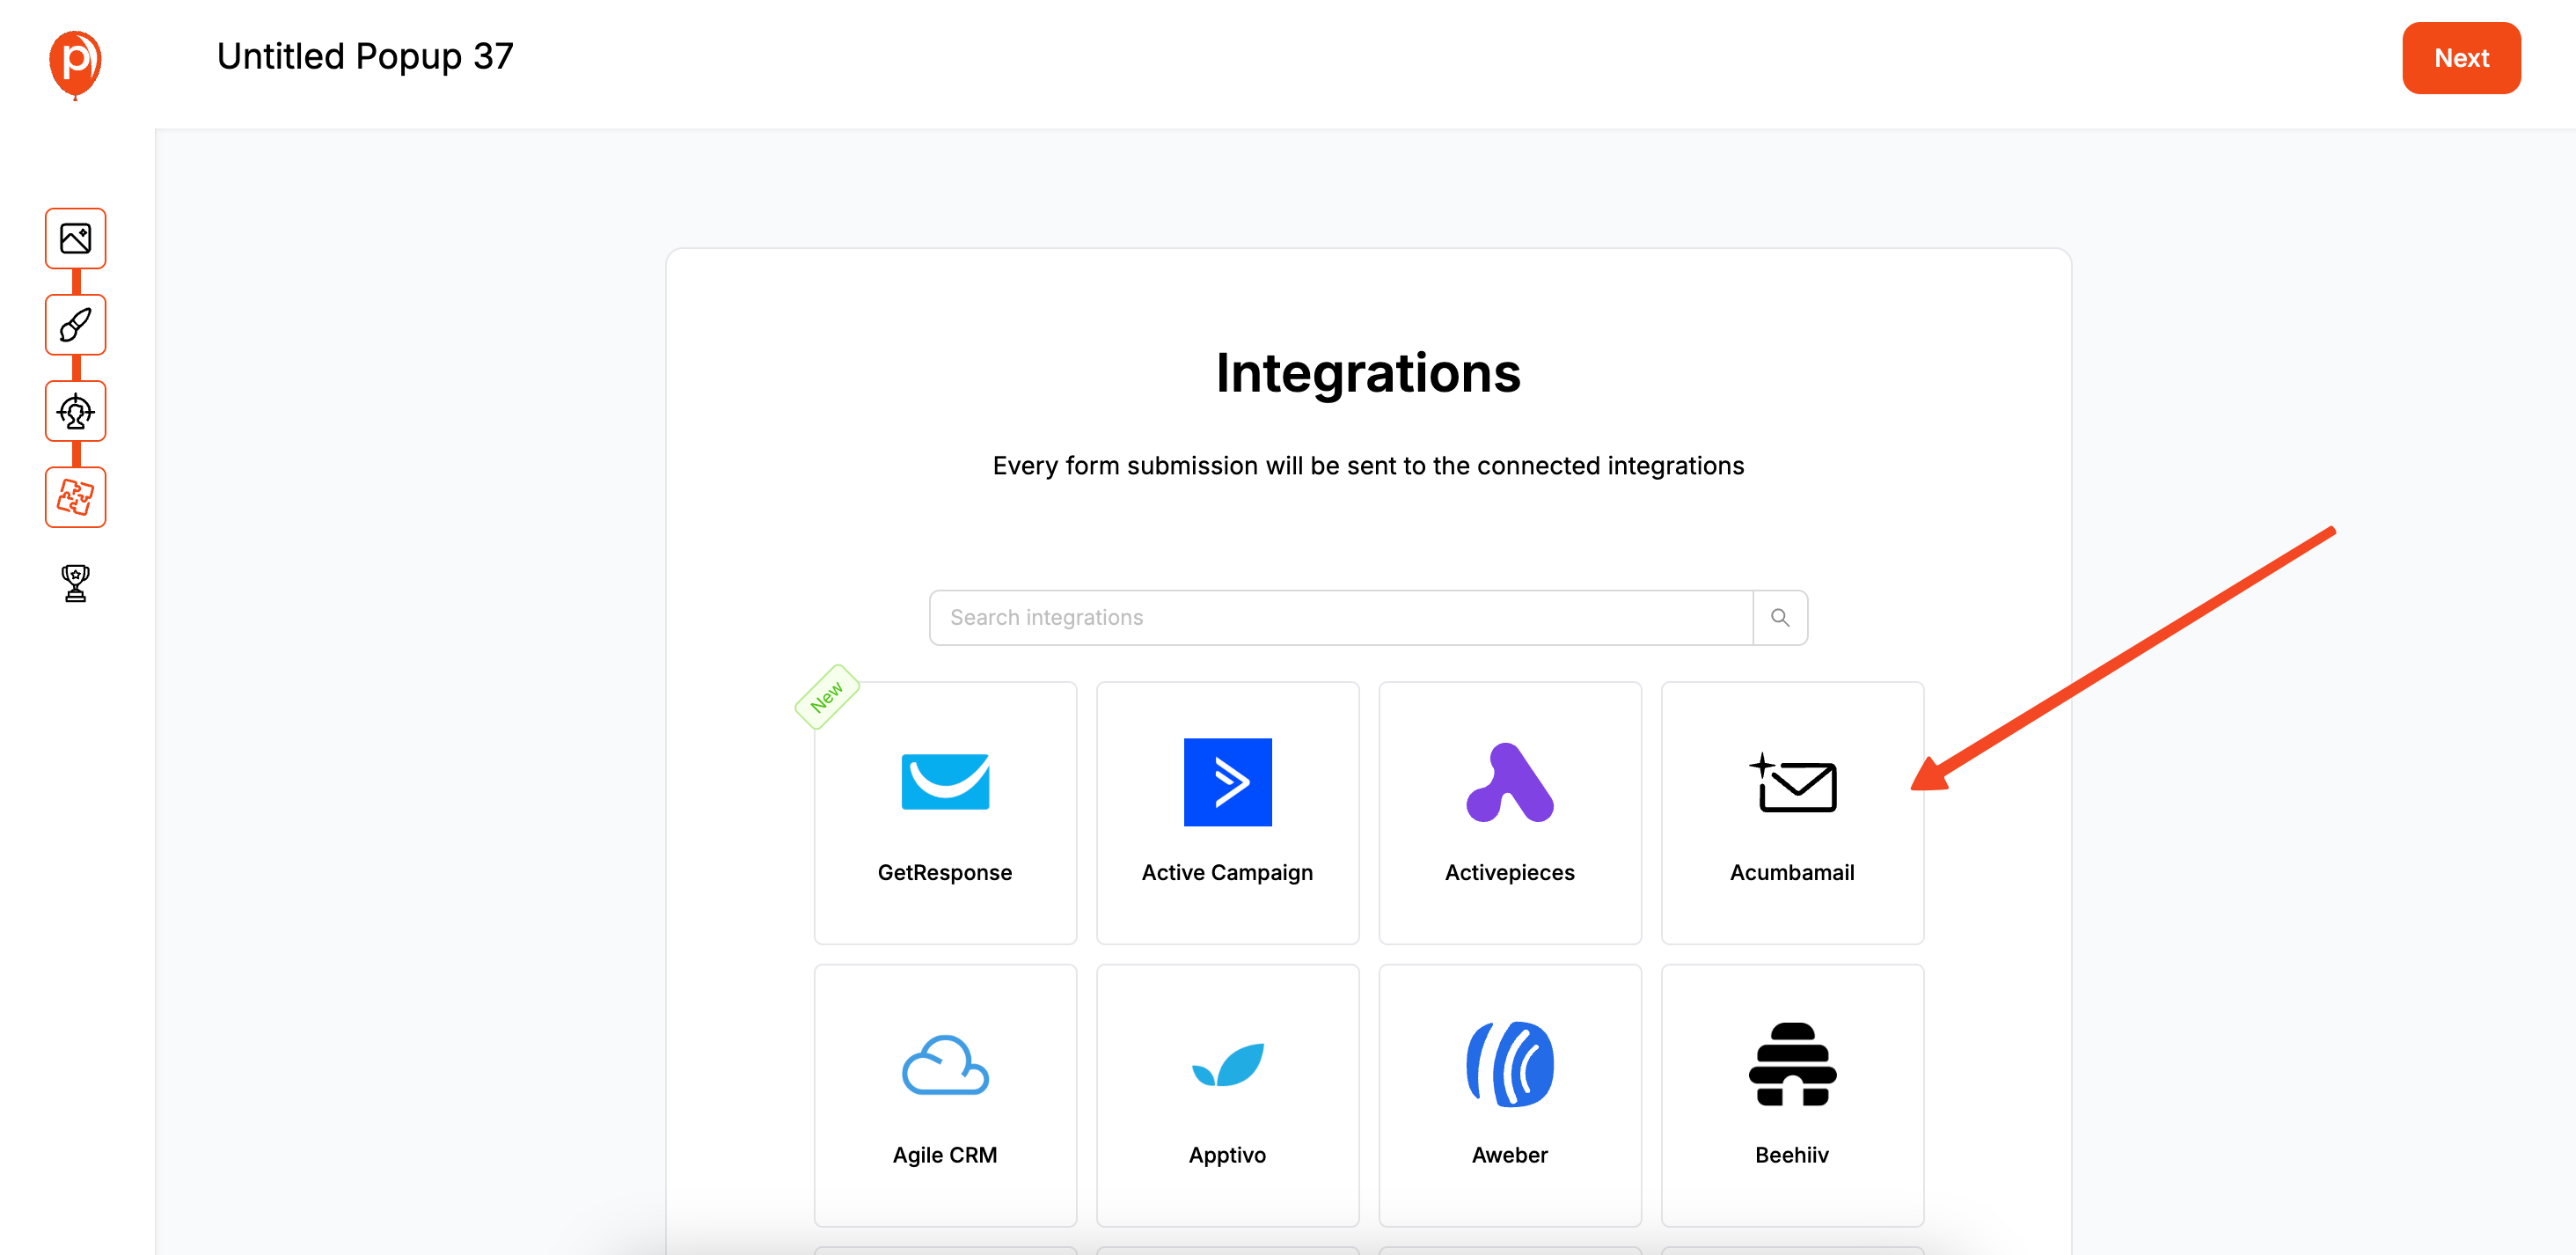
If your popup collects information, like an email address, the next step is to tell Poper where to send that data. In the Integrations tab, you can easily connect to tools like Mailchimp, Klaviyo, and many others. Not sure which tool is right? Read our Klaviyo vs Mailchimp popup comparison.
This ensures that when a user signs up through your new popup, their information automatically lands in the right place. Just follow the simple steps to connect your favorite tool.
Step 6: Publish Your Campaign and Test It Live

Now for the final step. Go back to the popup you created, click Save & Publish, and make sure the campaign is active.
Head over to your live website and navigate to the page with your target button. Click it, and your beautiful Poper popup should appear instantly. Congratulations, you’ve just created a seamless, user-initiated experience
Step 7: Add the Poper Snippet to Your Website
For Poper to work its magic, a single piece of code needs to be on your website. If you’ve already set up other Poper campaigns, you can skip this, as you only need to do it once.
If not, go to your Poper Dashboard, find the Code section, and copy your unique snippet. Paste this code into your website's HTML, right before the closing </body> tag. This placement helps your site load quickly without affecting performance.
Method 2: Manually Coding an On-Click Popup (JavaScript/jQuery)
For developers or those comfortable with code, building this functionality from scratch provides full control.
Step 1: Create the HTML for the Button and Popup
First, define the trigger button and the popup container. The popup will be hidden by default.
<!-- The Trigger Button -->
<button id="myTriggerButton">Click to Open Popup</button>

<!-- The Popup Container (Initially Hidden) -->
<div id="myPopup" class="popup-overlay" style="display:none;">
    <div class="popup-content">
        <h3>My On-Click Popup</h3>
        <p>This content appears when the button is clicked!</p>
        <button class="close-popup-btn">×</button>
    </div>
</div>
Step 2: Style the Popup with CSS
Use CSS to style the popup and its overlay.
.popup-overlay {
    position: fixed;
    top: 0; left: 0;
    width: 100%; height: 100%;
    background: rgba(0, 0, 0, 0.7);
    z-index: 1000;
    display: flex;
    justify-content: center;
    align-items: center;
}
.popup-content {
    background: #fff;
    padding: 30px;
    border-radius: 8px;
    position: relative;
    max-width: 500px;
    width: 90%;
    text-align: center;
}
.close-popup-btn {
    position: absolute;
    top: 10px; right: 15px;
    background: transparent; border: none;
    font-size: 28px; cursor: pointer;
}
Step 3: Write JavaScript/jQuery to Handle the Click Events
This script listens for a click on the button to show the popup and on the close button to hide it.
Using Plain JavaScript:
document.addEventListener('DOMContentLoaded', function() {
    const triggerButton = document.getElementById('myTriggerButton');
    const popup = document.getElementById('myPopup');
    const closeBtn = popup.querySelector('.close-popup-btn');

    triggerButton.addEventListener('click', function() {
        popup.style.display = 'flex';
    });

    closeBtn.addEventListener('click', function() {
        popup.style.display = 'none';
    });
});
Using jQuery (more concise):
Don't forget to include the jQuery library in your HTML for this version.
$(document).ready(function() {
    // Open popup on button click
    $('#myTriggerButton').on('click', function() {
        $('#myPopup').fadeIn();
    });

    // Close popup on close button click
    $('.close-popup-btn').on('click', function() {
        $('#myPopup').fadeOut();
    });
});
Best Practices for On-Click Popups
Clear Button Text (CTA): The text on your trigger button should clearly imply what will happen. For example, "Subscribe to Newsletter," "Watch the Demo," "Get My Discount."
Relevant Popup Content: The content of the popup should directly relate to the button that was clicked. Don't surprise the user.
Easy to Close: Always include a clear and obvious way to close the popup, such as an 'X' button.
Mobile-Friendly: Ensure your popup looks and works great on mobile devices.
Fast Loading: The popup should appear instantly after the click.
Conclusion
The ability to open popup on button click is a versatile and user-friendly engagement tactic.
Manual coding with JavaScript/jQuery offers developers ultimate control.
WordPress plugins provide a convenient and powerful solution for users of that platform.
Dedicated tools like Poper offer the most accessible and feature-rich experience for marketers and business owners on any website. They simplify the process of targeting specific buttons and allow you to build and manage powerful, integrated popups without touching a line of code for the popup logic itself.
By responding directly to your user's intent with an on-click popup, you can create a seamless experience that boosts conversions and enhances your website's functionality.
Frequently Asked Questions (FAQ)
What is a CSS Selector?
A CSS Selector is a pattern used to select and style HTML elements. The most common selectors are IDs (e.g., #my-id, which should be unique on a page) and classes (e.g., .my-class, which can be used on multiple elements).
Can I use an image or a text link to trigger the popup instead of a button?
Yes. Any HTML element that has a unique ID or class can be used as the trigger. You would just find the CSS selector for that image or link and use it in your chosen tool (like Poper) or your custom JavaScript.
How do I make my on-click popup modal?
A modal popup is one that disables interaction with the rest of the page. In the manual coding method, this is achieved by the full-screen, semi-transparent overlay div that sits behind the popup content. Most popup plugins and tools like Poper create modal popups by default.
Can I have multiple buttons on one page open different popups?
Yes. You would create a separate popup (and a separate trigger rule) for each button. For example, #button-A would trigger Popup A, and #button-B would trigger Popup B.
Will an on-click popup slow down my website?
The popup content itself is typically not loaded until it's triggered, so the initial page load impact is minimal. The main impact comes from the JavaScript library used (jQuery, a plugin's script, or Poper's script). Well-optimized scripts from reputable tools have a very small performance footprint.

