
I know how tricky it can be to get a simple popup working on some website builders. You want to greet visitors with an offer or a welcome message the moment they arrive, but finding the right settings can be a real headache.
If you're interested in more ways to engage new visitors, you might also like our guide on using popups for first-time visitors, which covers effective strategies for making a strong first impression.
I designed Poper to solve this exact problem. Forget about digging through complex code or struggling with limited platform tools. Let’s walk through the easy way to set up a popup that appears as soon as your page loads.
Setting Up Your First 'On Page Load' Popup
We'll have your campaign live in just a few simple steps. The whole process is designed to be quick and intuitive, so you can get back to running your business.
Step 1: Get Started with Poper
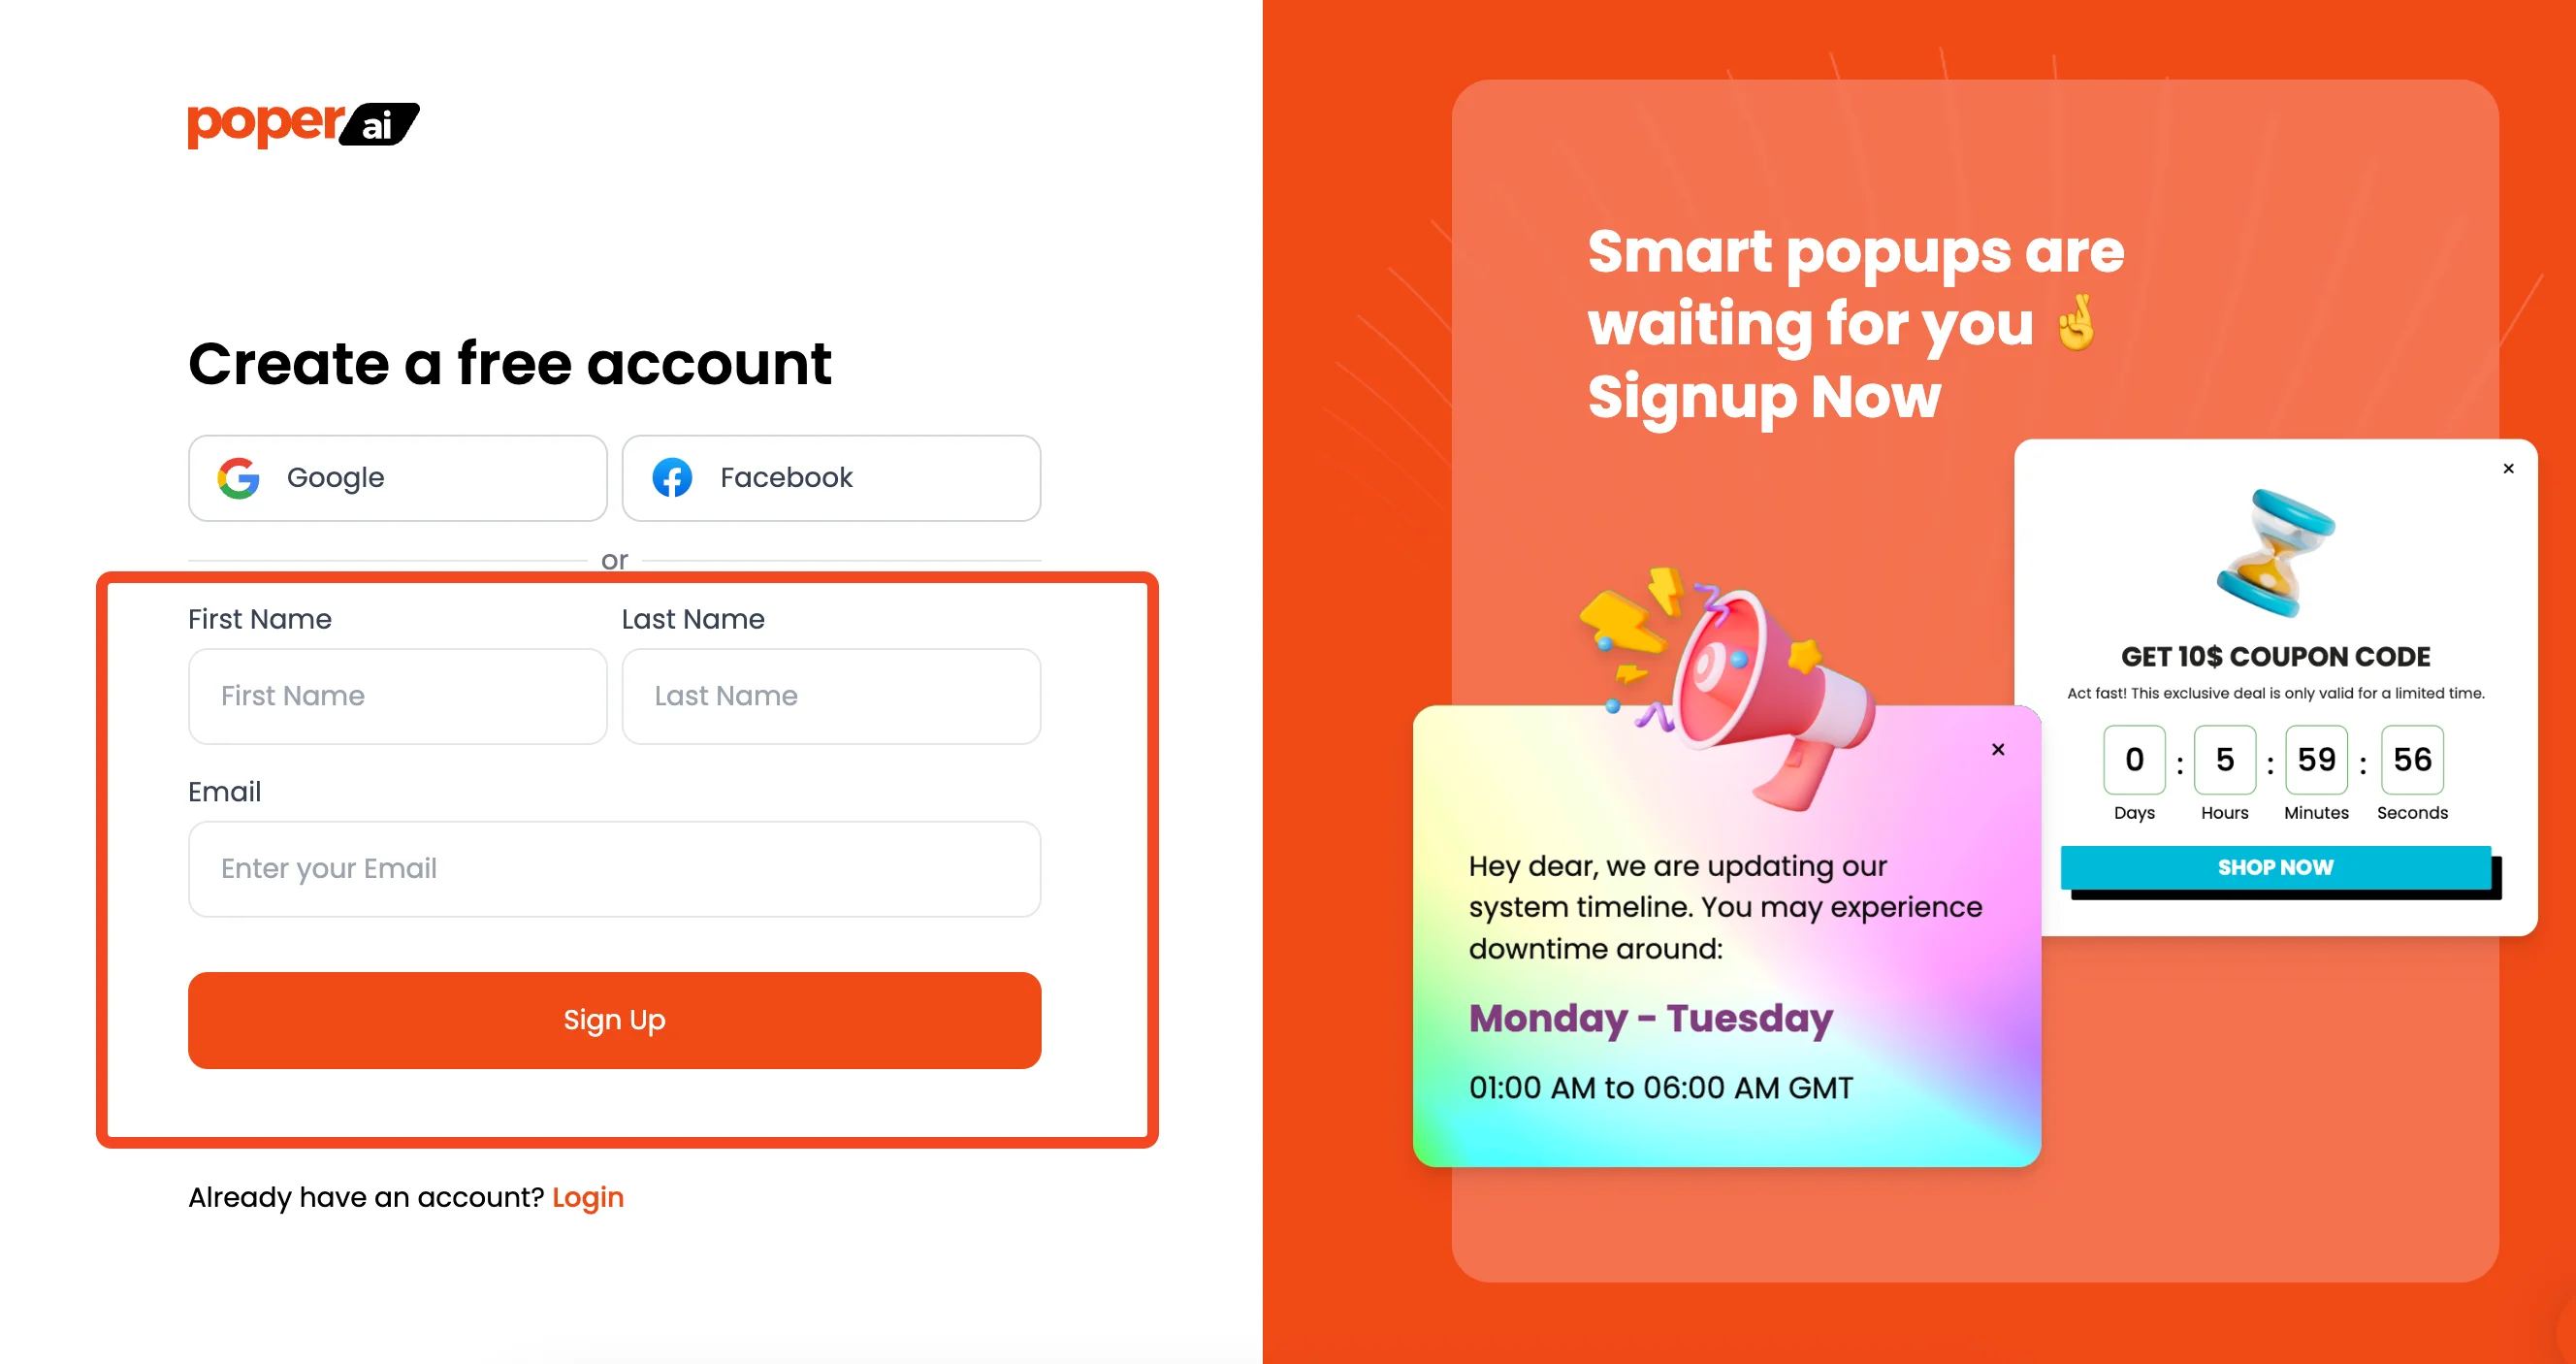
First things first, you'll need a Poper account. Once you sign up, the first thing we'll ask you to do is add your website's domain. This is a crucial step because it’s how Poper knows which site to show your popups on.
Step 2: Choose a Template That Fits Your Goal
After adding your site, click the "Create New Popup" button. I always recommend starting with a template.
Browse our popup template library for a wide variety of designs that can help you quickly launch campaigns tailored to your goals.
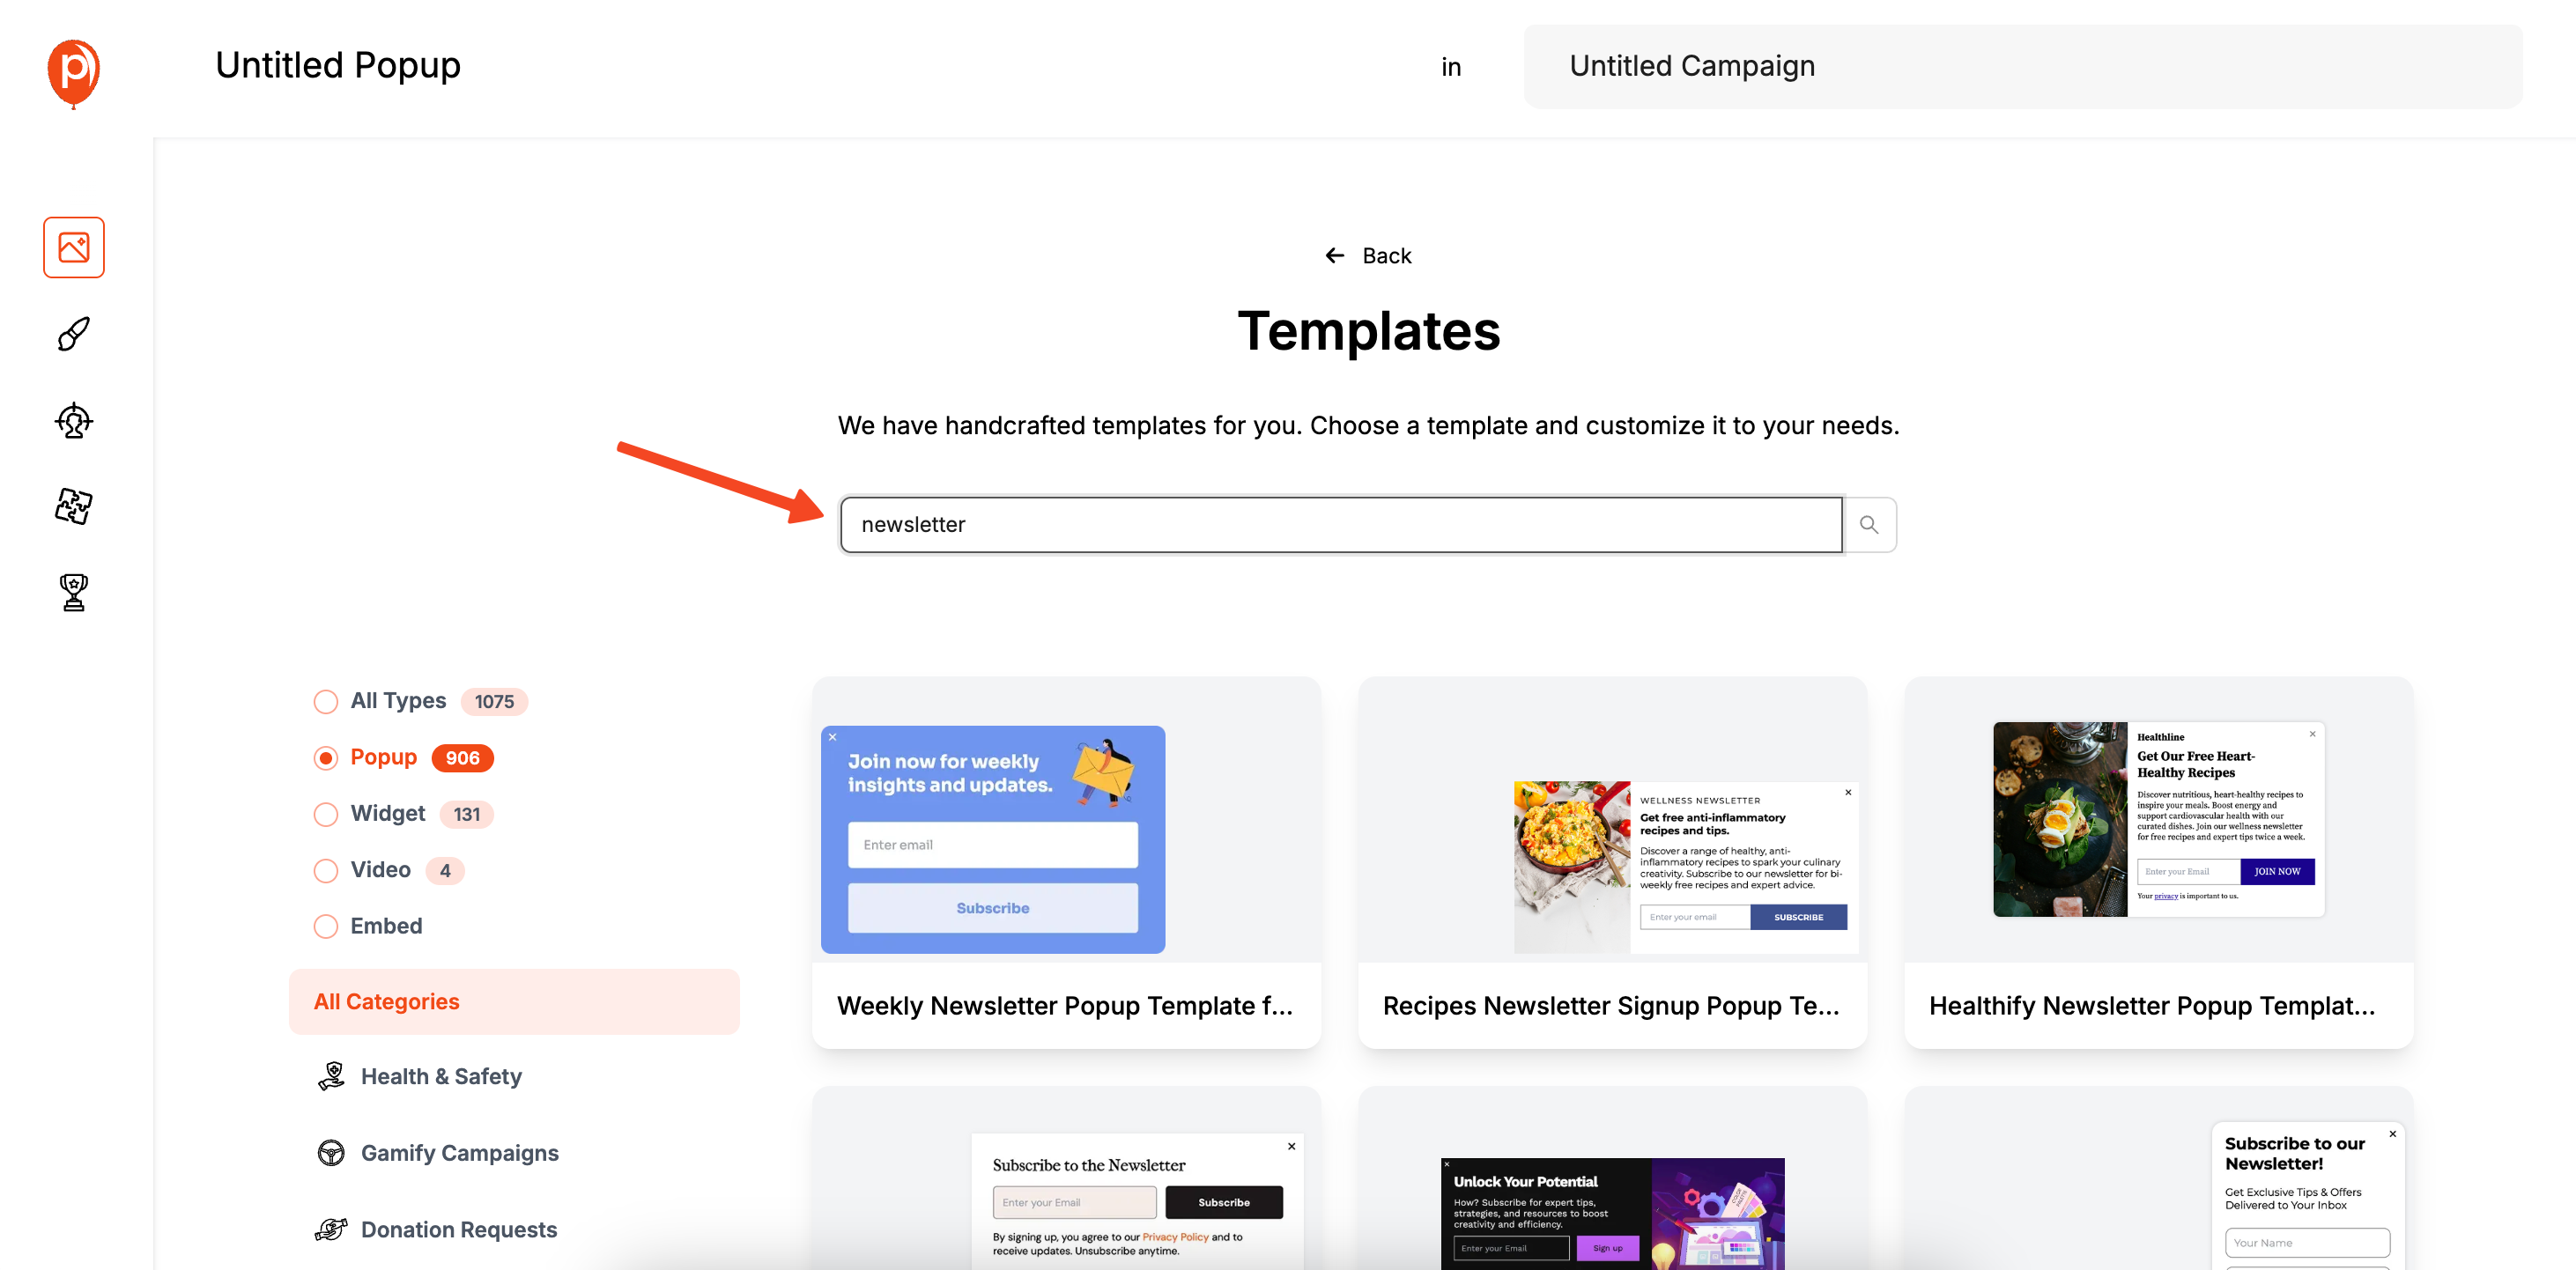
They’re designed for specific goals, like collecting emails or announcing a sale. For this example, search for "newsletter" and pick a design that matches your brand’s style. If you're building a newsletter popup for Shopify, check out this dedicated guide on adding newsletter popups in Shopify for step-by-step help.
Step 3: Design Your Popup to Match Your Brand
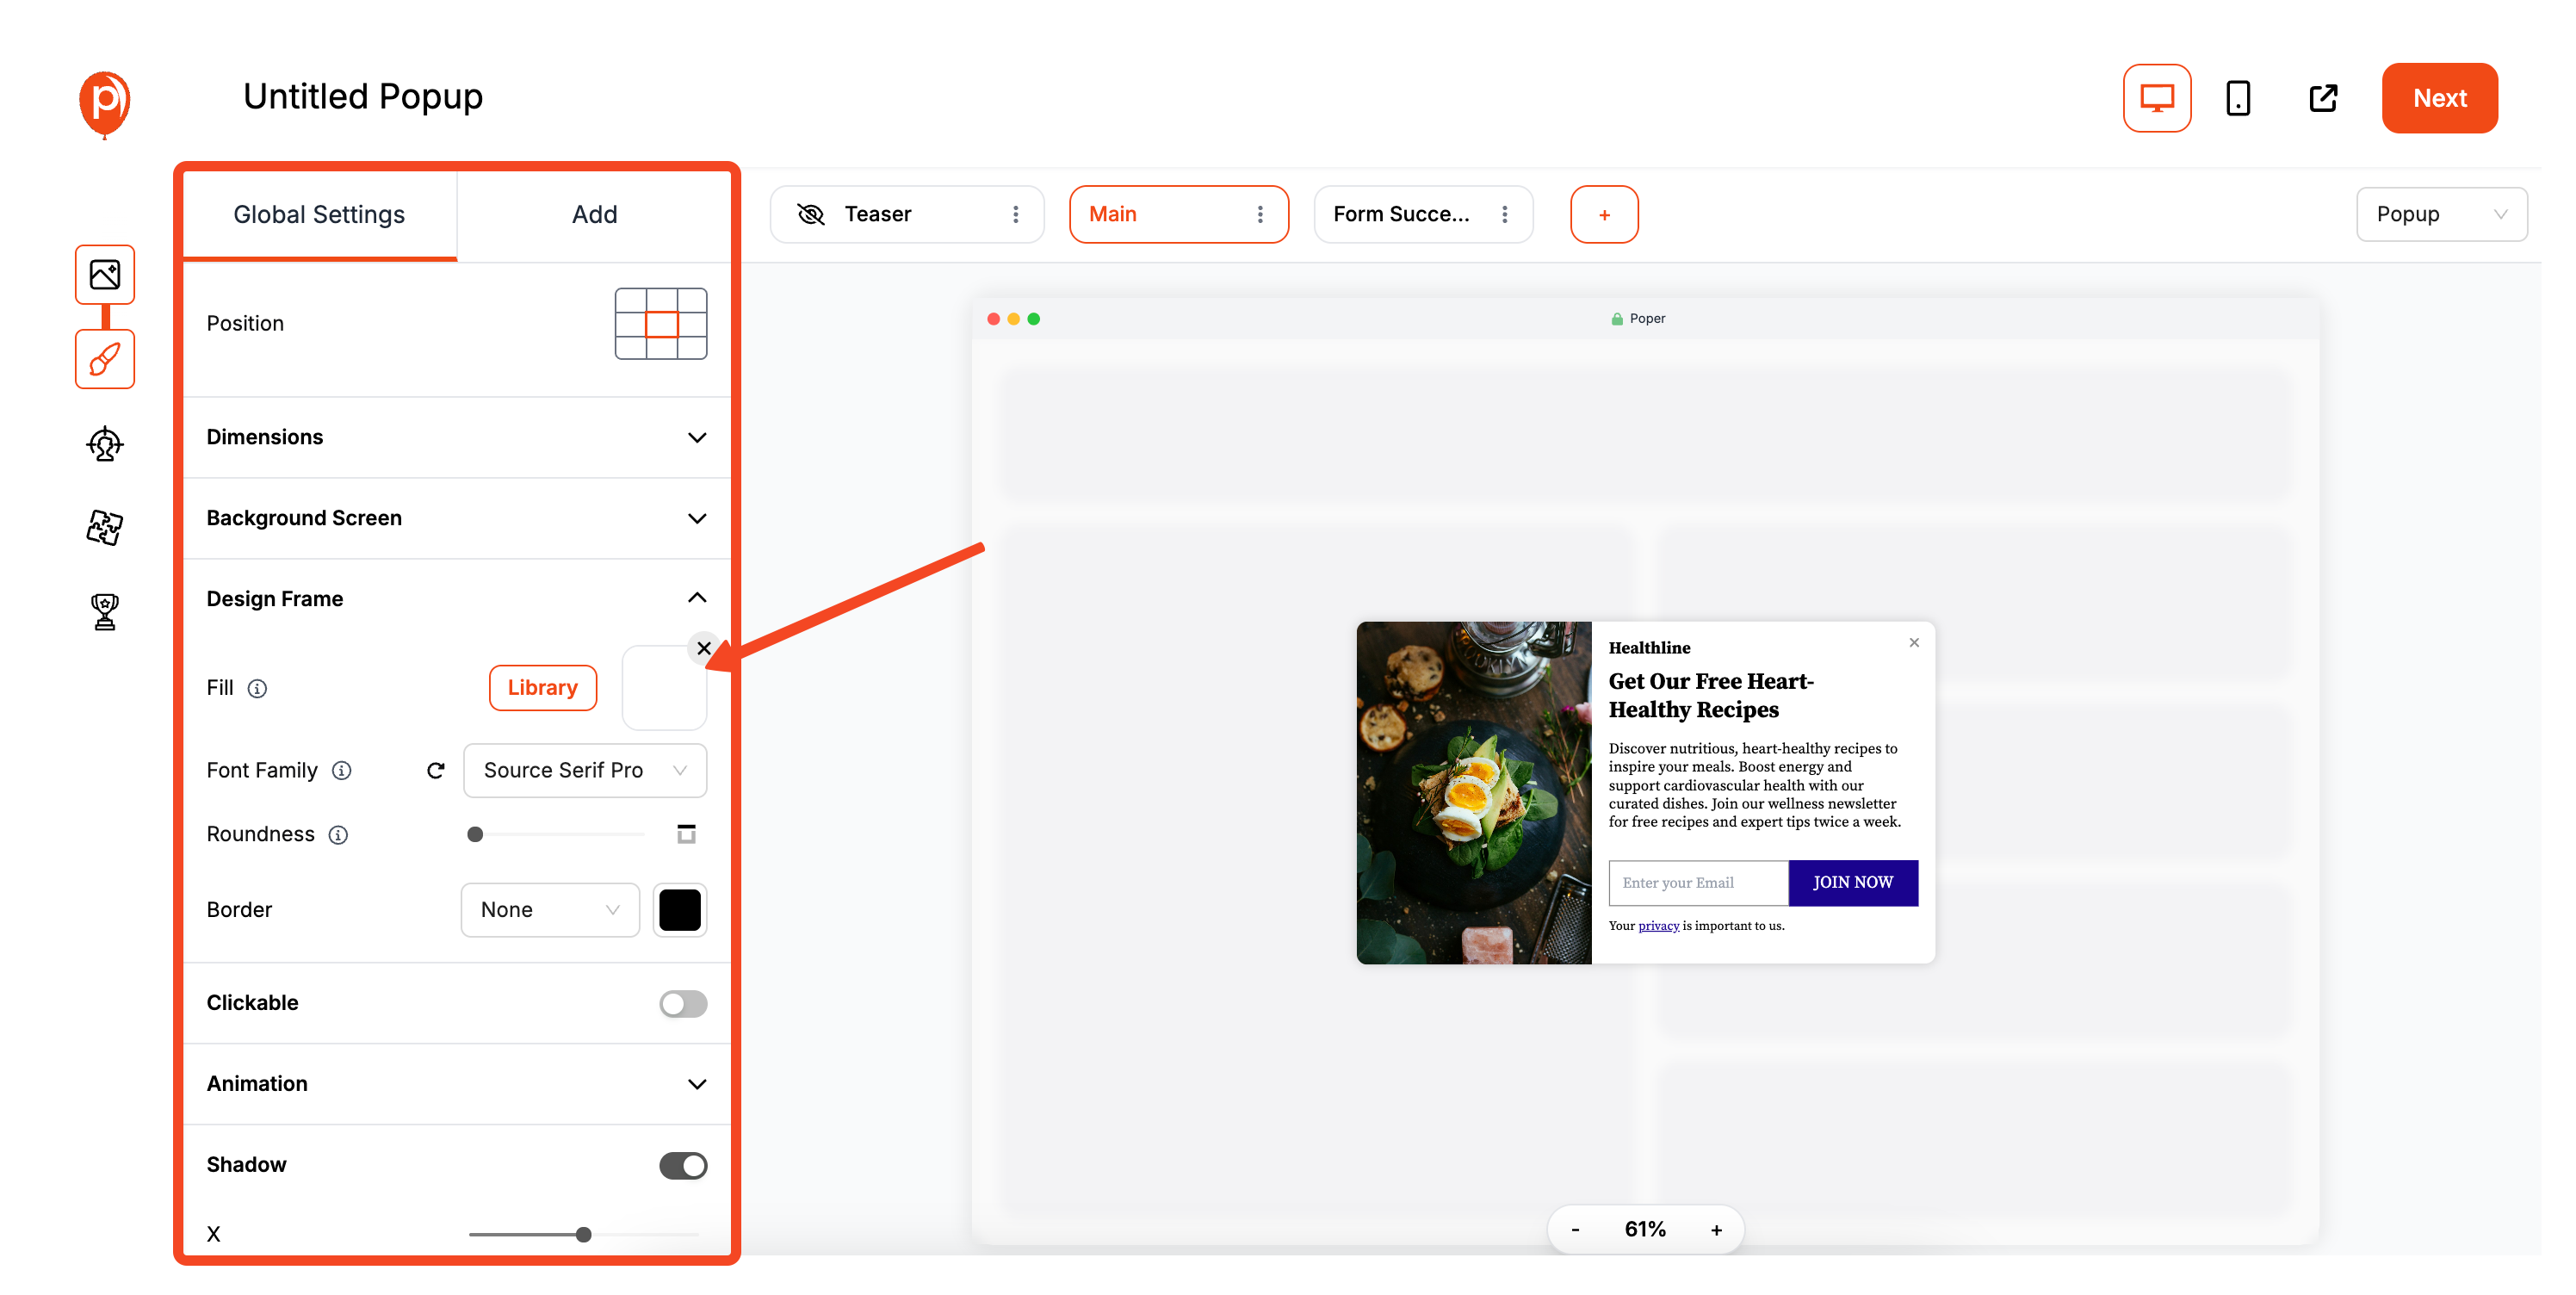
This opens our editor, where you can make the template your own. Use the 'Settings' to change the colors, fonts, and text. A great tip is to keep it simple—a clear headline, a short description, and one call-to-action button is usually all you need.
Step 4: Set the 'After Page Load' Trigger

Once you're happy with the design, click "Next" to go to the "Display Conditions" screen. This is where the magic happens. Under the Triggers section, select "After Page Load." You’ll see two options: "Immediately" or "After X seconds."
If you’d like to experiment with different display timings or triggers, see our timing strategies for effective popups for optimization tips.
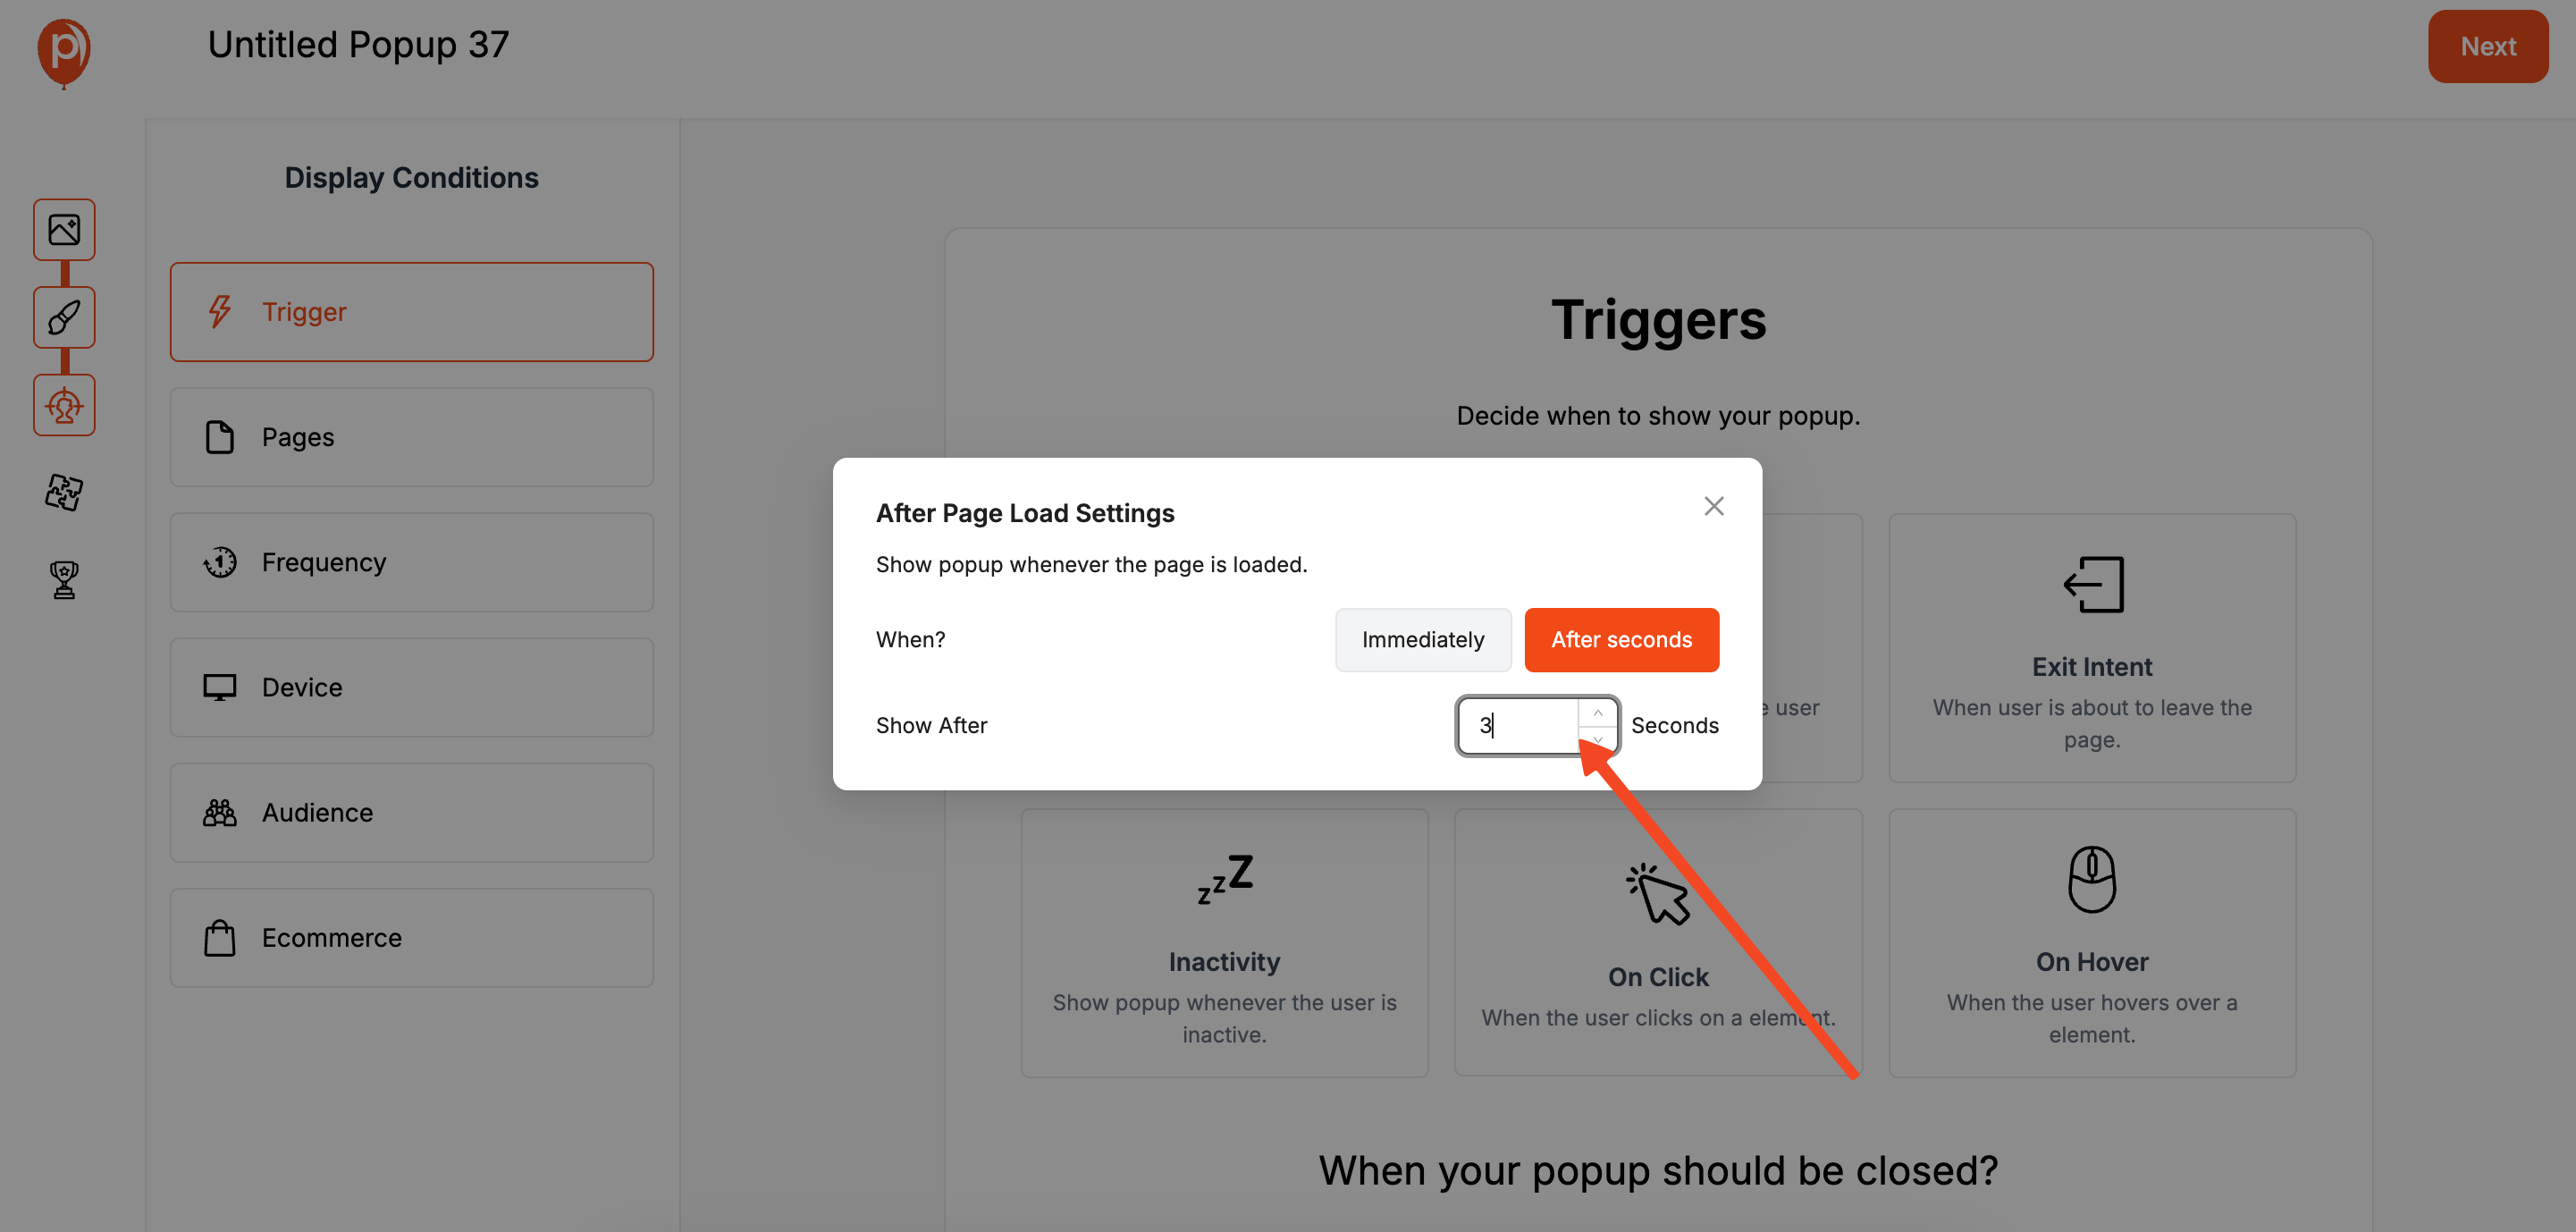
Showing it immediately is great for critical announcements. However, I often suggest a 3-second delay. It gives visitors a moment to orient themselves before your message appears, which feels less intrusive.
Step 5: Define Who Sees Your Popup
Here, you can also decide exactly where and to whom the popup appears. You can show it on all pages or just specific ones, like your homepage.
For advanced targeting ideas, check out our article on segmenting audiences for popup campaigns.
You can even target based on device or whether someone is a new or returning visitor. This ensures the right people see the right message.
Step 6: Connect Your Favorite Tools (Optional)
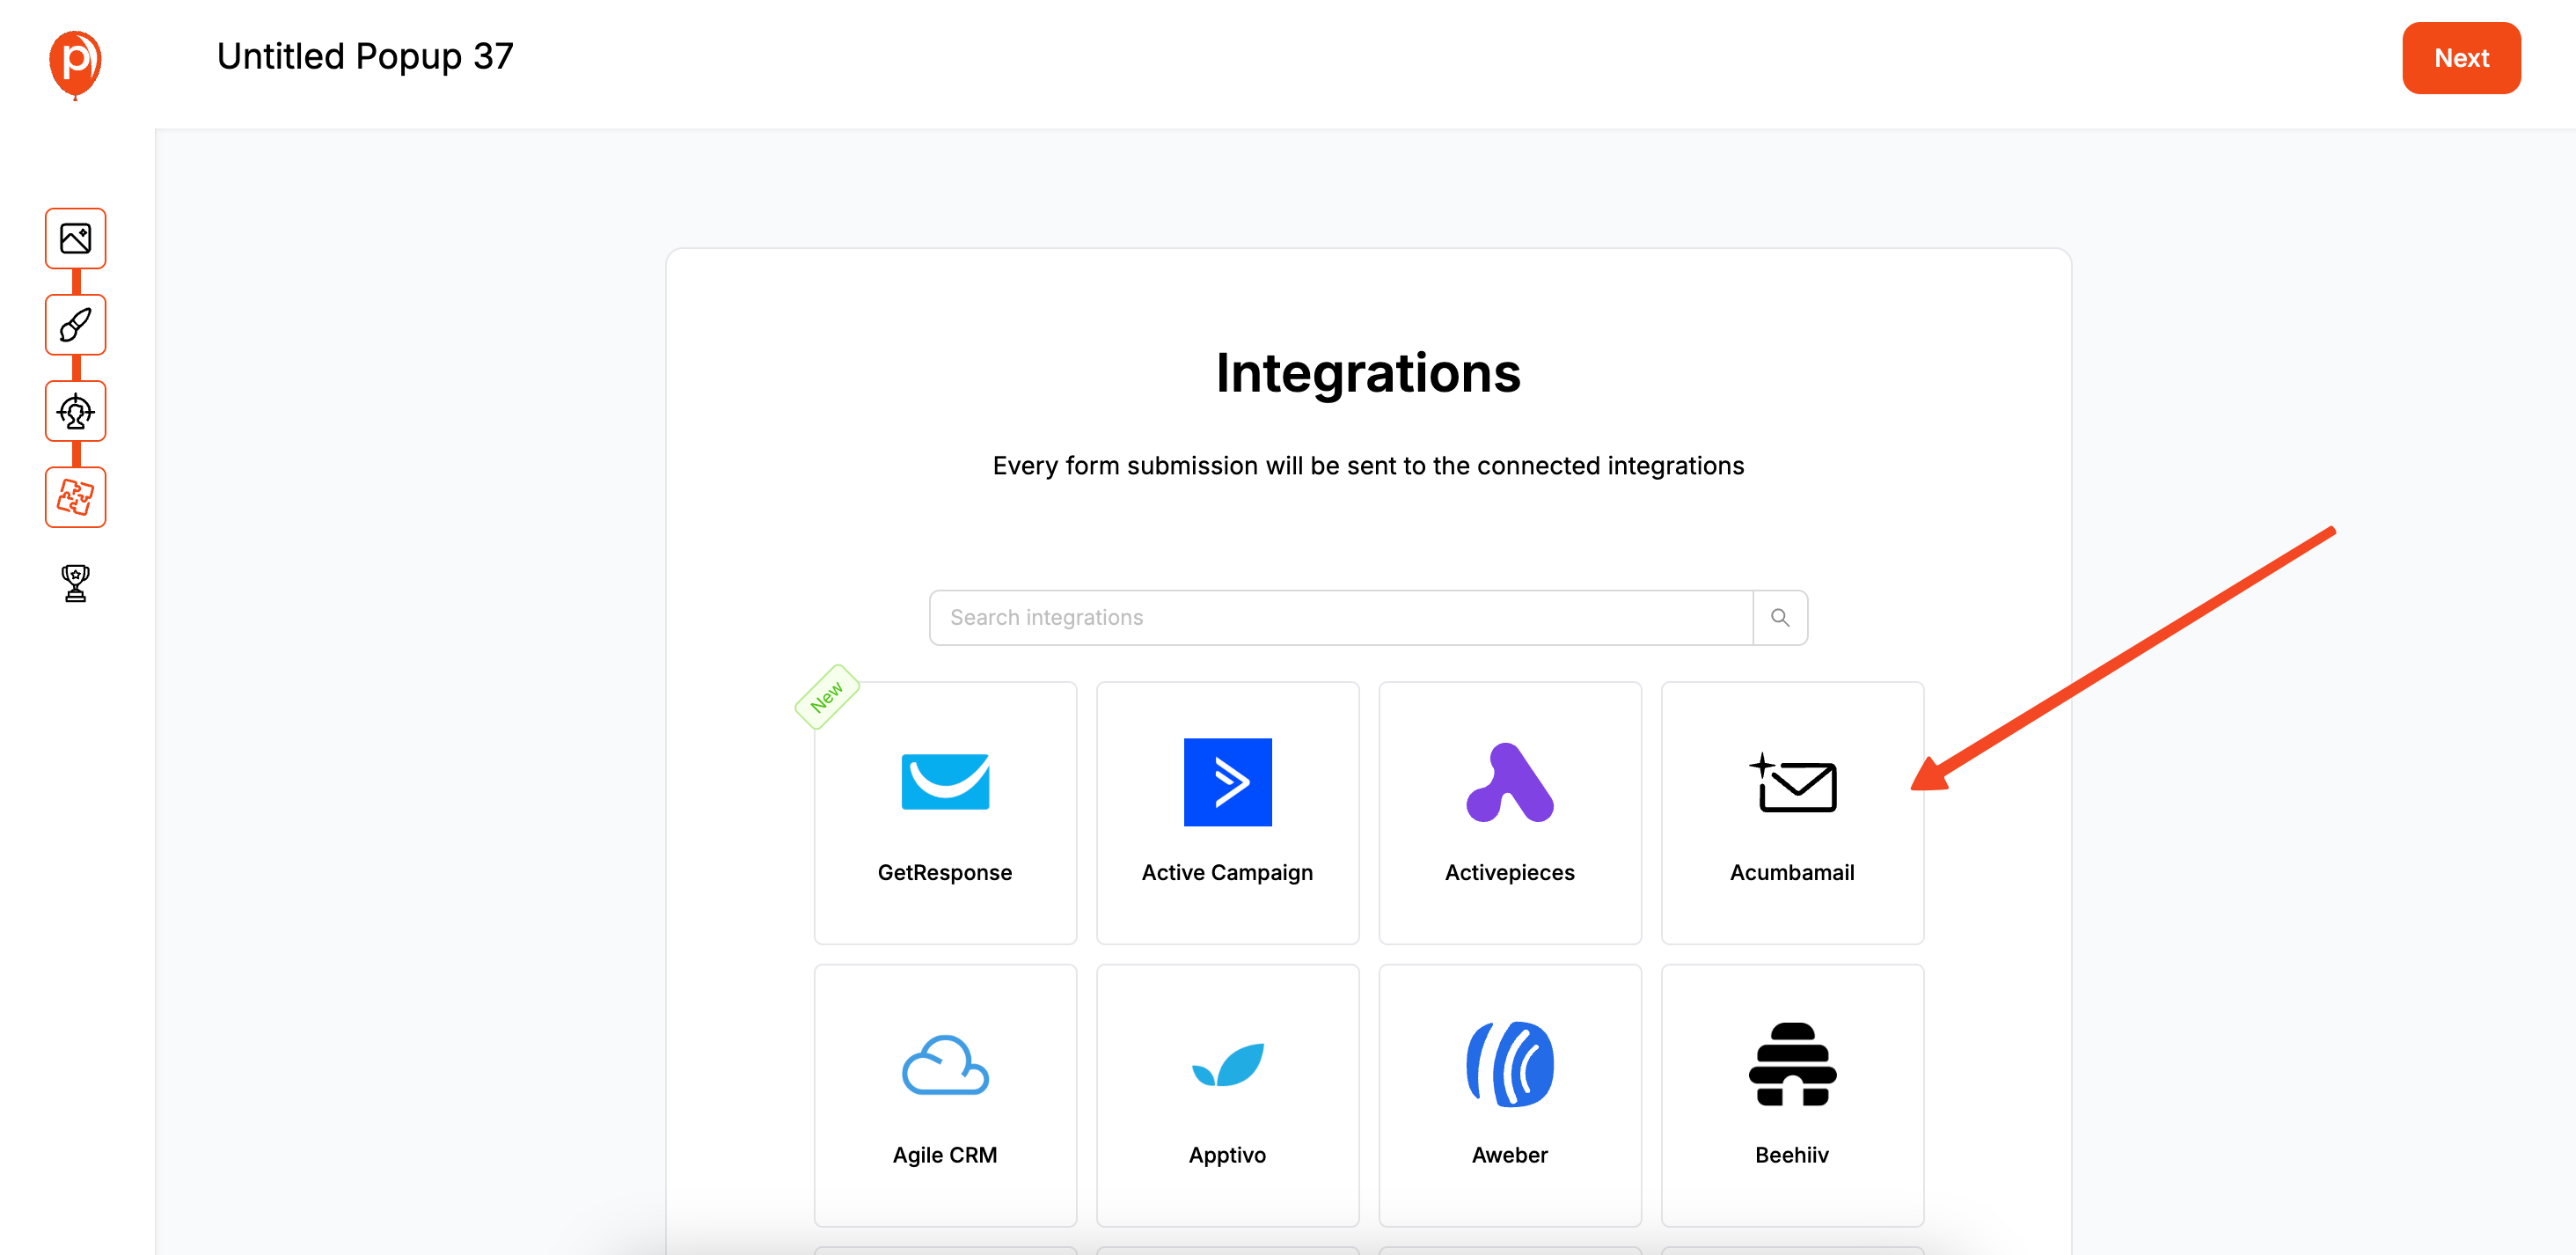
On the next screen, you can connect your popup to email marketing tools like Mailchimp or Klaviyo. If you're running a newsletter signup, this will automatically send new leads to your email list, saving you a ton of manual work. For more details on integrating Poper with Klaviyo, read our step-by-step guide to connecting Klaviyo with Poper.
Step 7: Publish Your Campaign
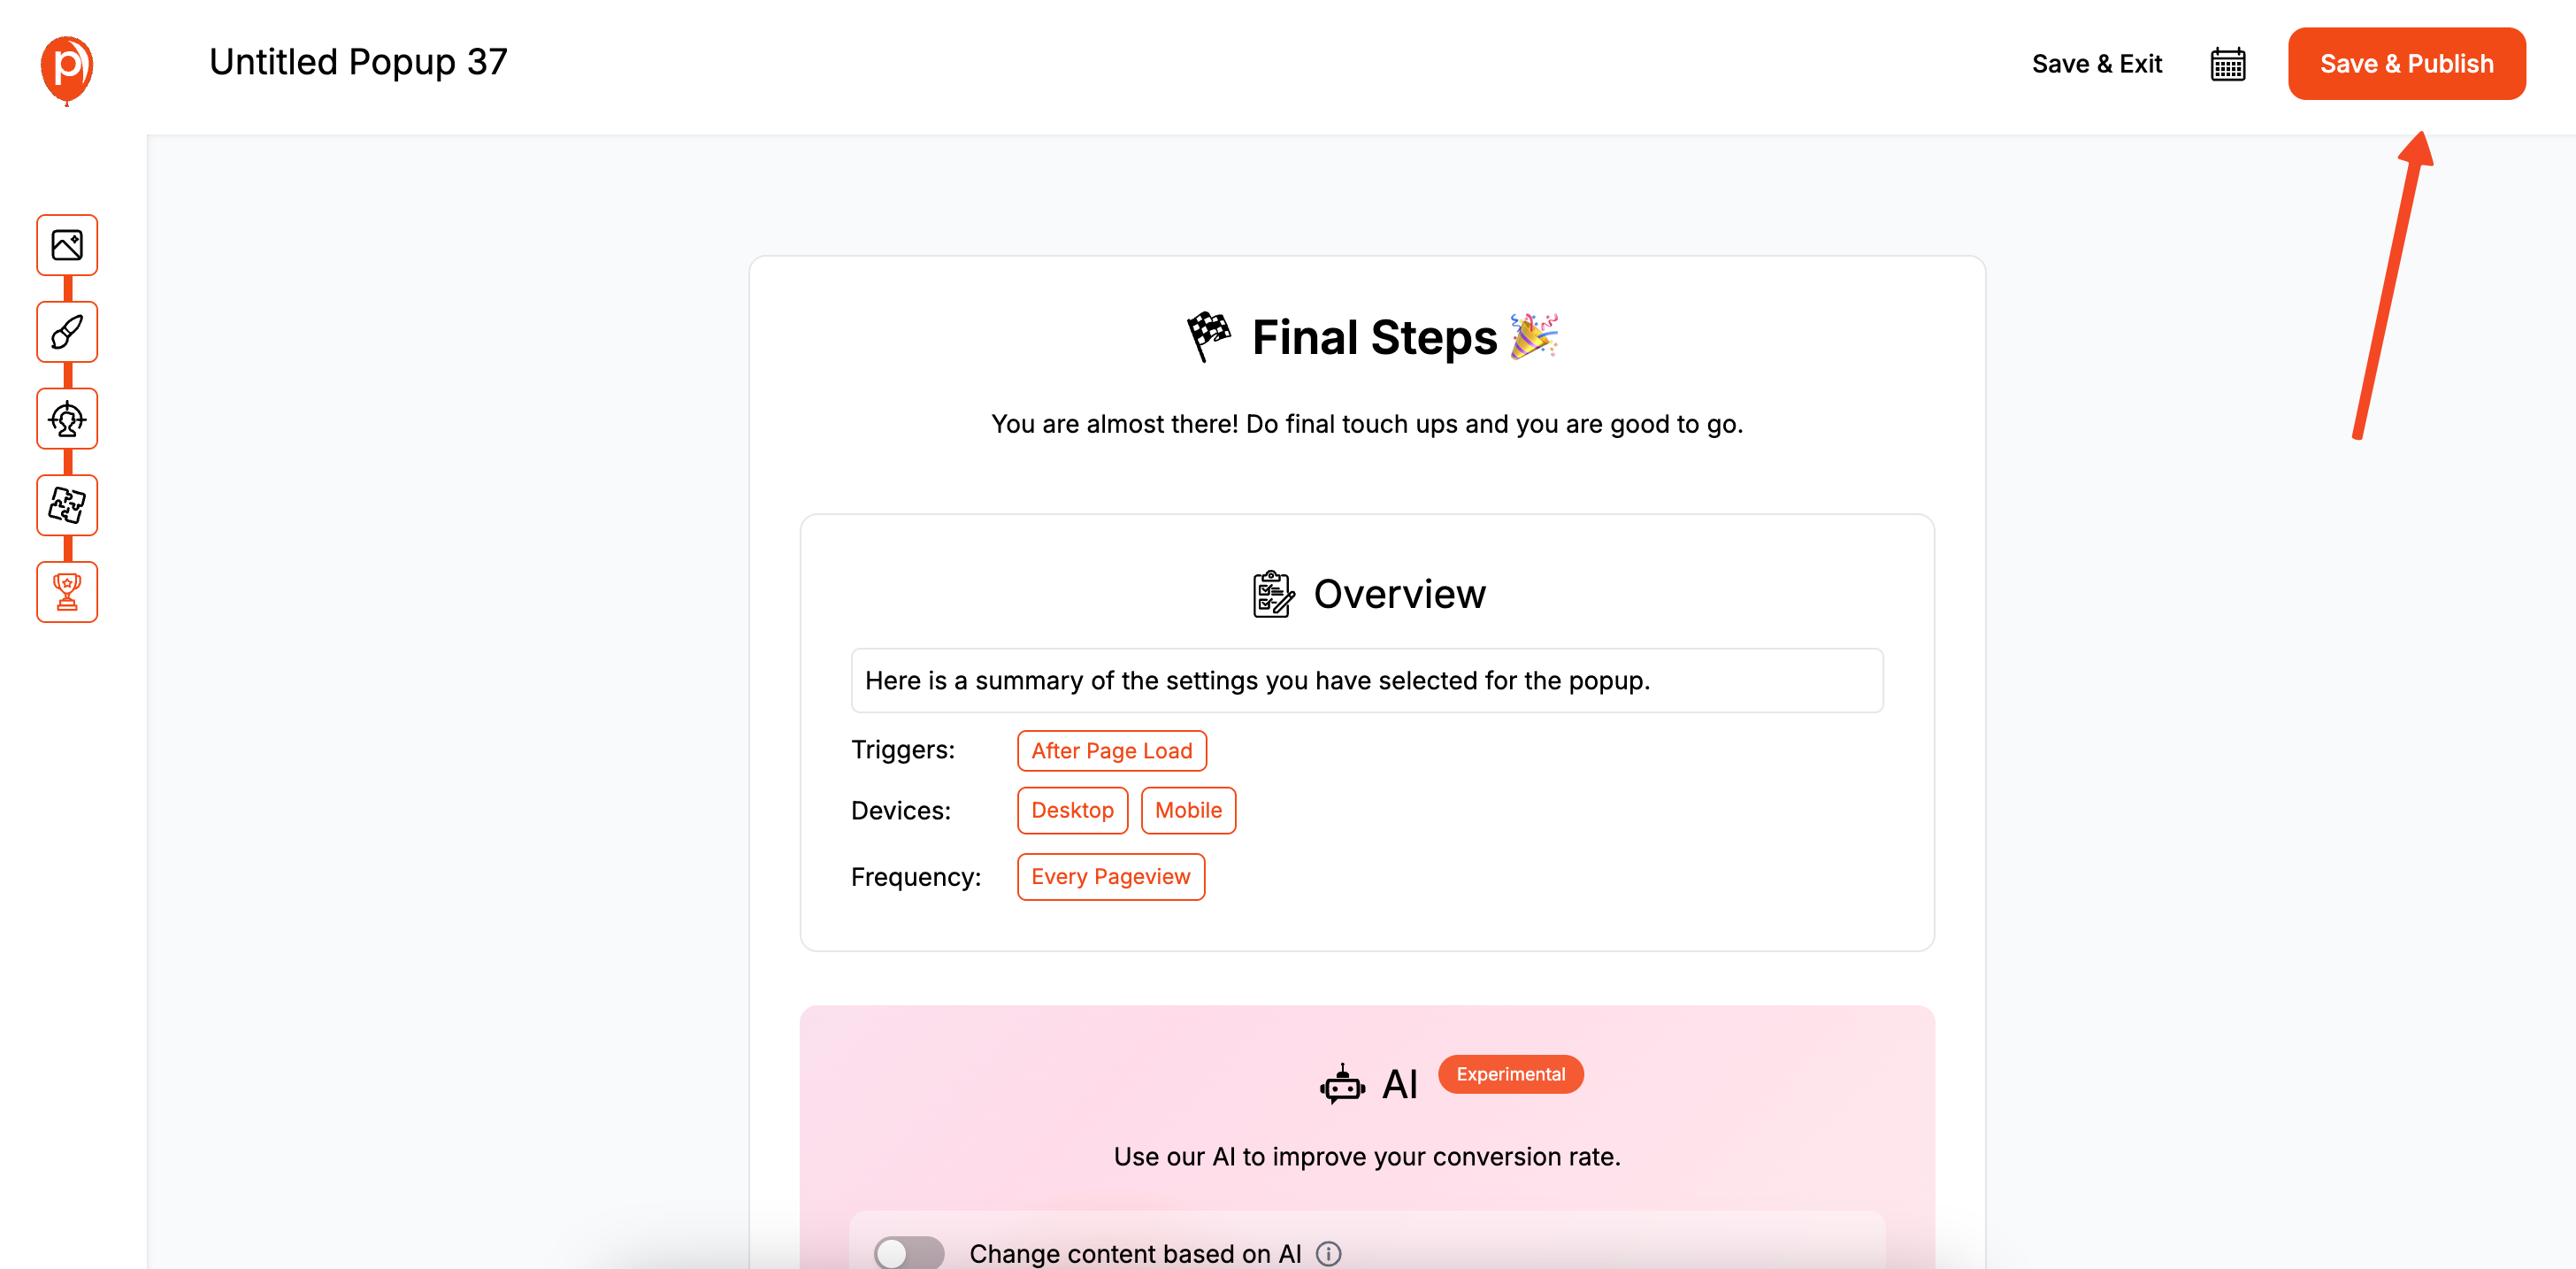
When everything looks good, hit "Save & Publish." Don't worry, this doesn't make the popup live on your site just yet. It simply activates the campaign within your Poper dashboard, ready for the final step.
Step 8: Add the Poper Code to Your Website
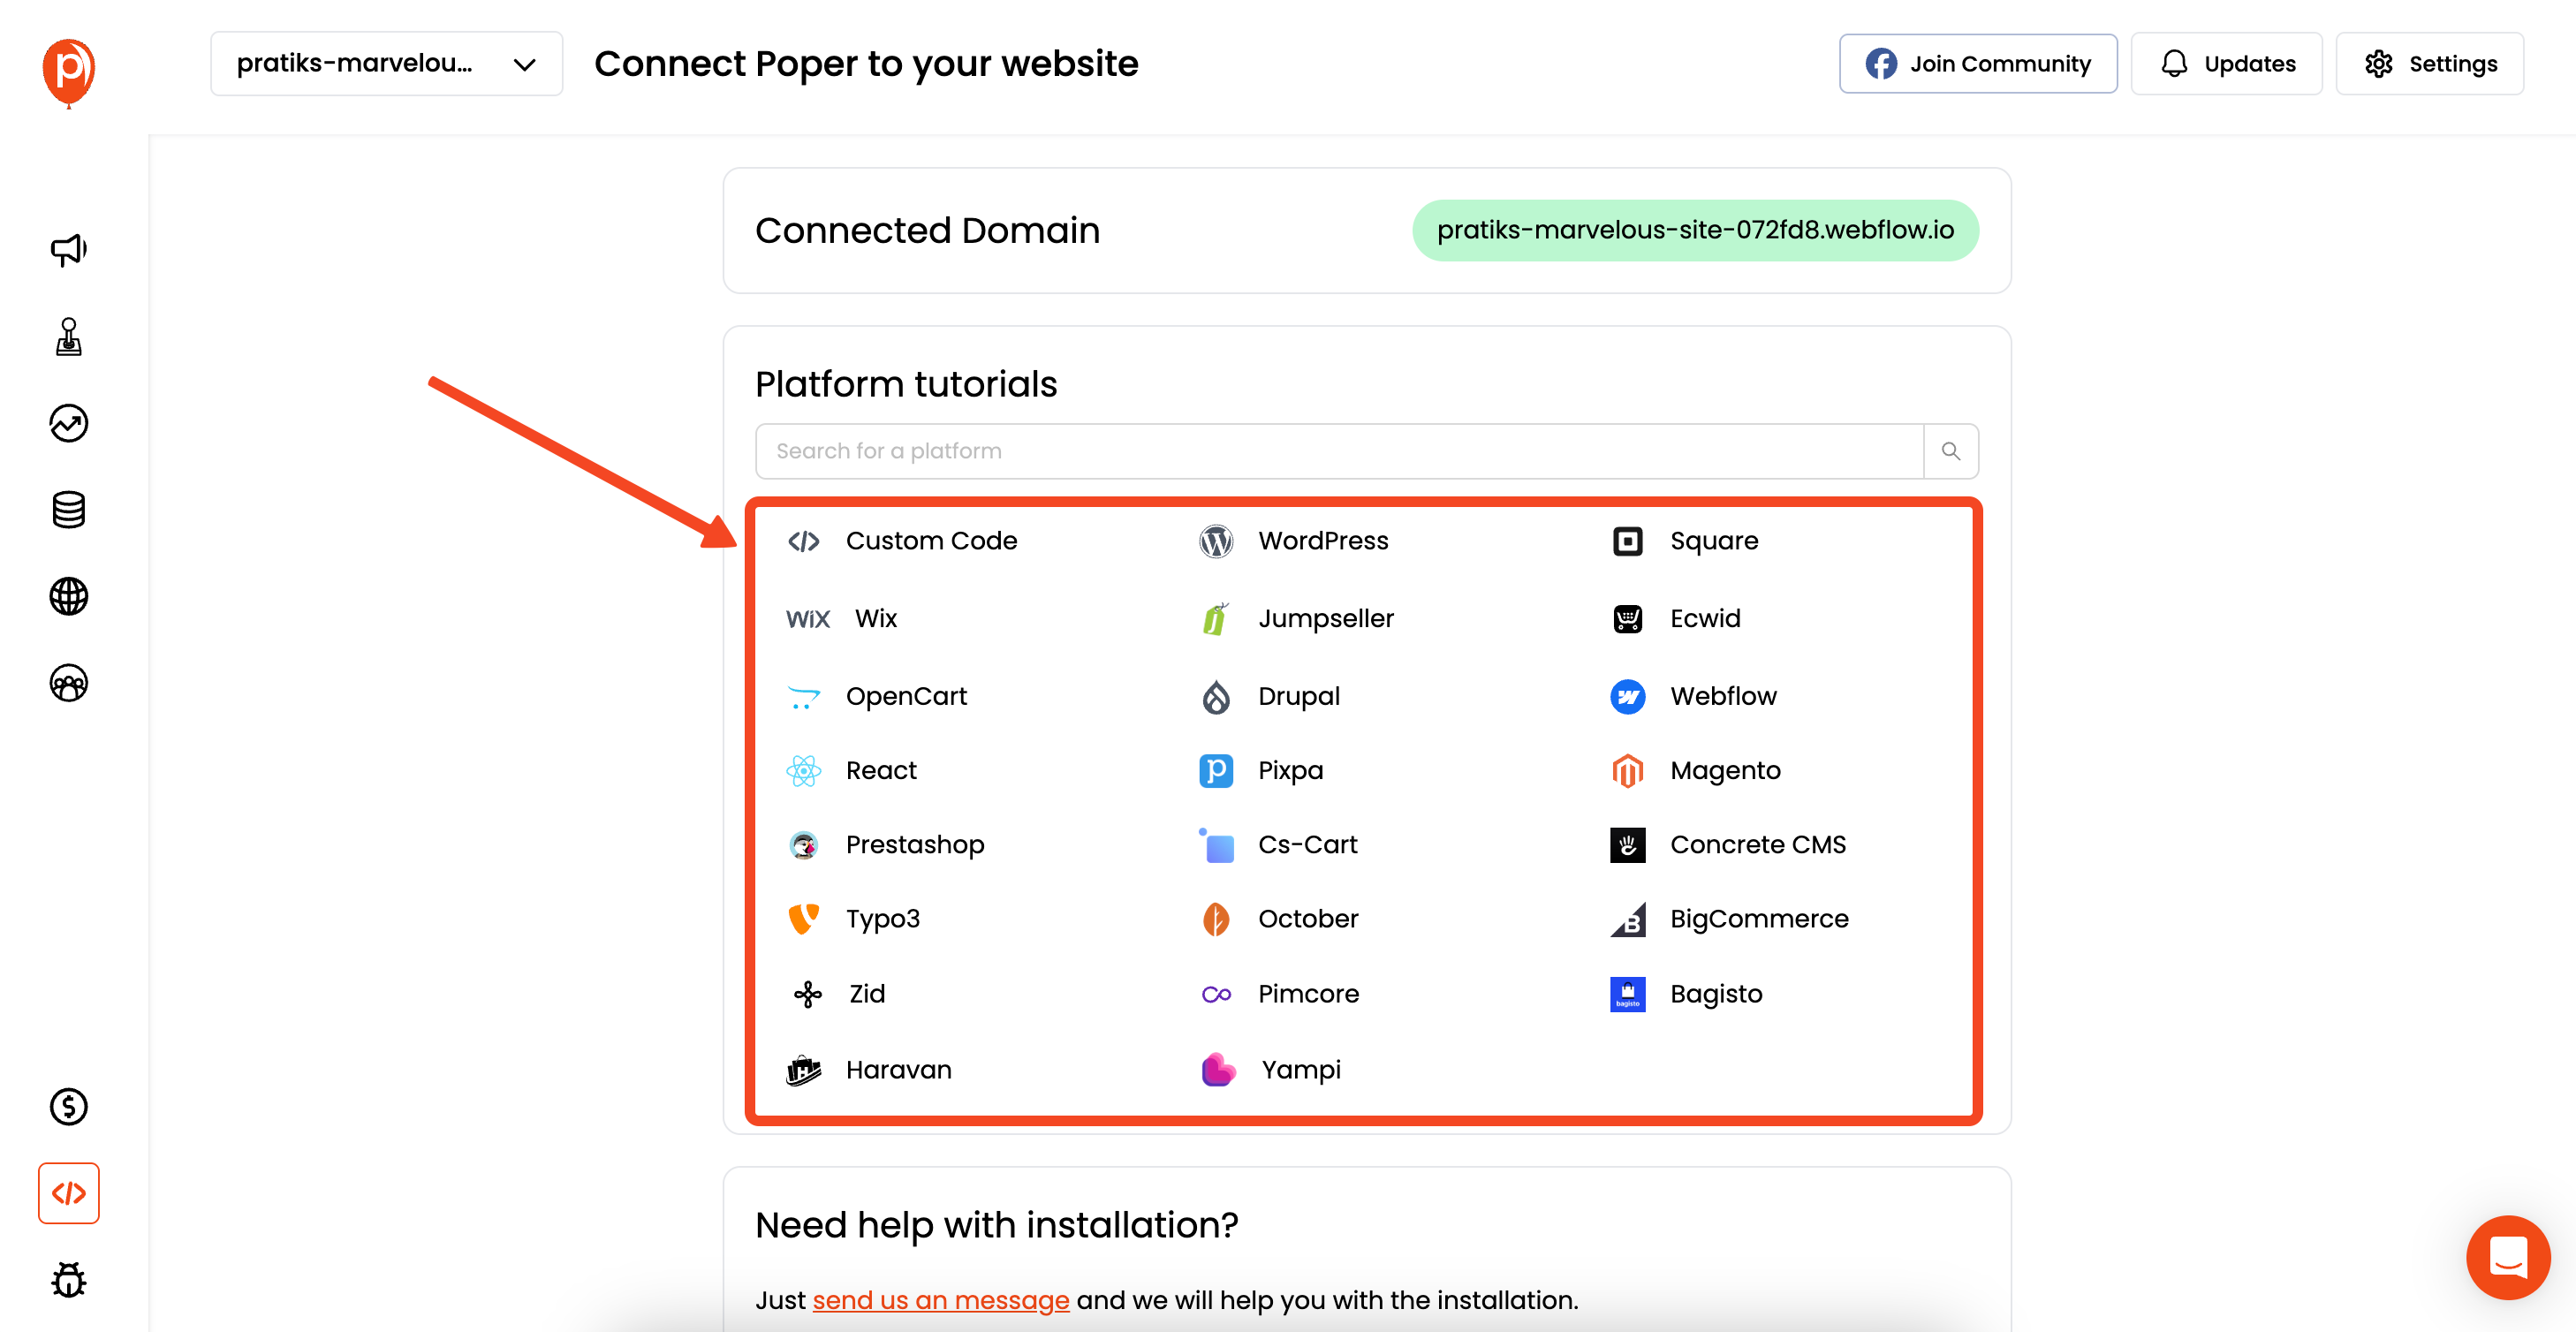
Now for the final piece. Go to your Poper Dashboard, find the "Code" section, and copy the snippet you see there. You only have to do this once. Paste this code into your website builder’s custom code area, ideally right before the closing </head> tag. Most builders have a dedicated spot for this in their site-wide settings.
Save the changes on your website, and you're all set! Your new popup will now appear for visitors exactly as you planned. Go ahead and test it out on your live site to see it in action.
Method 2: Manually Coding a Popup to Show on Page Load (with JavaScript)
For developers or those comfortable with code, you can build this functionality from scratch using HTML, CSS, and JavaScript. If you're interested in a broader tutorial, check out our guide to making a popup in JavaScript for more hands-on coding tips.
Step 1: Create the HTML Structure for Your Popup
First, define the HTML for the popup itself. This will be hidden by default with CSS.
<div id="myPageLoadPopup" class="popup-overlay"> <div class="popup-content"> <h2>Welcome to Our Site!</h2> <p>Get 10% off your first order when you sign up for our newsletter.</p> <!-- Add a form or a button here --> <button class="close-popup-btn">×</button> <!-- A close button --> </div></div>
Step 2: Style the Popup with CSS
Use CSS to style the overlay, the popup content box, and ensure it's hidden initially.
.popup-overlay { display: none; /* Hidden by default */ position: fixed; top: 0; left: 0; width: 100%; height: 100%; background-color: rgba(0, 0, 0, 0.6); z-index: 1000; justify-content: center; align-items: center;} .popup-content { background: #fff; padding: 25px; border-radius: 8px; position: relative; /* For positioning the close button */ text-align: center; max-width: 500px; width: 90%;} .close-popup-btn { position: absolute; top: 10px; right: 15px; border: none; background: transparent; font-size: 24px; cursor: pointer;}
Step 3: Write JavaScript to Trigger the Popup
Use JavaScript's setTimeout function to show the popup after a delay. The DOMContentLoaded event listener ensures the script runs only after the page is fully loaded.
document.addEventListener('DOMContentLoaded', function() { const popup = document.getElementById('myPageLoadPopup'); const closeBtn = popup.querySelector('.close-popup-btn'); const popupDelay = 3000; // Delay in milliseconds (3000ms = 3 seconds) // Function to show the popup const showPopup = () => { popup.style.display = 'flex'; }; // Function to hide the popup const hidePopup = () => { popup.style.display = 'none'; }; // Set a timer to show the popup after the delay setTimeout(showPopup, popupDelay); // Event listener to close the popup closeBtn.addEventListener('click', hidePopup); // Optional: Close when clicking the overlay popup.addEventListener('click', function(event) { if (event.target === this) { hidePopup(); } });});To show immediately, you can call showPopup() directly without setTimeout, but a delay is recommended.
Conclusion
The ability to show popup on page load is a fundamental marketing tactic. While it can be achieved through manual coding or platform-specific plugins, the key to success lies in its implementation. If you want to explore more popup use cases or alternatives, see our comprehensive introduction to popups and their uses.
For developers, a simple JavaScript setTimeout provides full control.
For WordPress users, plugins offer a convenient solution.
For marketers on any platform seeking a powerful, easy-to-use, and feature-rich solution, a dedicated popup builder like Poper is the most effective choice.
Remember the golden rule: respect the user experience by using a time delay. By giving visitors a few seconds to engage with your page before presenting your popup, you'll find your on-page-load campaigns are not only effective but also well-received. For more tips on user experience and popup best practices, read our article on popup best practices for higher engagement.
Frequently Asked Questions (FAQ)
Will a popup that shows immediately on page load hurt my SEO?
Google has guidelines against "intrusive interstitials," especially on mobile, which can negatively impact user experience and potentially rankings. A popup that covers the main content immediately can be seen as intrusive. Using a time delay, a smaller banner/slide-in, or triggering after some interaction is generally safer.
What is a good time delay for a page load popup?
There's no single perfect answer, but a common best practice is between 3 and 10 seconds. This gives users time to understand the page's context. Test different timings to see what works best for your audience and bounce rate.
Can I show a different popup on mobile vs. desktop on page load?
With basic code, this would require extra JavaScript to detect the device type. With platforms like WordPress plugins or dedicated tools like Poper, you can easily set up device-specific targeting rules to show different popups (or no popup at all) on different devices.

