

When I first designed Poper, I knew we had to go beyond basic text fields. Simple inputs are great for collecting emails, but what if you need more specific data? Asking customers to choose between pre-set options is a fantastic way to get clean, structured feedback you can actually use.
That’s why I made sure our radio button feature was powerful yet simple to set up. You can use it to create quick surveys, segment new leads, or understand customer preferences. Here’s a quick guide to get you started.
Step 1: Start with a Radio Button Template
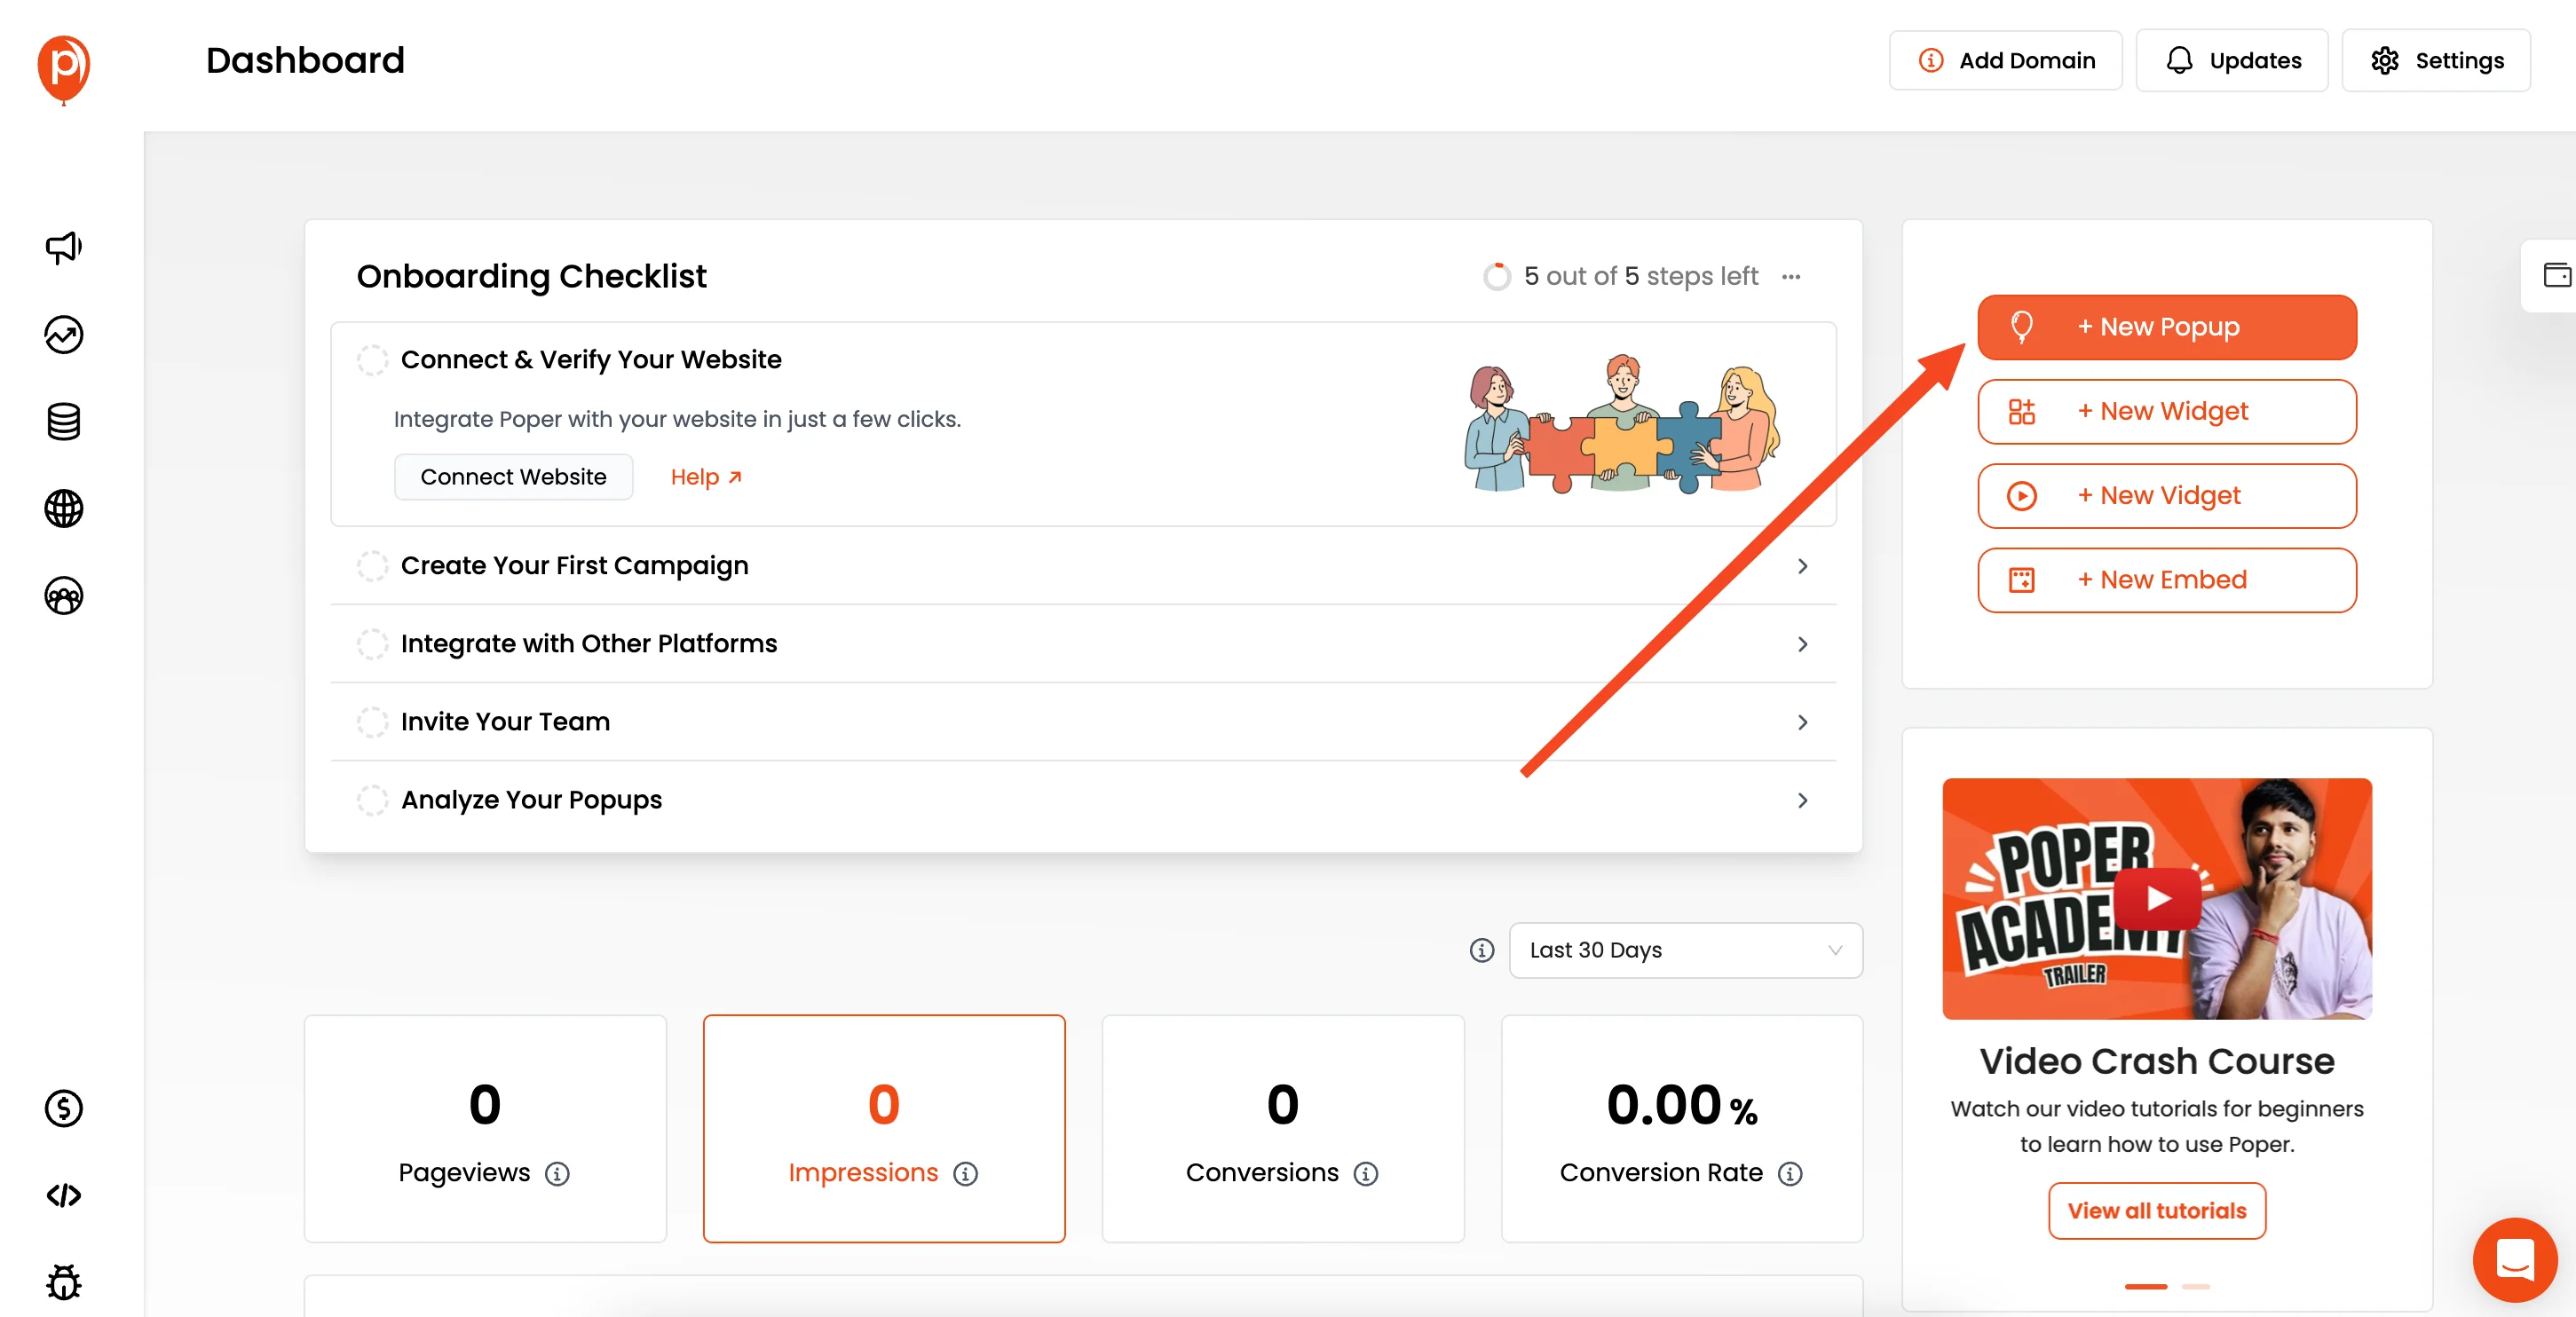
Once you’re logged into your Poper account, click “New Popup” and select “Choose from Templates.” I always recommend this because our pre-built designs give you a huge head start.
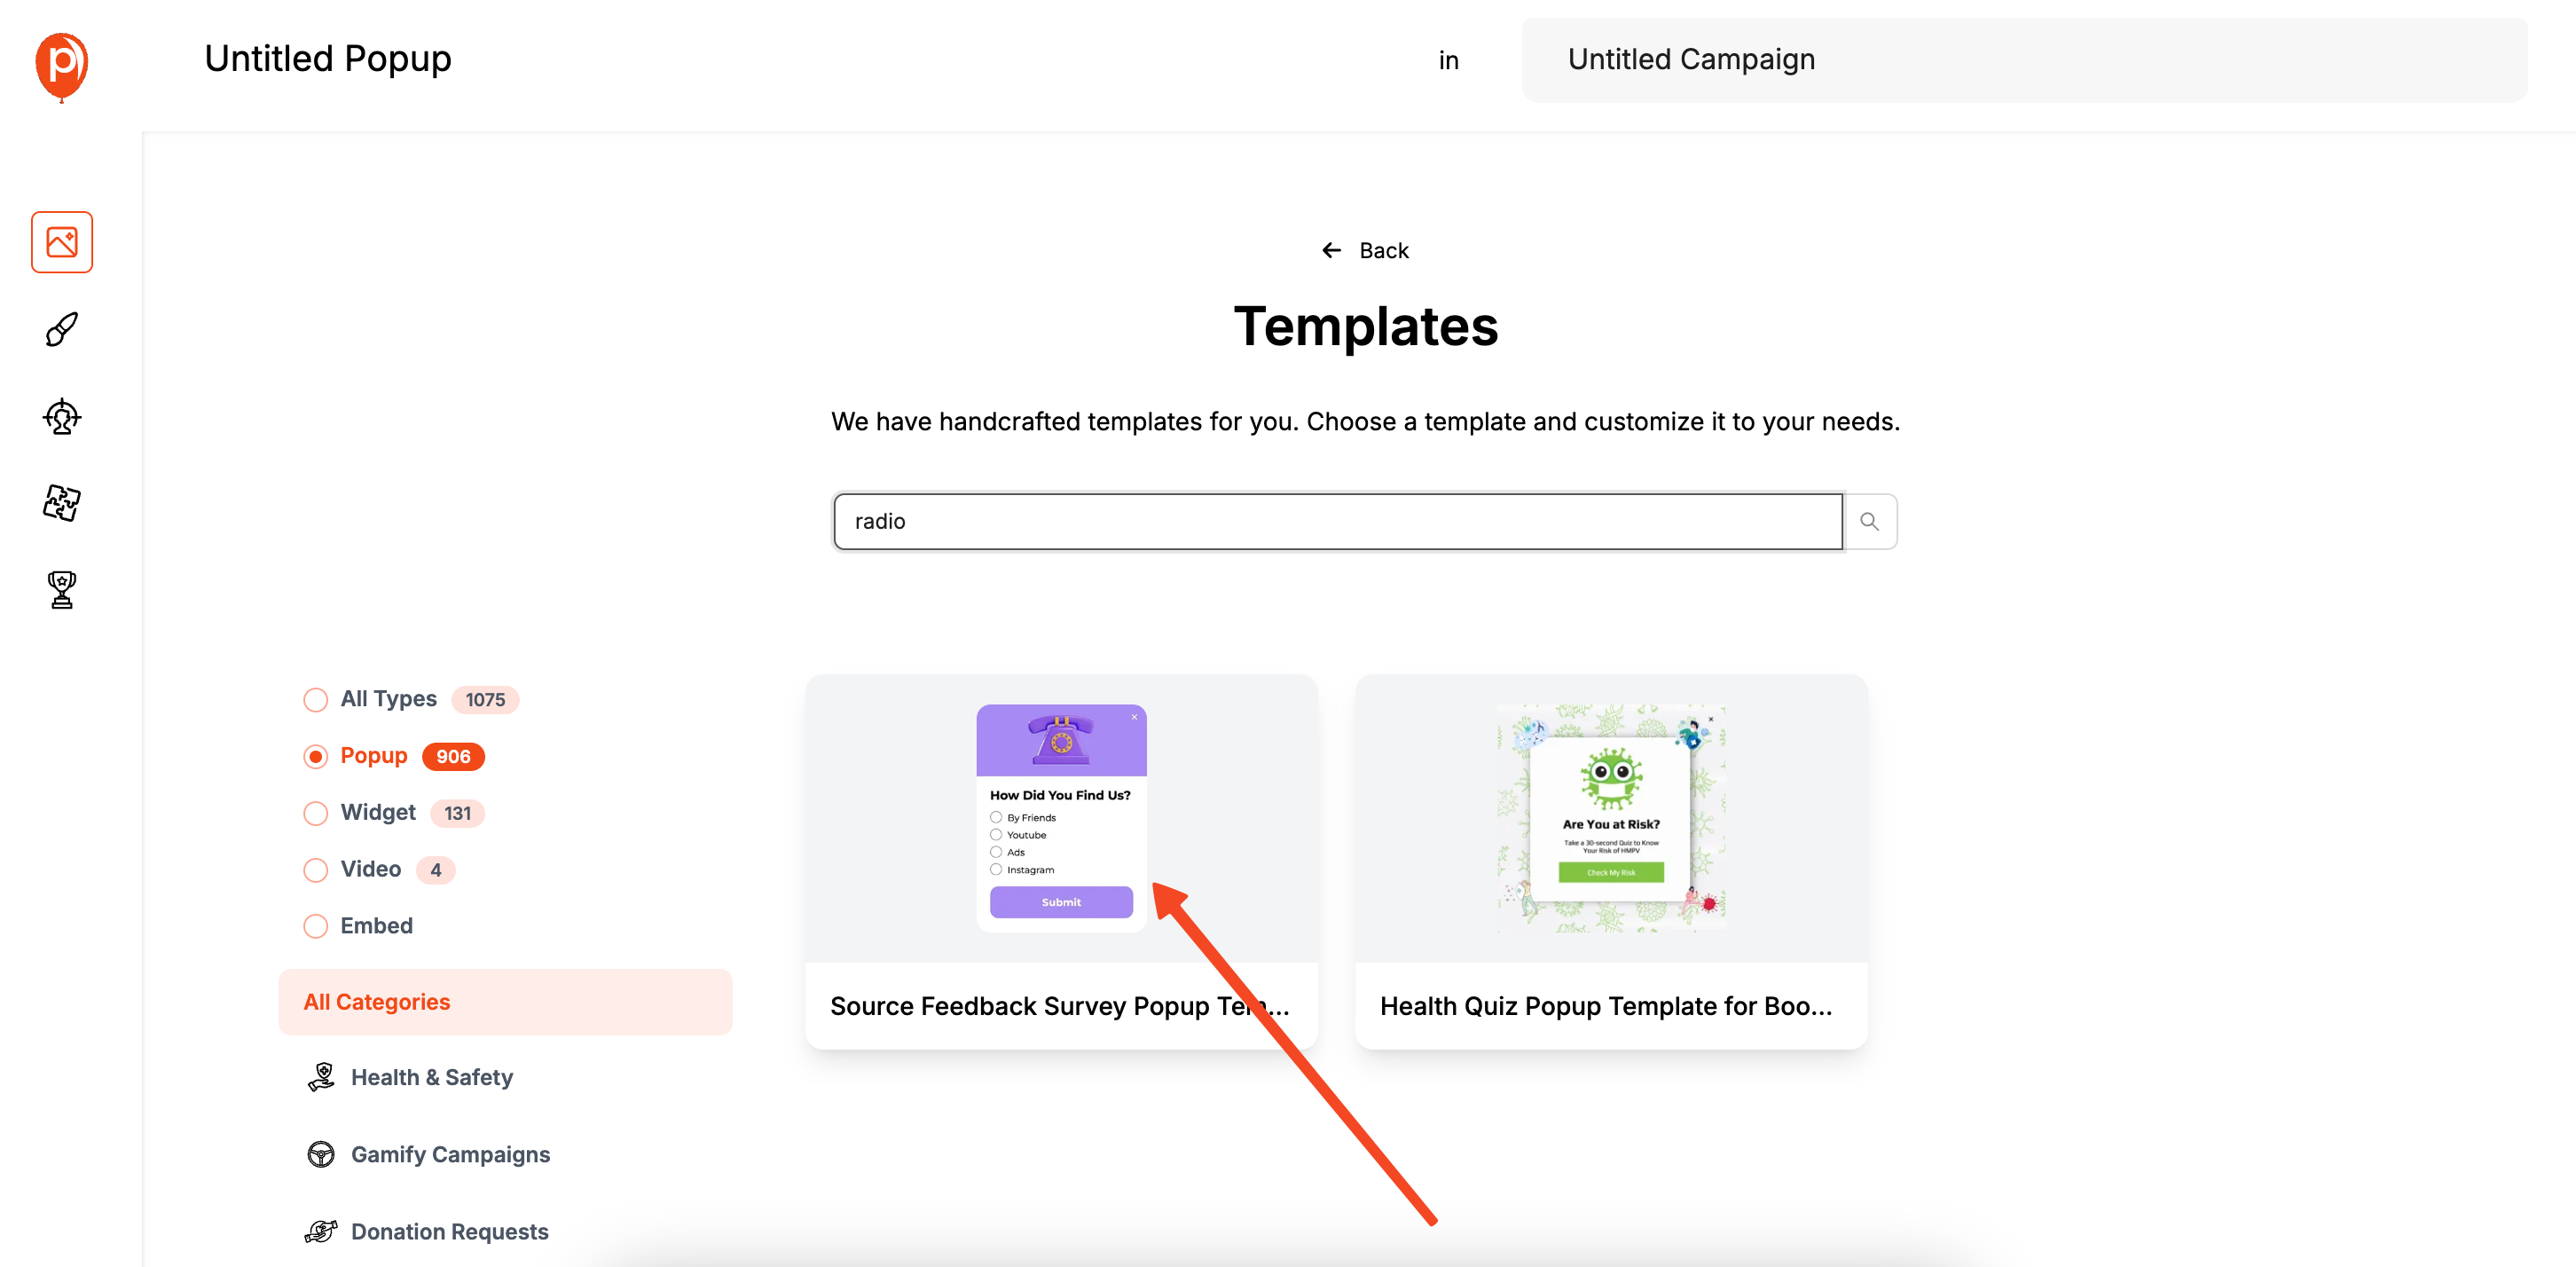
In the template library, use the search bar and type in “radio” or “survey.” You’ll see several options designed specifically for collecting feedback. Pick one that matches the feel of your brand and your campaign goal. For more inspiration, check out our Popup Template Library for a wide variety of effective popup templates you can easily customize.
Step 2: Add and Customize Your Radio Button Field
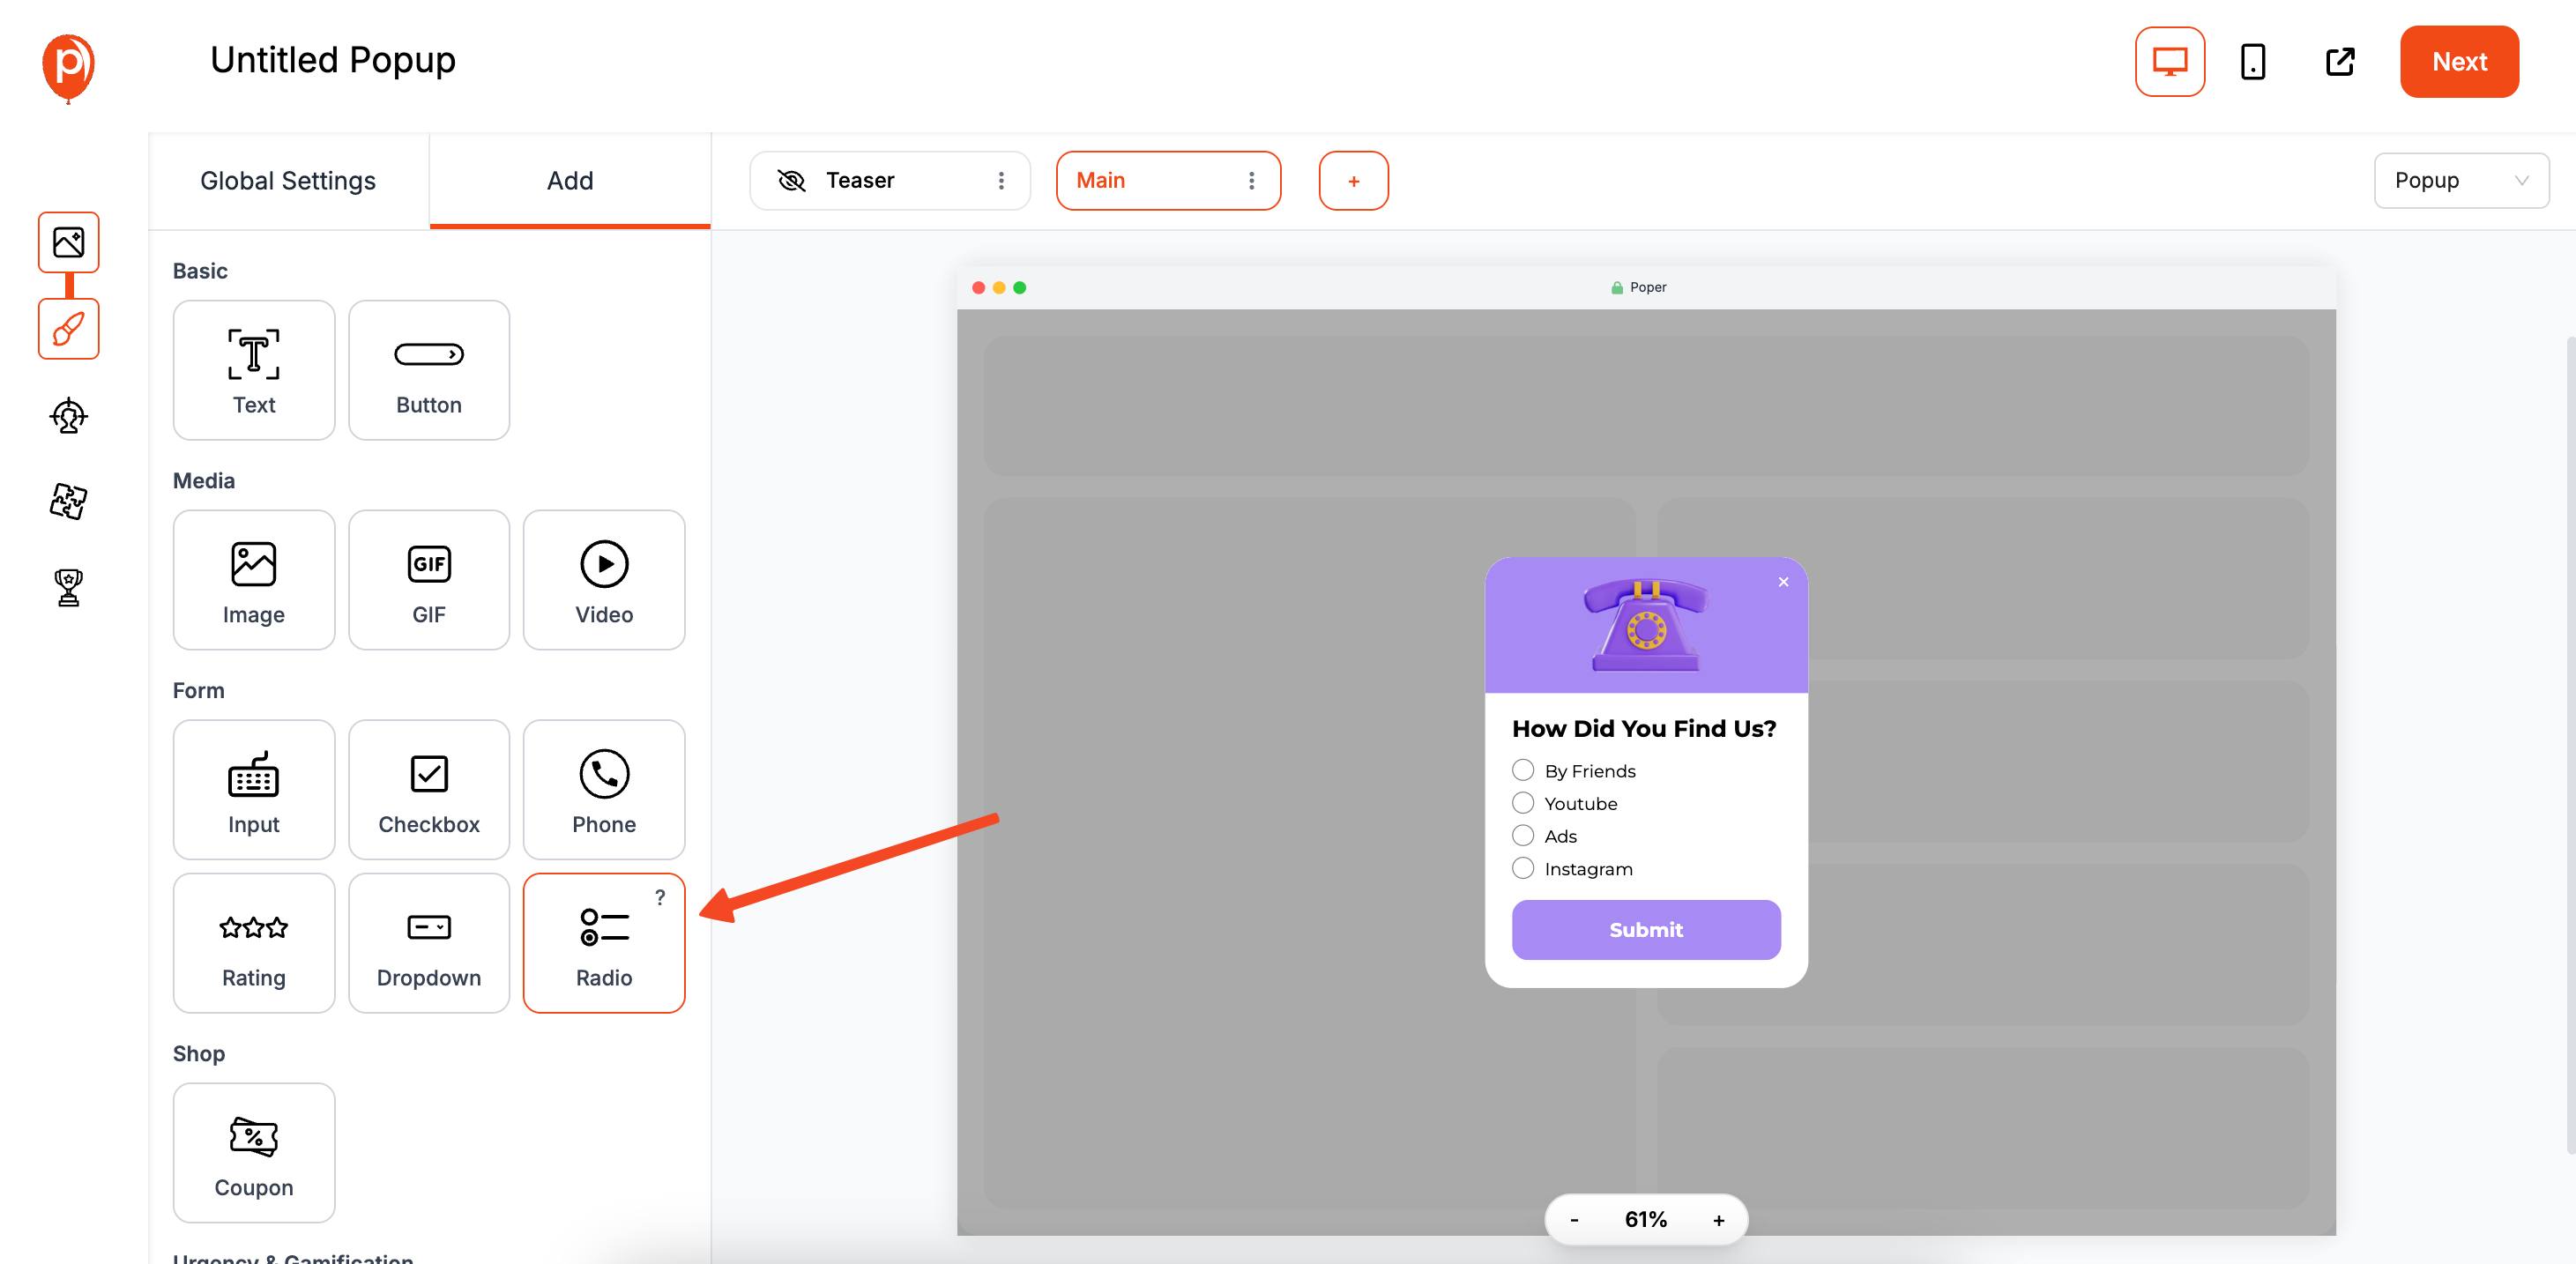
This is where you’ll edit the questions to your needs. In the popup editor, click on the Add tab. Choose “Radio” from the list of elements.
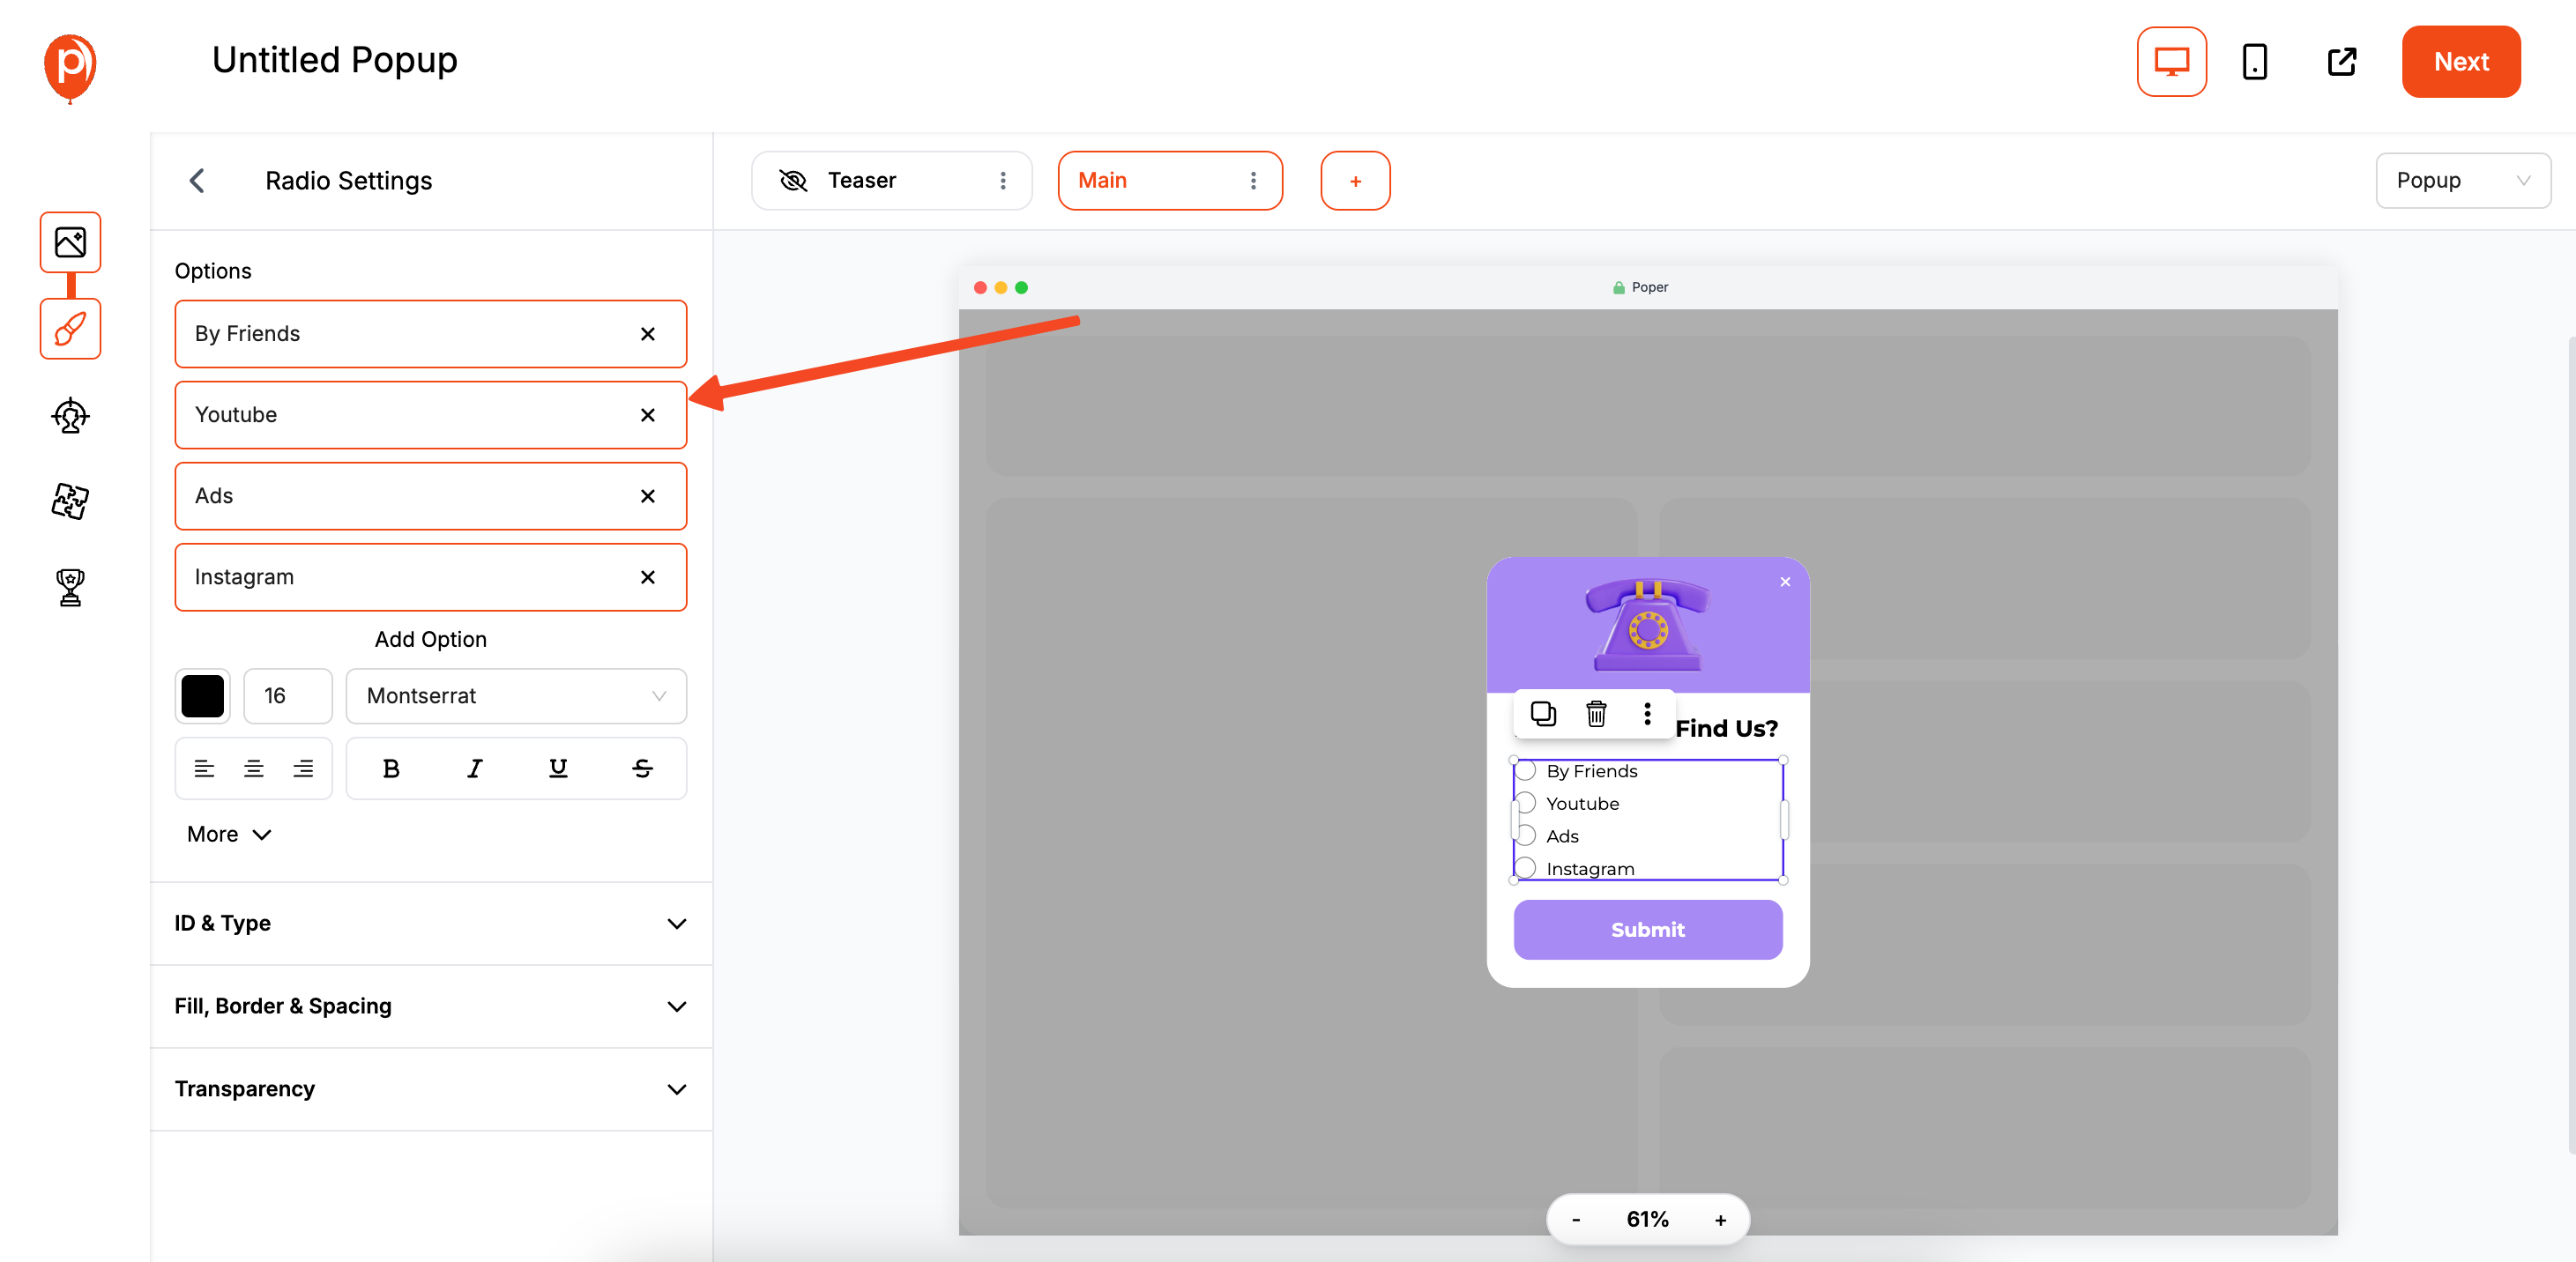
You can add as many choices as you need by clicking “Add Option.” For example, if you’re asking “How did you hear about us?”, your options could be “Social Media,” “Friend,” or “Google Search.” You can also customize the colors of the radio circle and text in the design panel to match your website’s branding.
Step 3: Set Smart Display Rules for Who Sees It

A popup’s timing is everything. After designing your form, click “Next” to go to the “Display Conditions” page. This is where you control exactly who sees your popup and when, which is key to getting high-quality responses without annoying visitors. Interested in advanced timing strategies? Learn more about timing strategies for effective popups.
For instance, you could show a feedback popup only to visitors who have spent more than 60 seconds on a product page. Or, you could trigger it to appear on your order confirmation page to ask customers about their shopping experience.
Step 4: Connect Your Integrations to Sync Data
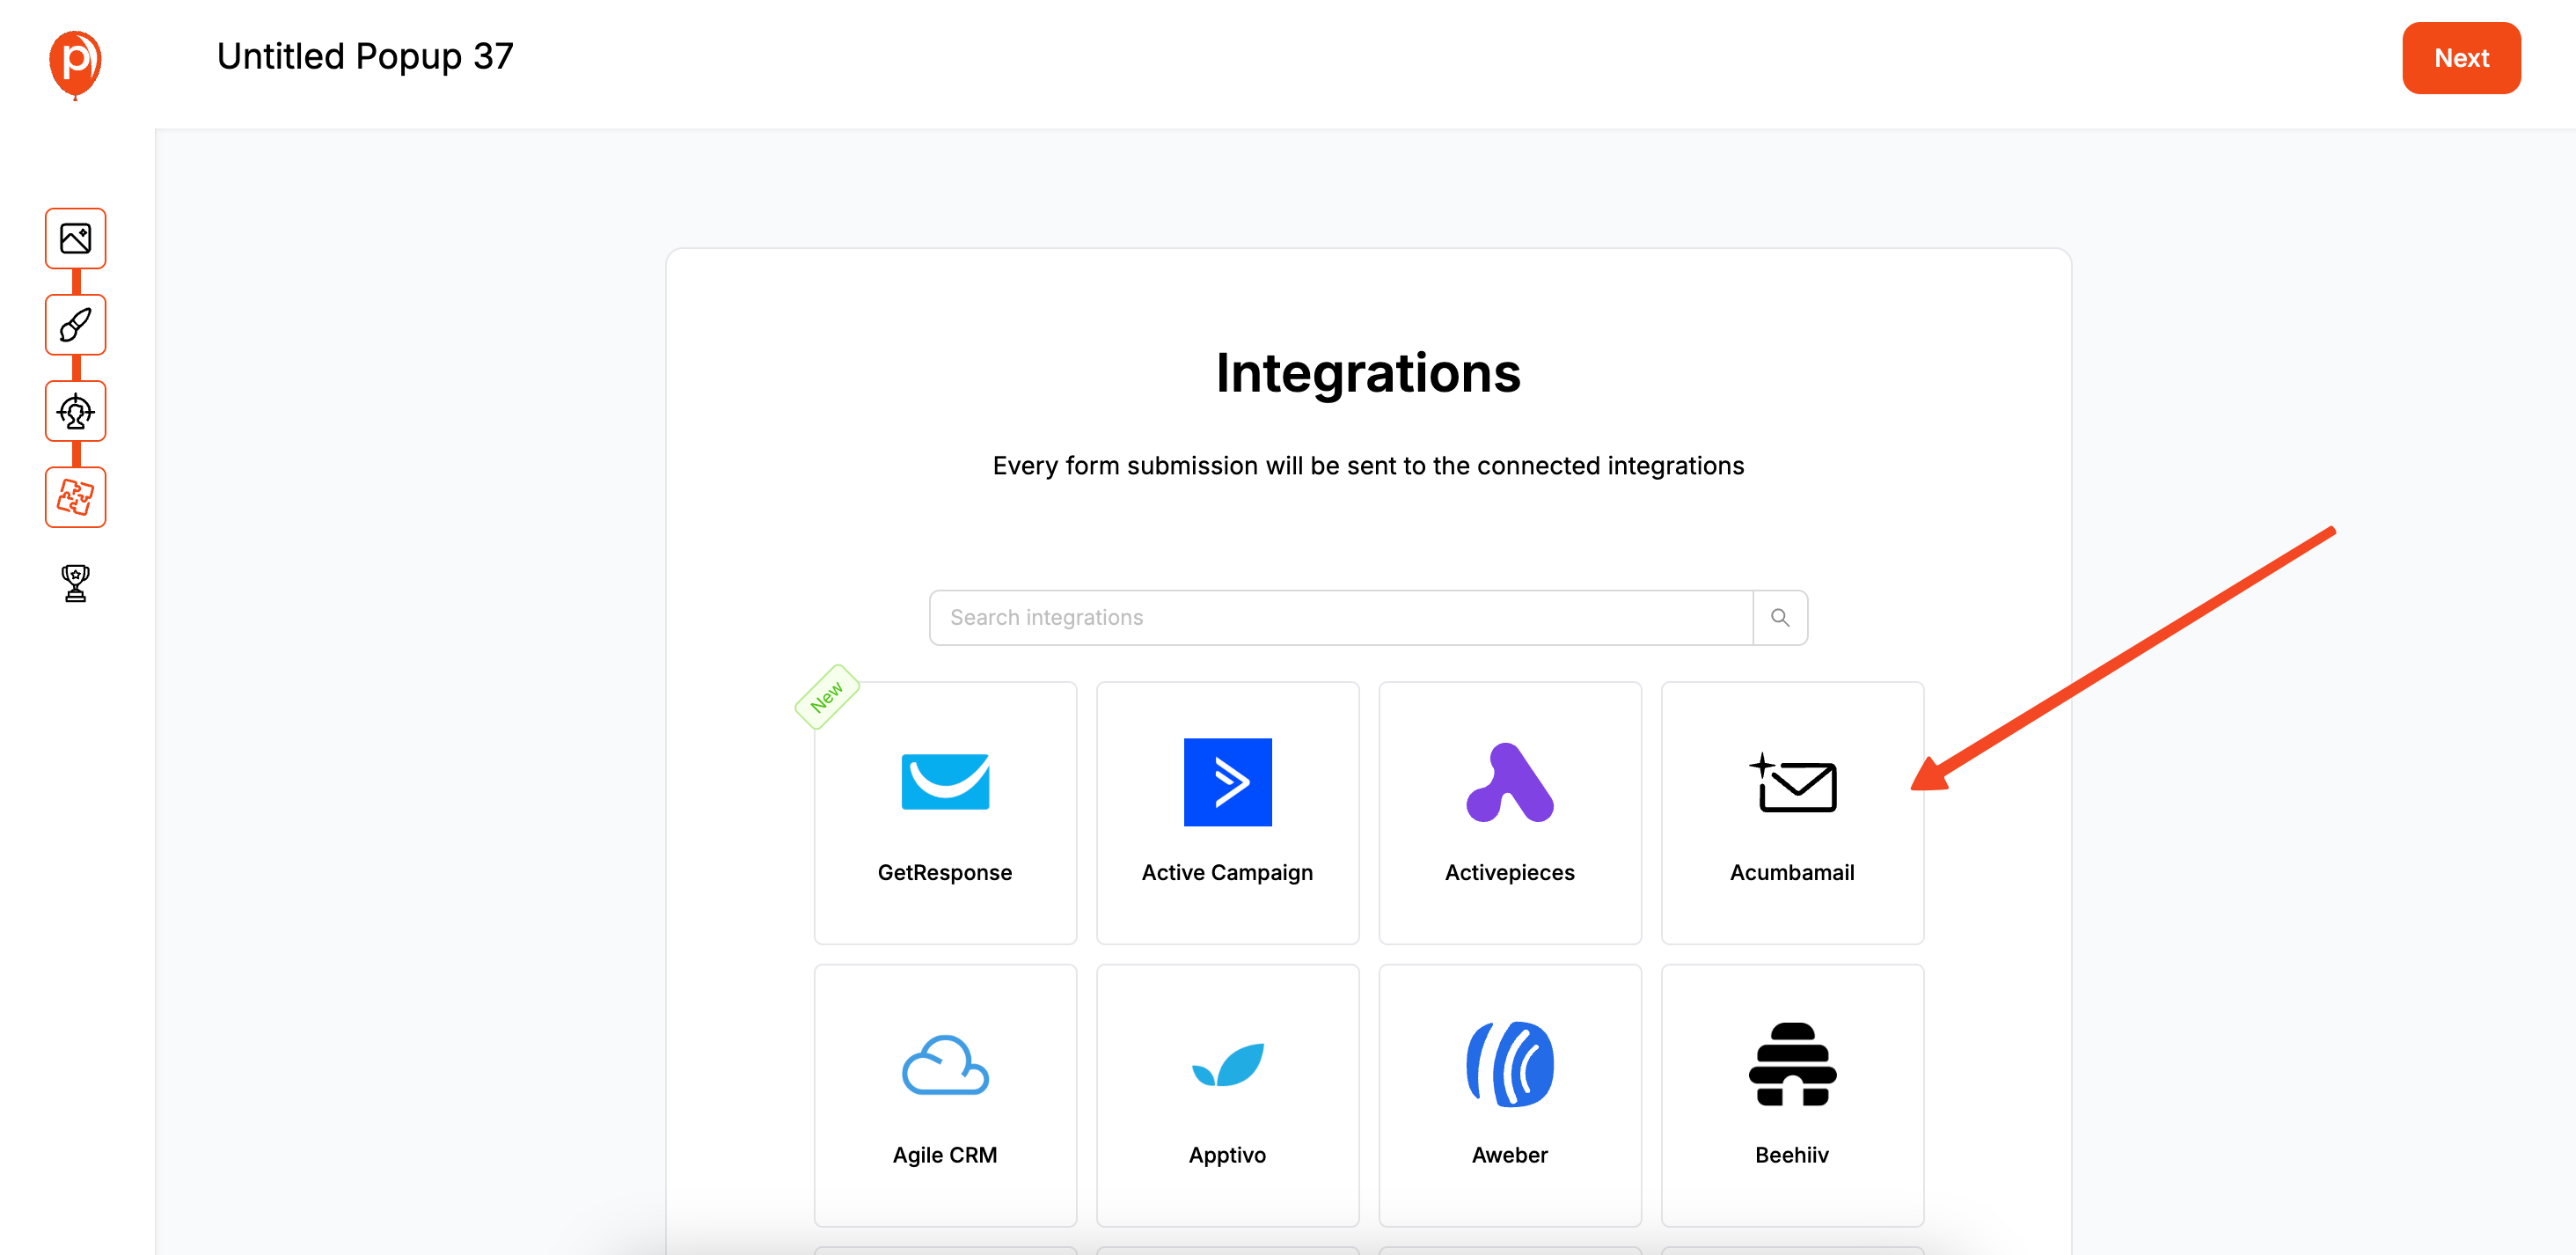
Manually exporting data is a chore nobody wants. In the next step, under the “Integrations” tab, you can connect Poper directly to the tools you already use, like Mailchimp, Klaviyo, or Omnisend. If you're primarily using Mailchimp or Klaviyo, follow our specific step-by-step guides for Mailchimp or Klaviyo integrations.
This lets you automatically send the data you collect to the right place. For example, you can tag a new lead based on their radio button answer, adding them to a specific email sequence or customer segment instantly.
Step 5: Save and Go Live

Once you’re happy with the design, display rules, and integrations, just click “Save & Publish.” Your radio button popup is now active and ready to be seen by your visitors.
If this is your first time, make sure you’ve pasted the main Poper code snippet into the <header> section of your website. You only need to do this once, and it works for all your future campaigns. That’s it—you’re all set to gather valuable insights
Method 2: Manually Coding a Radio Button Popup
For developers or those comfortable with code, building a radio button popup from scratch offers complete customization.
Step 1: Create the HTML Structure
First, define the HTML for the popup, including a <form> element to contain the radio buttons. For more guidance, see our step-by-step instructions on how to create a popup in HTML.
Step 2: Style the Popup with CSS
Use CSS to style the popup, overlay, and form elements.
.popup-overlay {
    position: fixed;
    top: 0; left: 0;
    width: 100%; height: 100%;
    background: rgba(0, 0, 0, 0.7);
    z-index: 1000;
    display: flex;
    justify-content: center;
    align-items: center;
}
.popup-content {
    background: #fff;
    padding: 30px;
    border-radius: 8px;
    position: relative;
    max-width: 500px;
    width: 90%;
}
.popup-content fieldset { border: none; padding: 0; margin: 0; }
.popup-content legend { font-size: 1.2em; font-weight: bold; margin-bottom: 15px; }
.radio-option { text-align: left; margin-bottom: 10px; }
.radio-option label { margin-left: 8px; }
.close-popup-btn {
    position: absolute;
    top: 10px; right: 15px;
    background: transparent; border: none;
    font-size: 28px; cursor: pointer;
}
Step 3: Write JavaScript/jQuery to Handle Logic
This script will trigger the popup, handle the form submission to get the selected radio button value, and close the popup. If you're looking to use jQuery specifically, check out our guide to implementing popups in jQuery.
// Using jQuery for simplicity
$(document).ready(function() {
    const popup = $('#radioPopupContainer');

    // Open the popup
    $('#openRadioPopupBtn').on('click', function() {
        popup.fadeIn();
    });

    // Close the popup
    $('.close-popup-btn').on('click', function() {
        popup.fadeOut();
    });

    // Handle form submission
    $('#radioForm').on('submit', function(event) {
        event.preventDefault(); // Prevent actual form submission

        // Get the value of the selected radio button
        const selectedValue = $('input[name="visitReason"]:checked').val();

        if (selectedValue) {
            alert('You selected: ' + selectedValue);
            // Here, you would typically send this value to your backend
            // e.g., using fetch() or an AJAX call.
        } else {
            alert('Please select an option.');
        }

        popup.fadeOut(); // Close the popup after submission
    });
});
Don't forget to include the jQuery library in your HTML for this code to work.
Conclusion
A Radio Button Popup is a versatile tool that elevates your lead capture beyond simple email collection. It allows you to gather structured data that can be used for powerful audience segmentation and personalization.
Manual coding offers ultimate control for developers.
WordPress plugins provide a convenient solution for users of that platform.
Dedicated tools like Poper offer the best of both worlds: a simple, visual way to create highly effective and beautifully designed radio button popups with advanced targeting and seamless integrations, making your collected data immediately actionable.
By choosing the right method and following best practices, you can turn a simple popup into a valuable insights-gathering machine for your business.
Frequently Asked Questions (FAQ)
What's the difference between radio buttons and checkboxes in a popup?
* Radio Buttons: Allow the user to select only one option from a list. They are used for mutually exclusive choices (e.g., "What is your main goal?").
* Checkboxes: Allow the user to select one or more options from a list. They are used when multiple answers can be correct (e.g., "Which topics are you interested in?").How do I get the value of the selected radio button with JavaScript?
In plain JavaScript, you can use document.querySelector('input[name="yourRadioName"]:checked').value. With jQuery, it's $('input[name="yourRadioName"]:checked').val().
Can I have multiple questions with radio buttons in one popup?
Yes. You can structure your form with multiple <fieldset> sections, each containing a question and its own set of radio buttons with a unique name attribute. Tools like Poper also allow you to add multiple radio button elements to a single popup form.
How can I use the data collected from a radio button popup?
The most powerful use is for segmentation. By integrating with your CRM (like Klaviyo or HubSpot), you can:
* Add users to different email sequences based on their answers.
* Tag them with their interests for future targeted campaigns.
* Personalize the content they see on your website or in emails.Is it better to show a radio button popup on entry or exit?
It depends on the question.
* On Entry (with delay): Good for segmenting new visitors (e.g., "Are you here for A or B?").
* On Exit-Intent: Excellent for gathering feedback on why someone is leaving (e.g., "Before you go, could you tell us if our prices were too high?").

