
Website forms are the workhorses of the internet. They are the primary way you interact with your audience, capture leads, gather feedback, and drive business. Knowing how to create website forms effectively is a fundamental skill for any website owner, marketer, or developer.
Whether you're looking to build a simple contact form, a complex survey, or a lead generation form, this guide will cover all the essential methods. We'll explore everything from manual coding with HTML, to using WordPress plugins, and leveraging powerful, user-friendly form builders like Poper that work on any website platform.
Why Are Website Forms So Important?
Lead Generation: Capture contact information from potential customers.
Customer Feedback: Collect testimonials, suggestions, and survey responses.
Contact & Support: Allow visitors to easily get in touch with you.
Registration & Sign-ups: Register users for events, webinars, or newsletters.
E-commerce: Gather order details and payment information.
The Key Elements of an Effective Website Form
Before we dive into the "how," let's cover what makes a form successful:
Clarity: A clear headline and concise field labels.
Simplicity: Only ask for the information you absolutely need.
User Experience (UX): Logical flow, mobile-friendly design, and clear error messages.
Trust: Include a privacy policy link and ensure the form looks professional.
A Clear Call to Action (CTA): The submit button should clearly state the action (e.g., "Get Your Free Quote," "Download Now," "Send Message").
Step 1: Start Your Campaign

First, log into your Poper dashboard. You'll need to make sure your website's domain is added so Poper knows where to display your creations. Once that's set, click the ‘+ Create Popup’ button to get started.
You have the flexibility to begin with a popup or an inline form (which we call an embed). A great trick is to start with a popup design you like and convert it to an embed later with a single click. Want to dive deeper into the difference? Check out our guide on modal vs popup to make the right choice for your website.
Step 2: Choose a Form Template
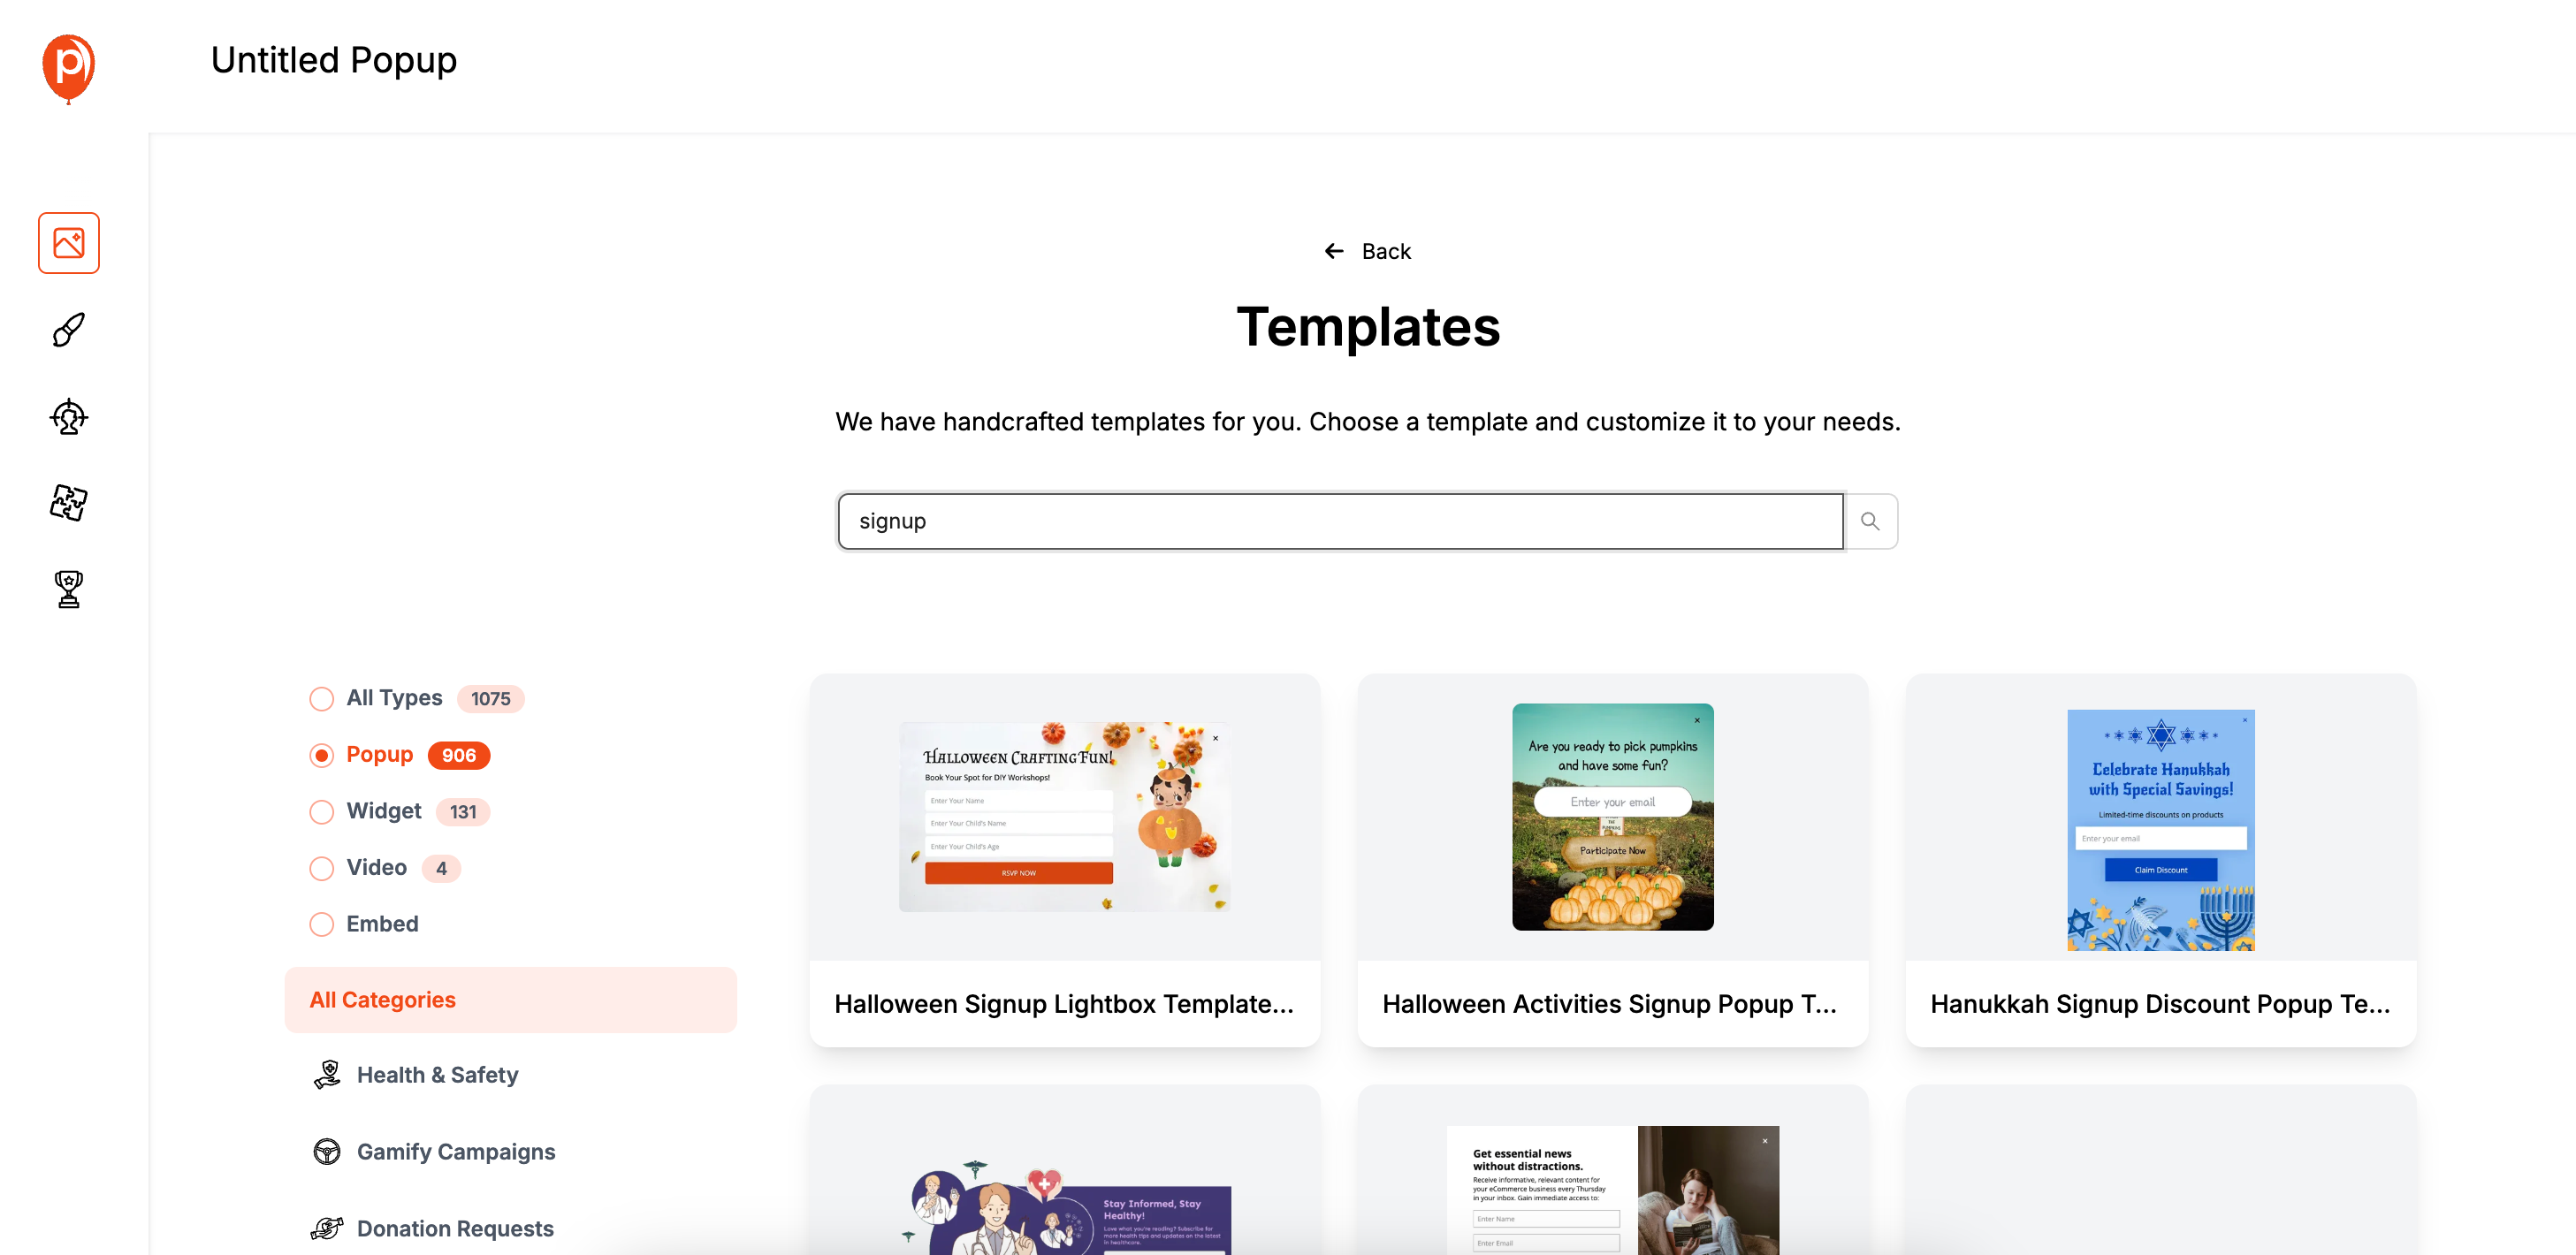
Next, select ‘Choose from Templates’. We’ve built a whole library of designs ready for you. In the search bar, just type "form" to see all the options built for collecting information. Browse our ready-made contact form popup templates for more inspiration and quick setup.
I recommend picking a template that feels like a natural fit for your website’s style. For example, if you have a minimalist blog, choose a clean and simple contact form template. This builds trust with your visitors.
Step 3: Customize Your Form’s Design
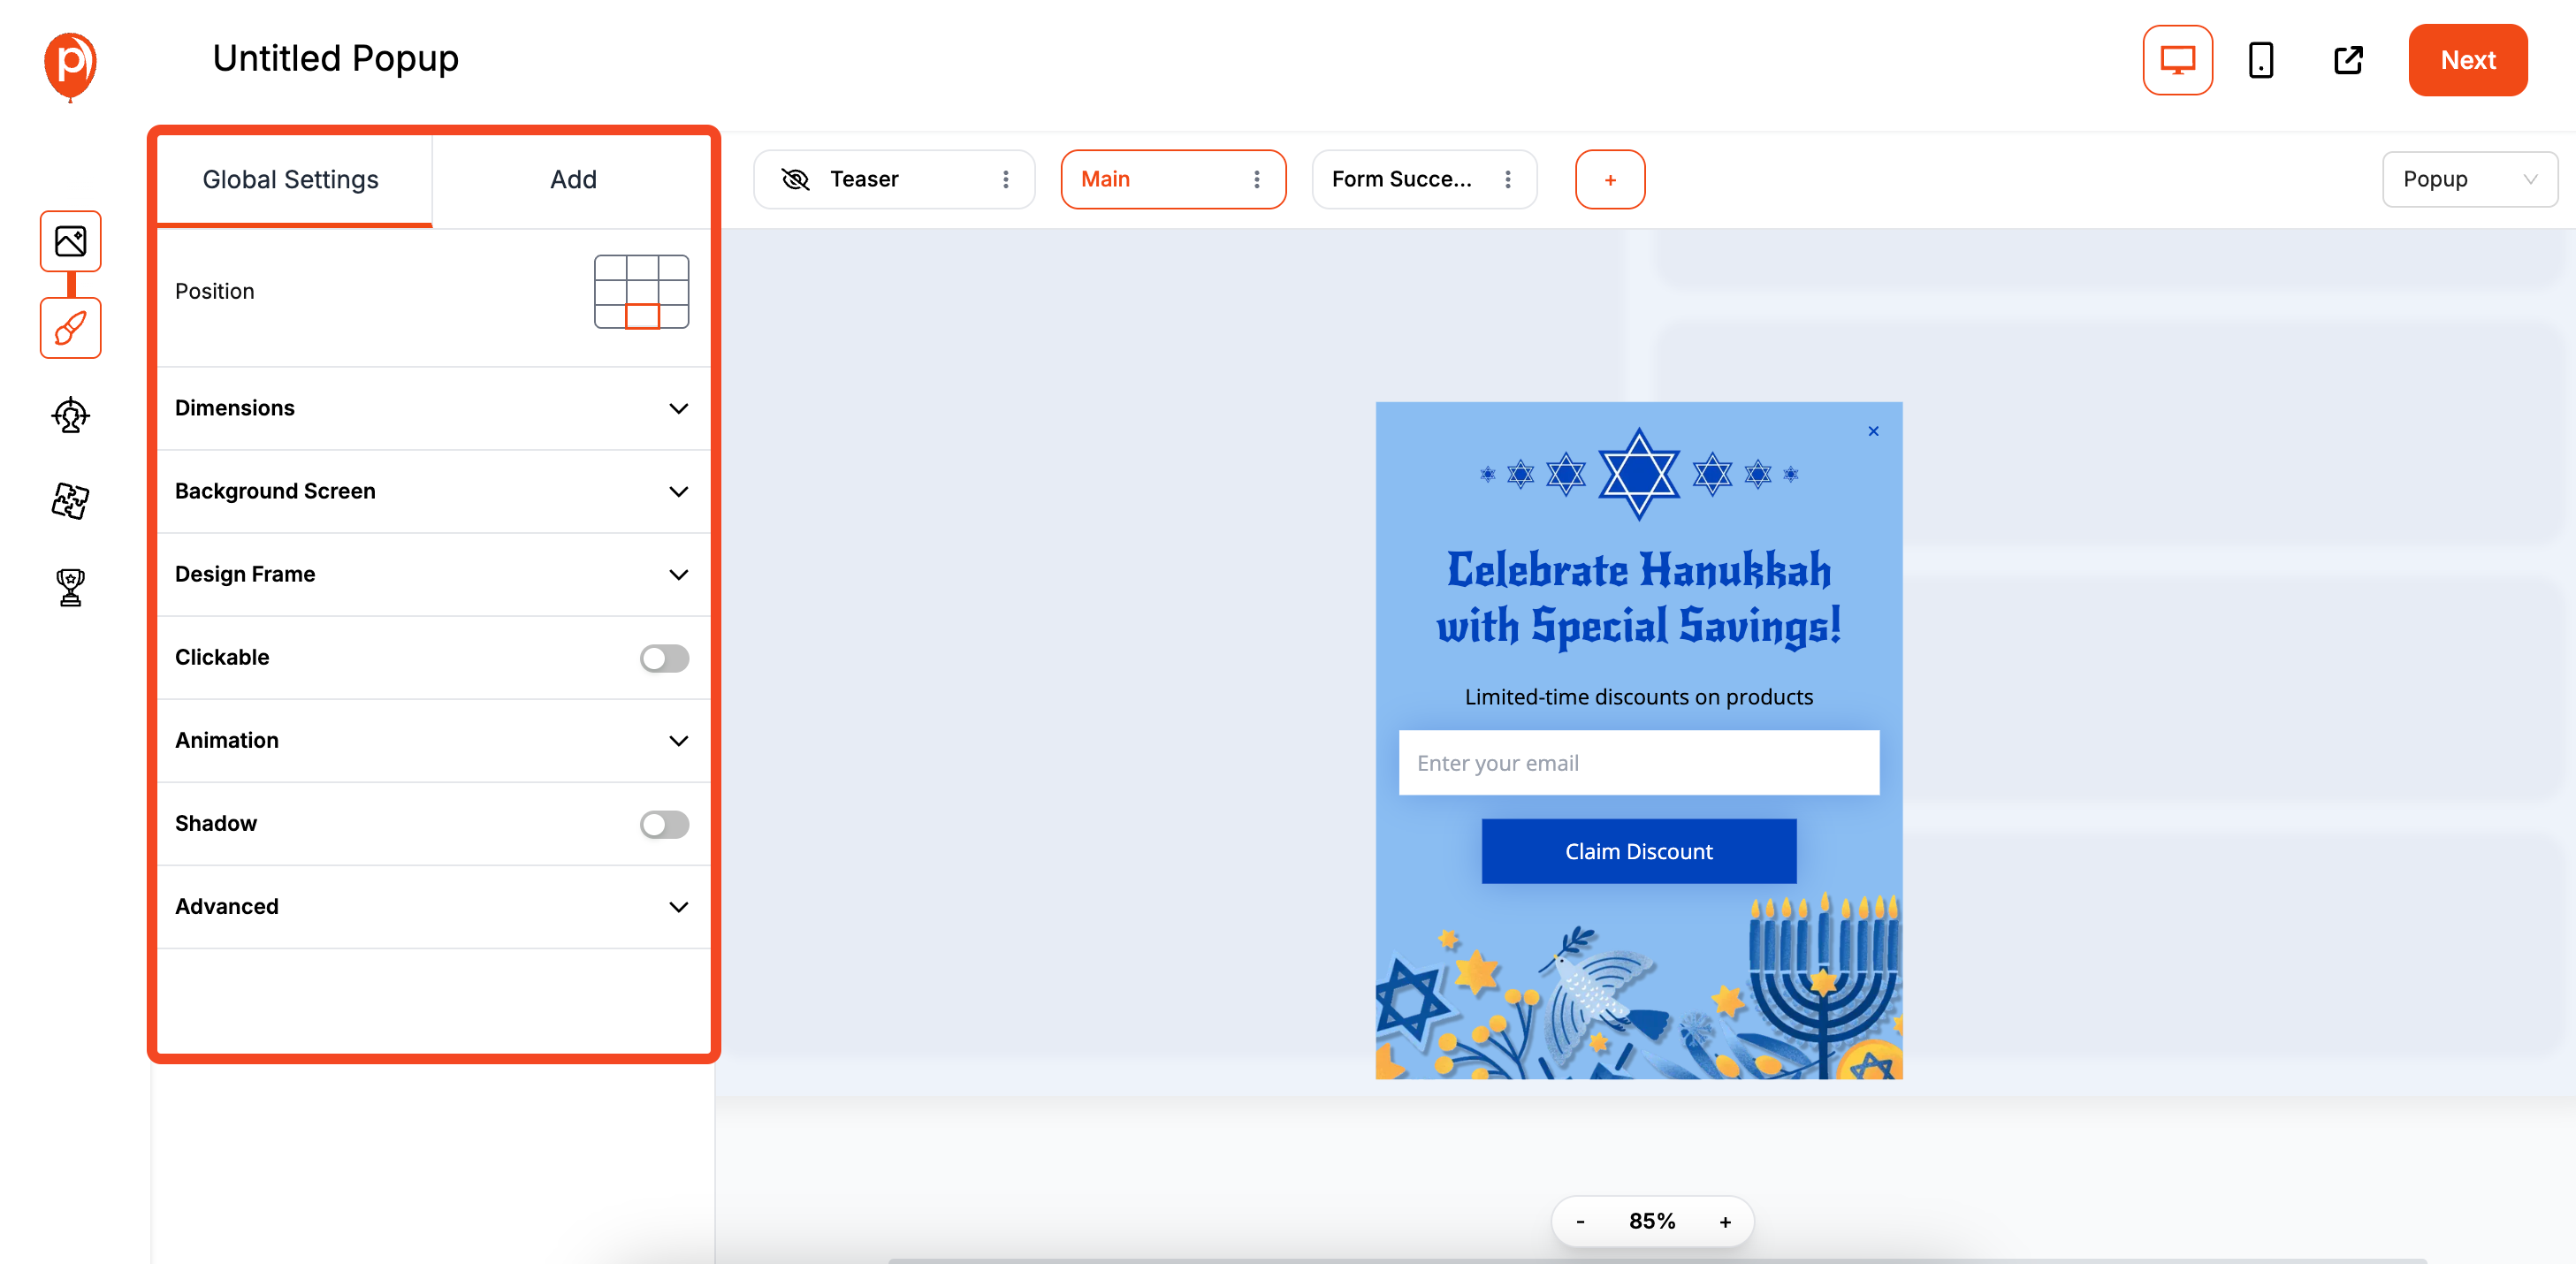
This is where you make the form truly yours. In the editor, you can change everything—the text, the colors, and the input fields. Click on any element to see its settings on the right-hand panel.
A quick tip from me: keep your forms short and sweet. For lead capture, a name and email are often enough. Overcrowding a form with too many questions can scare visitors away. A clean design is always more effective. Learn more tips for improving your form conversion rates here.
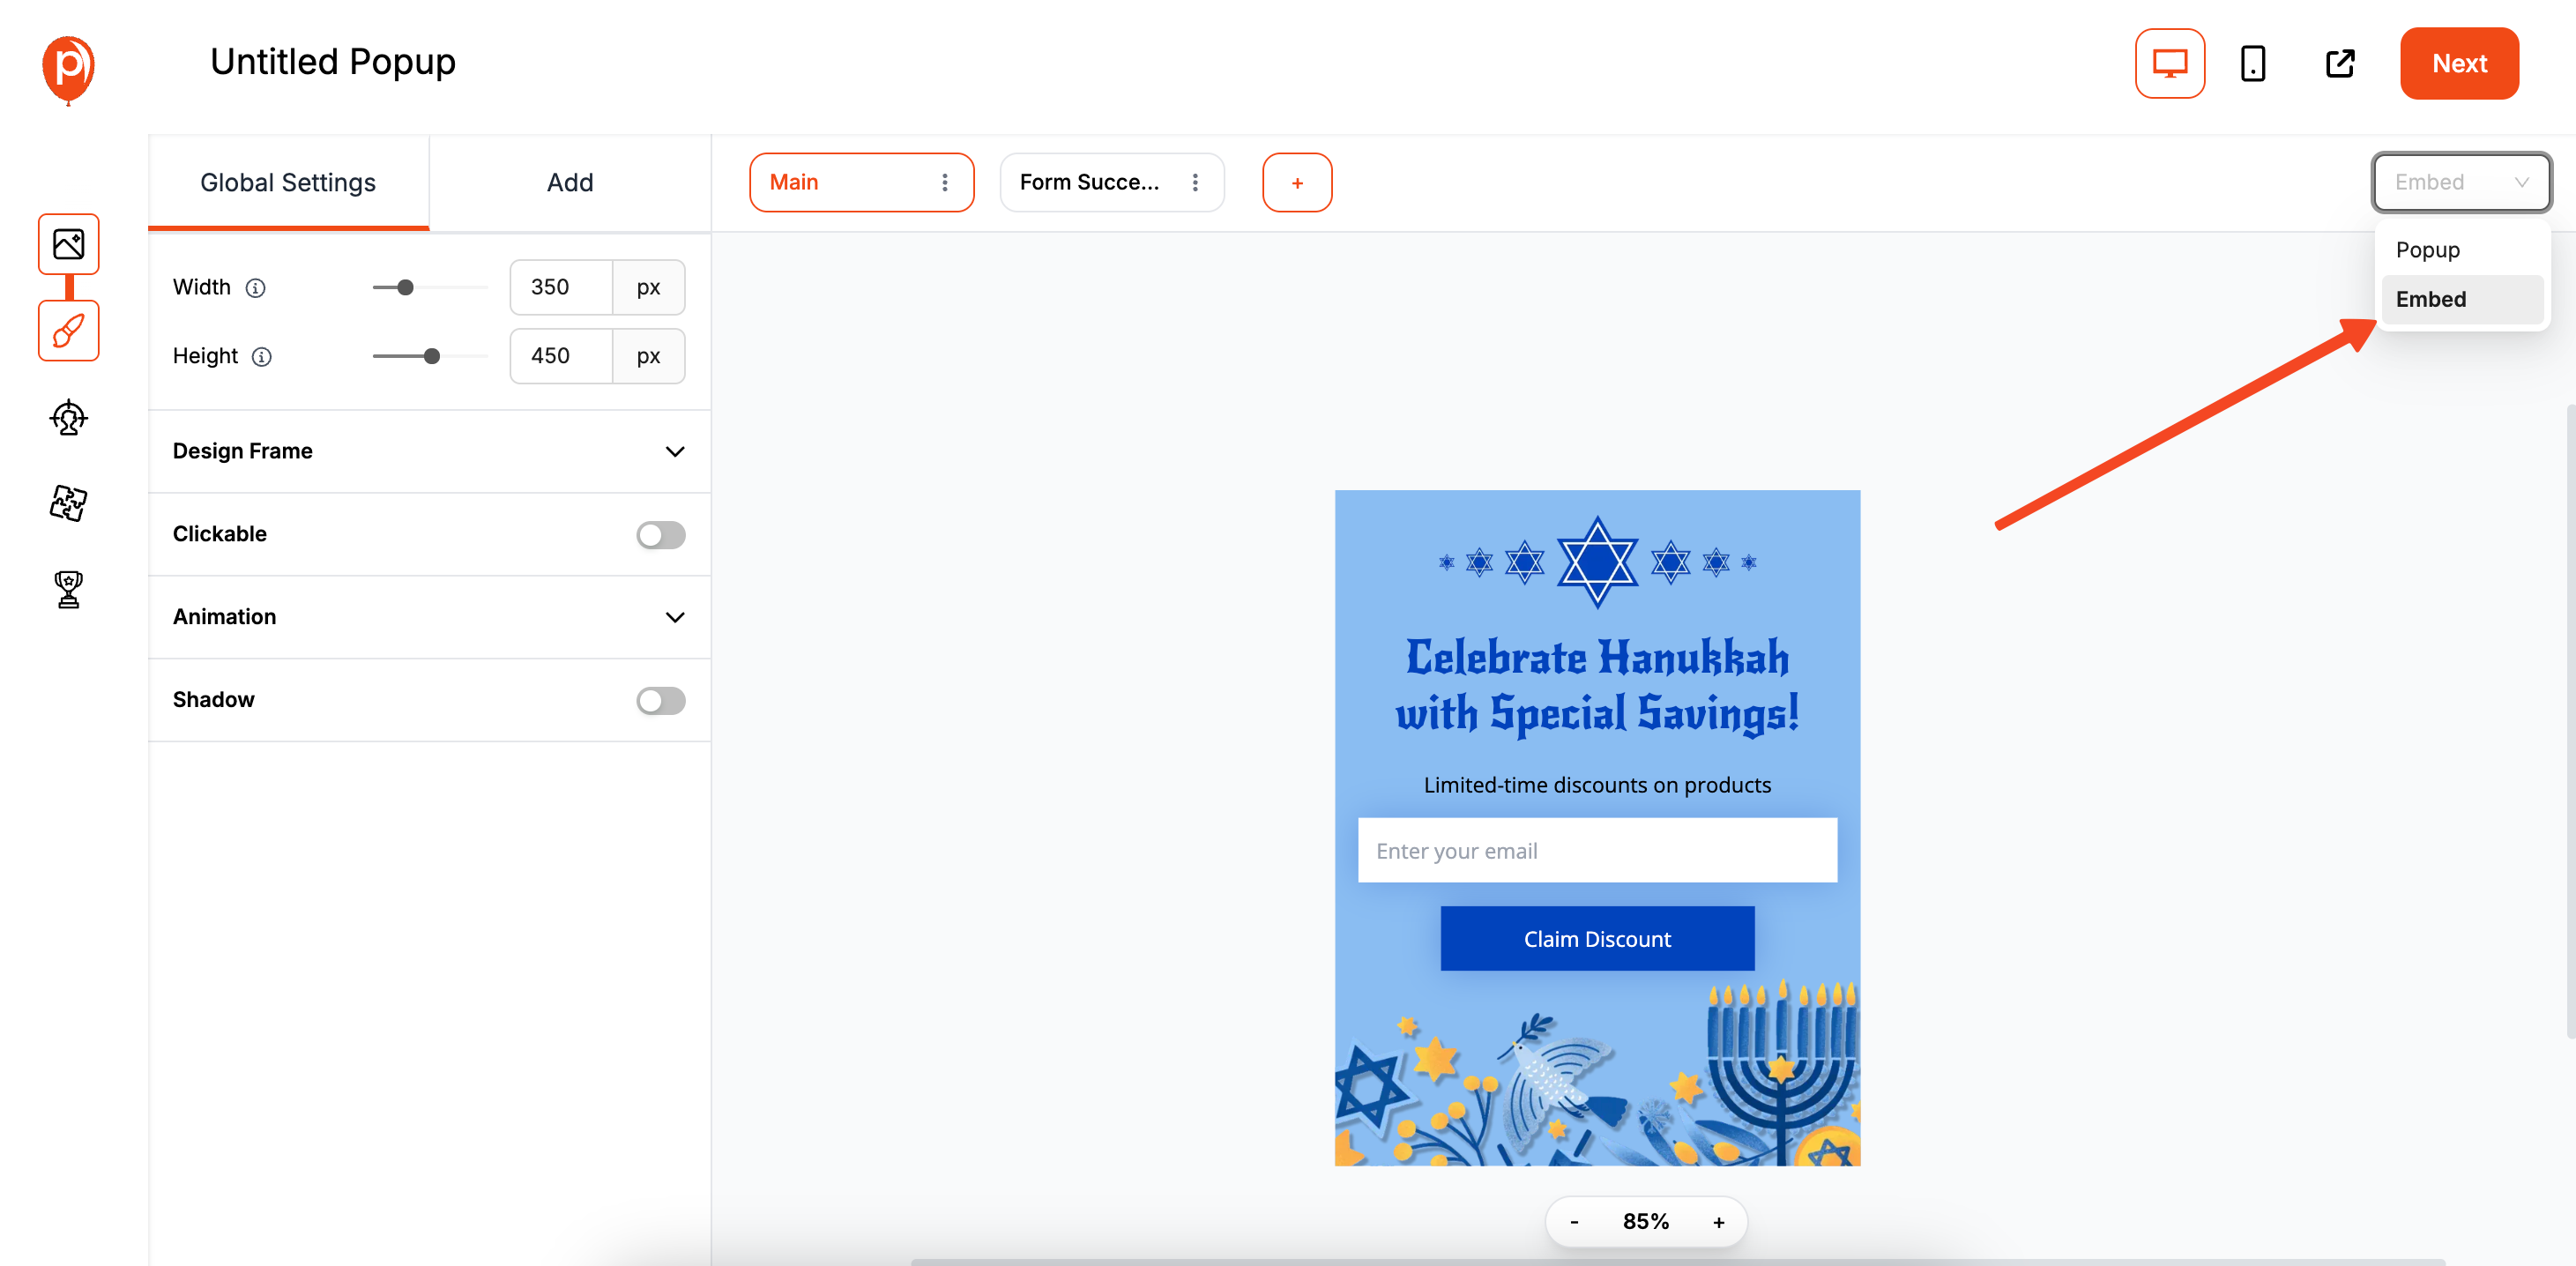
In the top right corner of the editor screen, you’ll see the campaign type switcher. Change it from "Popup" to "Embed."
Step 4: Set Your Display Rules
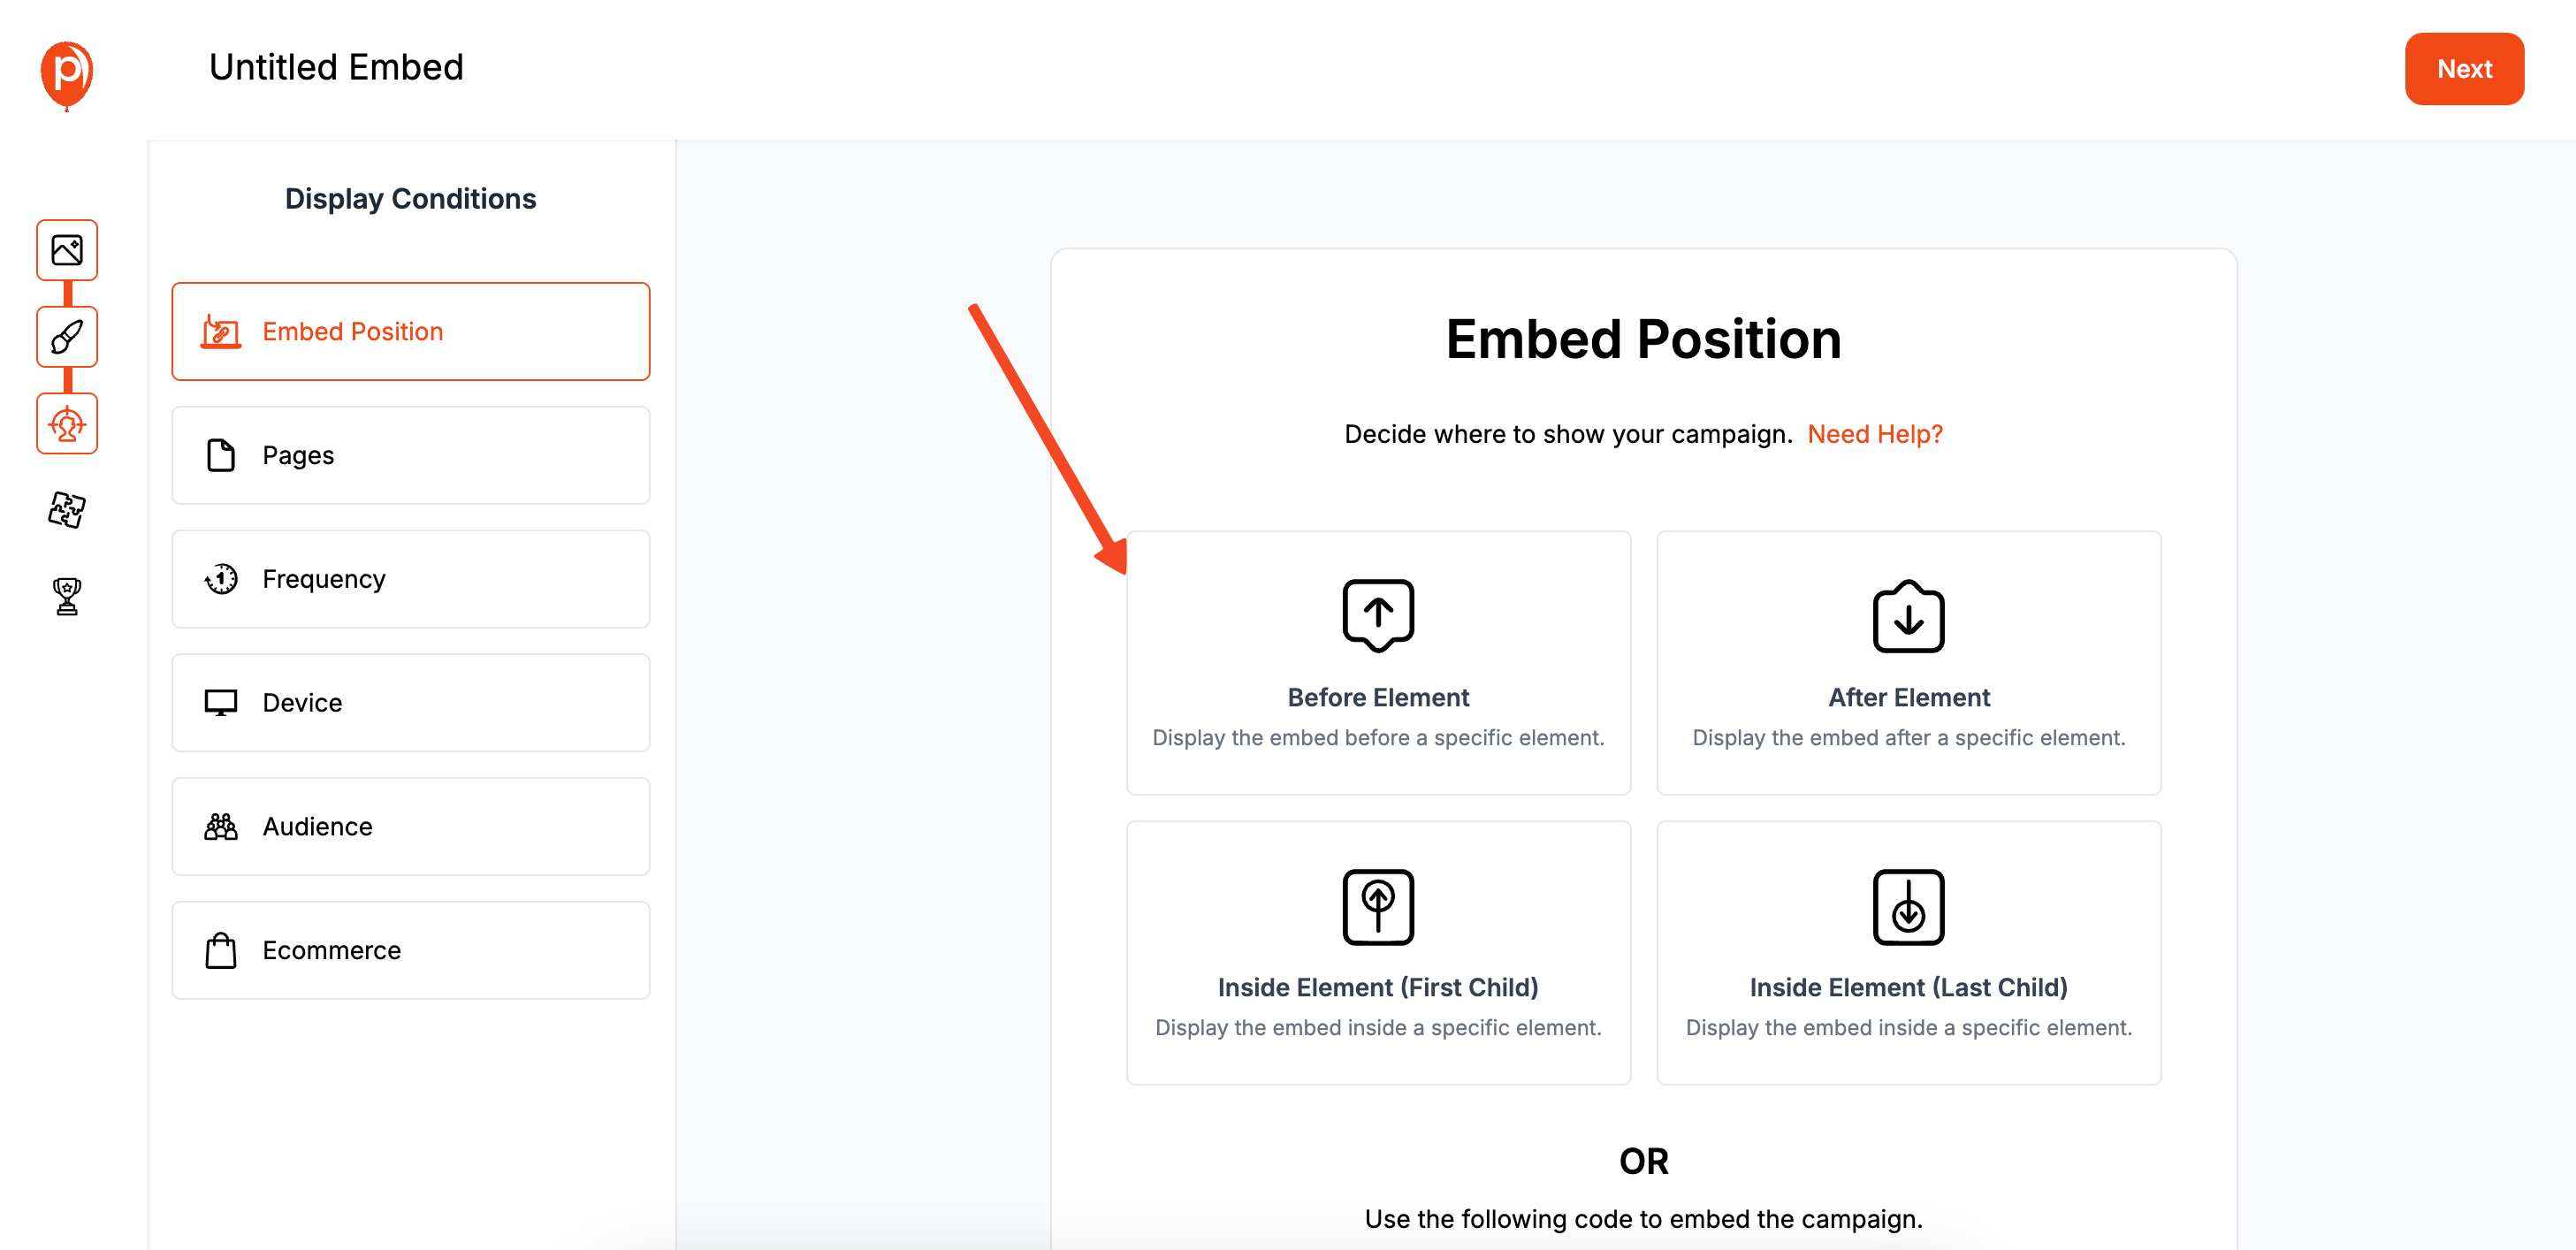
After you’re happy with the design, click ‘Next’ to head to the ‘Display Conditions’ page. This is where the real power is. You can decide exactly where and to whom your form appears.
For instance, you can set a contact form to appear only on your /contact page. Or, you could show a newsletter signup form exclusively to first-time visitors on your blog. This ensures the right message reaches the right person without being intrusive. For more targeting ideas, see our tips on first-time visitor popups and page-based popups.
Step 5: Connect Your Marketing Tools Click ‘Next’ again to reach the ‘Integrations’ section. A form is only useful if the data goes where you need it. Here, you can connect Poper to your email marketing software, CRM, or other tools you use daily. Want a detailed walkthrough? See our guide on how to connect Klaviyo with Poper.
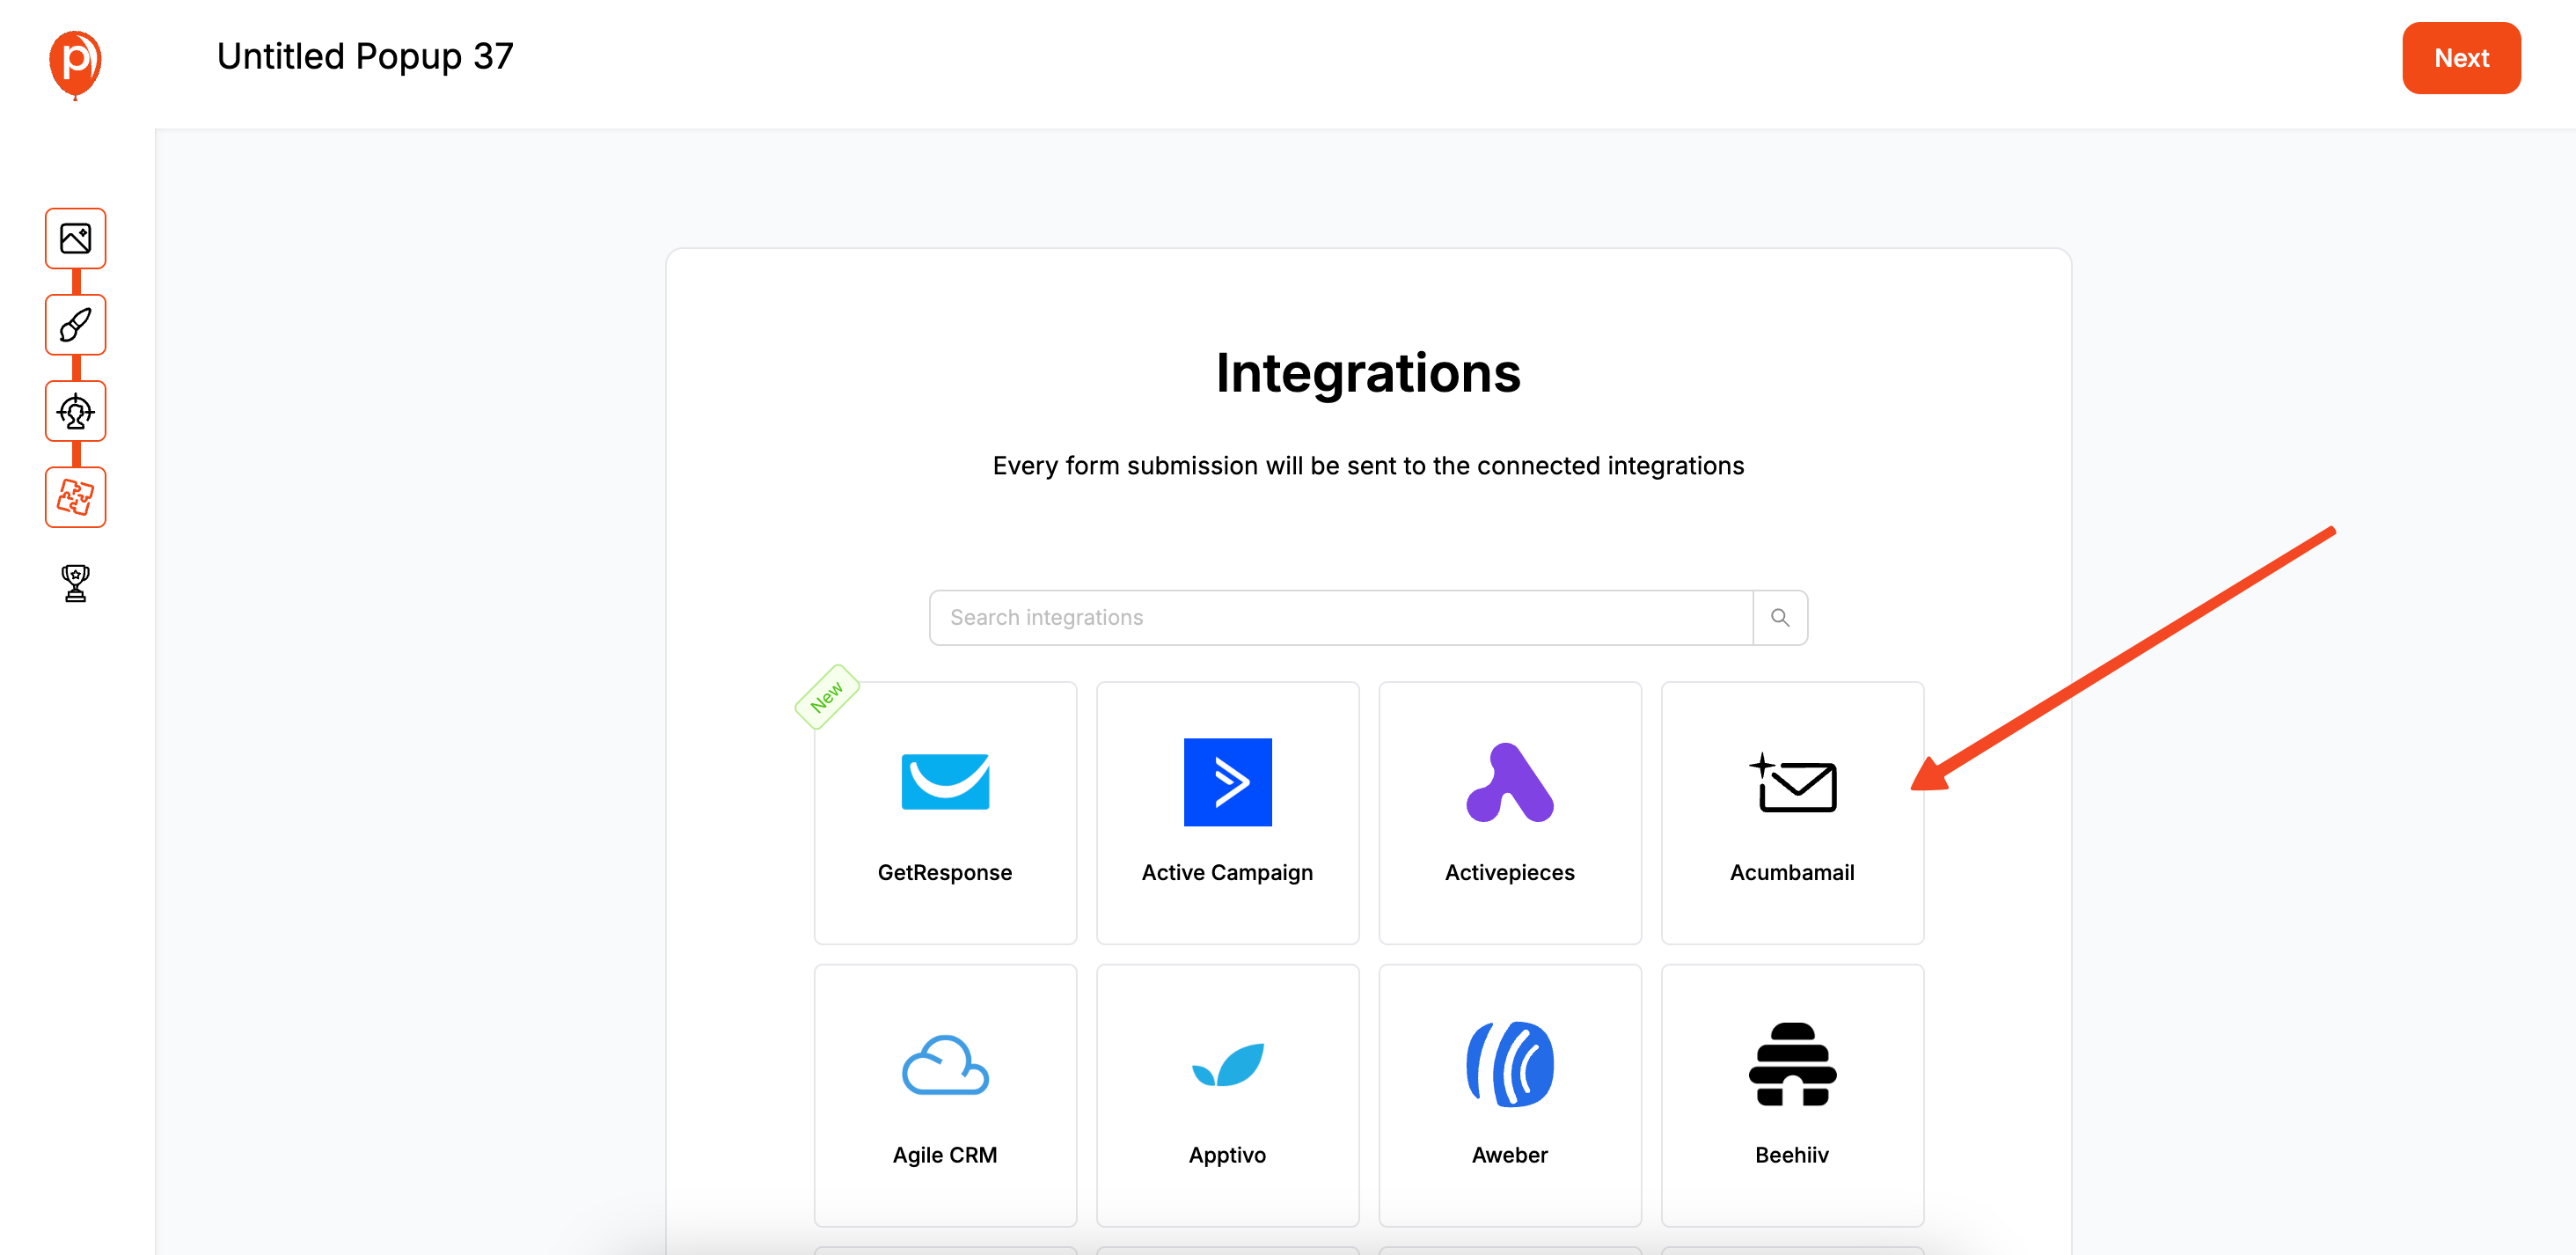
Click ‘Next’ again to reach the ‘Integrations’ section. A form is only useful if the data goes where you need it. Here, you can connect Poper to your email marketing software, CRM, or other tools you use daily.
Just find your tool in the list, follow the simple connection steps, and we'll automatically send every new submission directly there. This completely automates your lead collection workflow.
Step 6: Install the Poper Code (One-Time Setup)
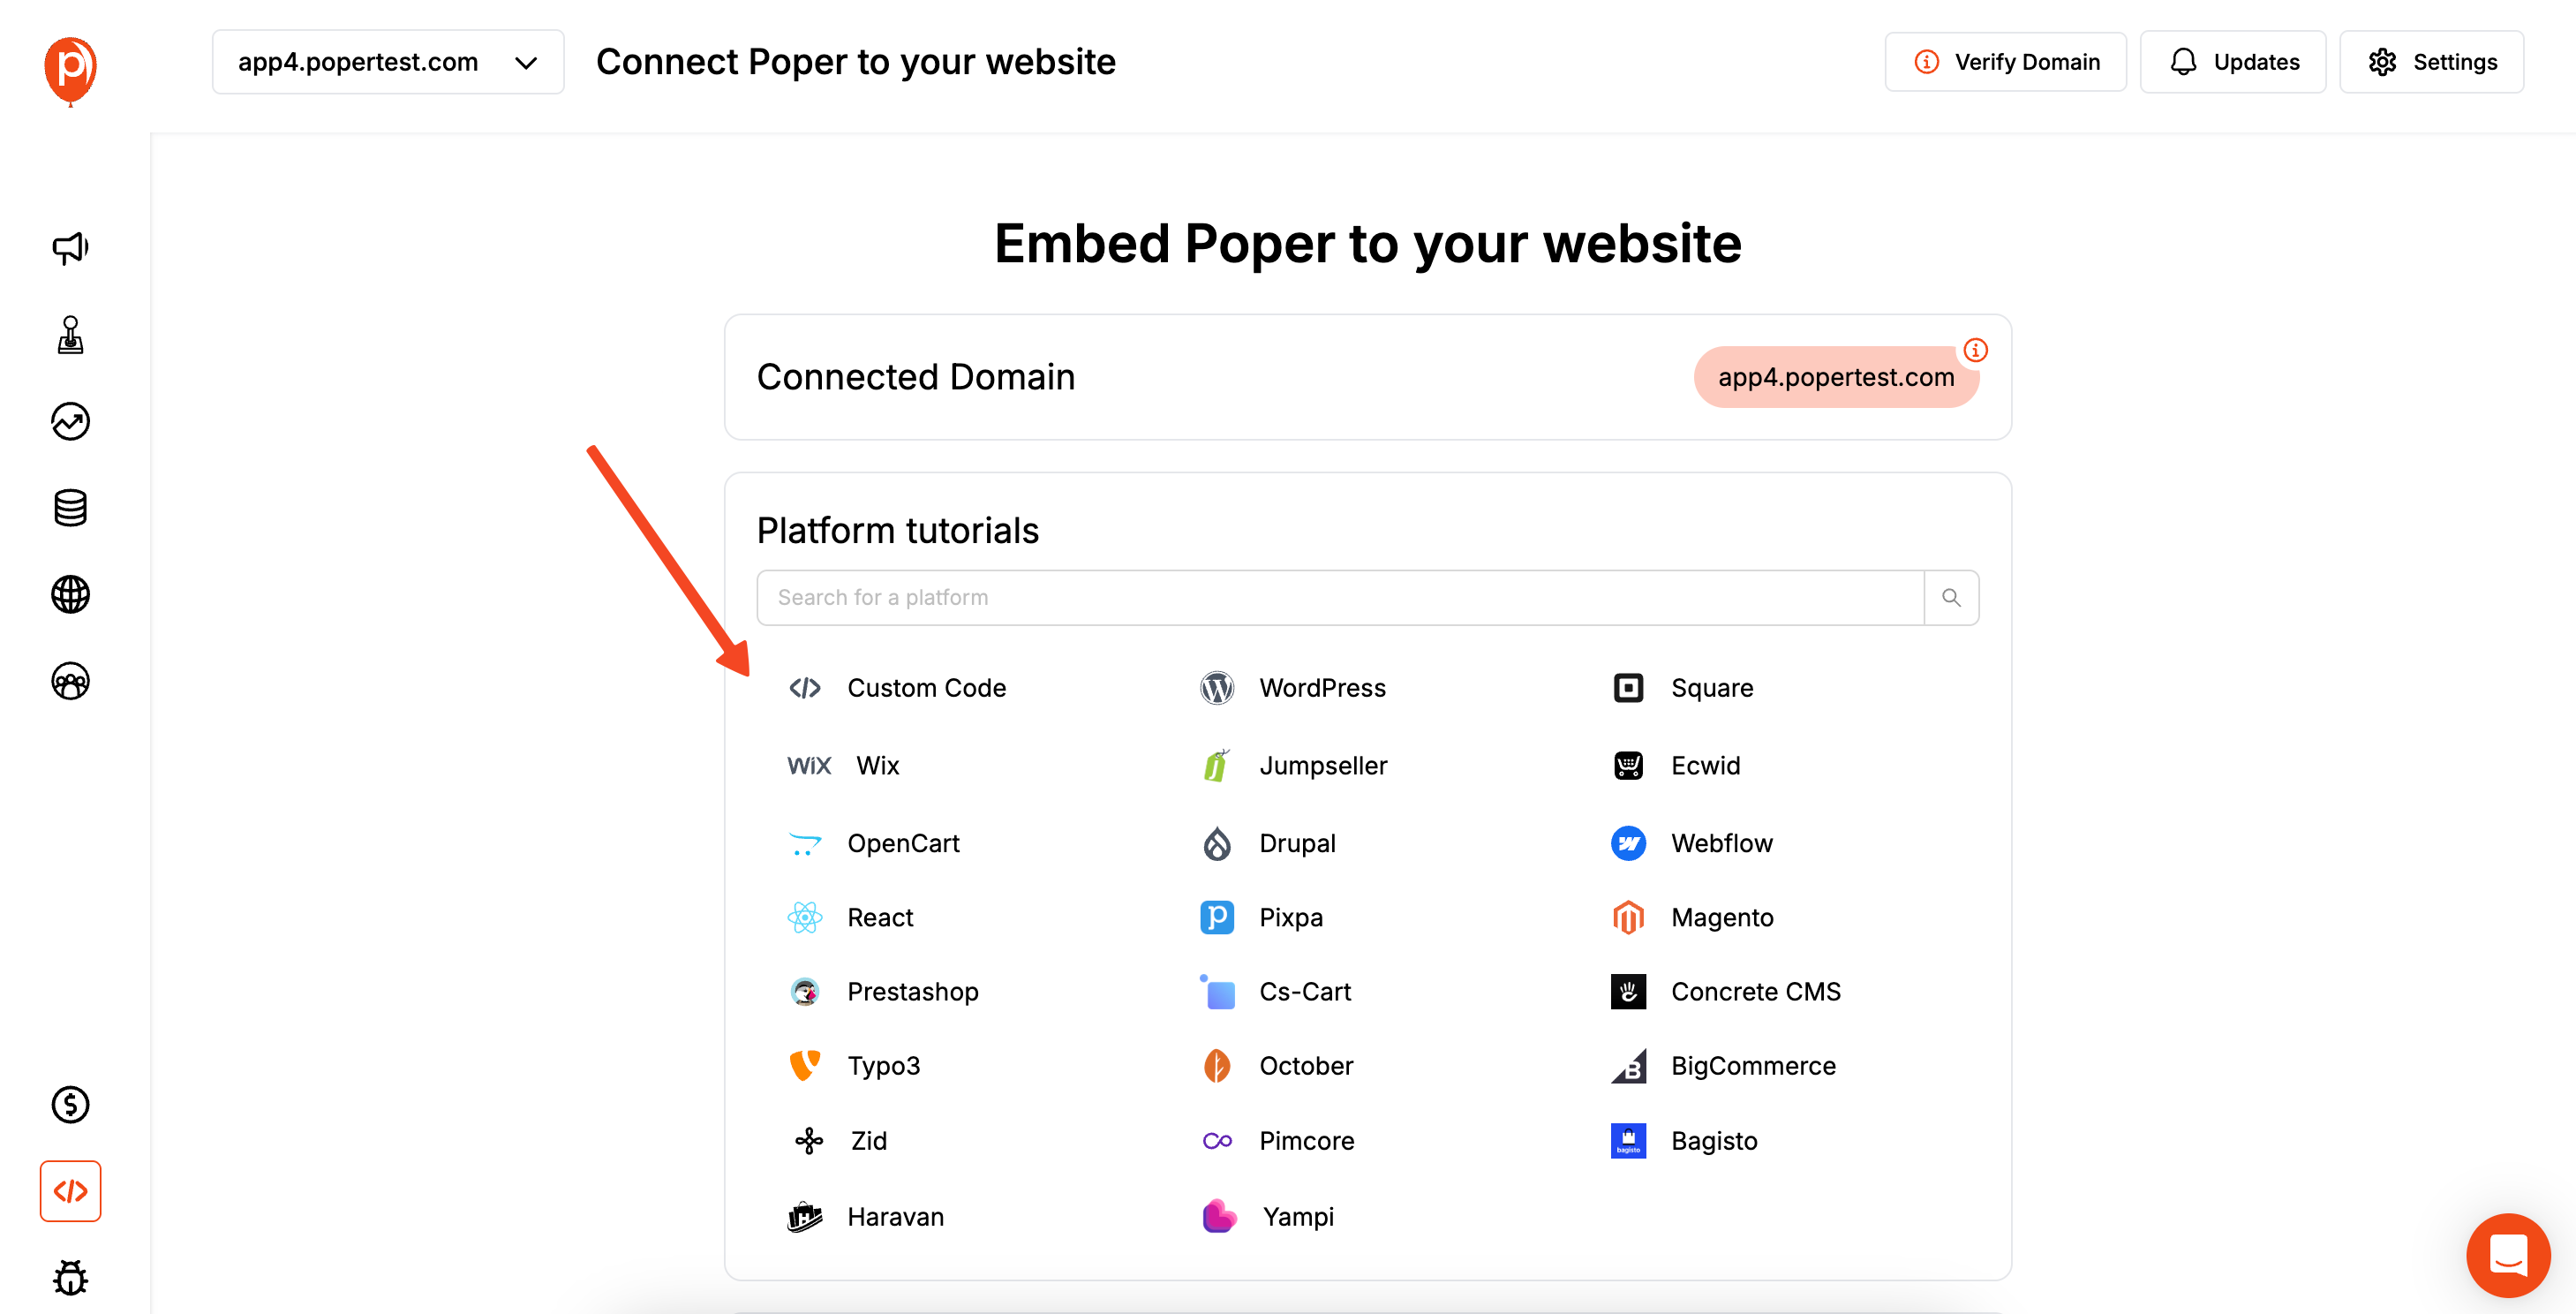
Almost done! The final step is to install the Poper code snippet on your website. You only have to do this once. Head to the 'Installation' section in your dashboard to find your unique code.
Copy this snippet and paste it into your website’s HTML, right before the closing </body> tag. Every website builder, from WordPress to Shopify, has an easy way to add custom code like this. If you're using WordPress, check out our guide to the best popup plugins and integration tips.
Once the code is live, your new form will appear exactly as you planned. You can now collect leads and feedback on autopilot. Happy building
Method 1: Manually Coding a Website Form (HTML & CSS)
For developers or those wanting ultimate control, building a form with code is the most fundamental approach. This requires handling the frontend (HTML/CSS for structure and style) and the backend (a server-side script like PHP to process the data). If you're interested in popup functionality alongside your manually coded forms, learn more in our tutorial on how to create a popup in HTML or expand your skills with building popups using JavaScript.
Step 1: Write the HTML Structure
Use the <form> tag and various <input> types to build your form.
Step 2: Style with CSS
Use CSS to make your form look professional and match your brand.Generated css
.my-form { max-width: 500px; margin: 20px auto; padding: 20px; border: 1px solid #ccc; border-radius: 8px; }.form-group { margin-bottom: 15px; }.form-group label { display: block; margin-bottom: 5px; }.form-group input, .form-group textarea { width: 100%; padding: 8px; border: 1px solid #ddd; border-radius: 4px; }.my-form button { padding: 10px 15px; background-color: #007bff; color: white; border: none; border-radius: 4px; cursor: pointer; }
Step 3: Create a Backend Script to Process the Data (e.g., PHP)
The action="process-form.php" in the HTML points to a server-side script. This script takes the submitted data and does something with it, like sending an email. This is a simplified example.
Choosing the Right Method to Create Your Website Forms
| Method | Best For | Pros | Cons |
| Manual Coding | Developers, unique requirements, full control | Ultimate customization, no third-party reliance | Requires backend coding, time-consuming, you build everything |
| WordPress Plugins | WordPress users, wide range of needs from simple to complex | Easy to use, many free options, huge ecosystem of add-ons | Can slow down site, quality varies, tied to WordPress |
| Dedicated Builders (Poper) | Marketers & business owners on any platform, need for advanced features | User-friendly, works on any site, popups & forms in one tool, integrations | Subscription-based, relies on a third-party service |
Conclusion
Knowing how to create website forms is essential for digital success.
Manual coding offers unparalleled control for those with the technical skills.
WordPress plugins provide an accessible and powerful solution for the world's most popular CMS.
Dedicated form and popup builders like Poper offer the ultimate combination of ease of use, design flexibility, and advanced functionality, allowing anyone to create beautiful, high-converting forms on any website and automate their data flow.
By choosing the right tool for your needs and focusing on a simple, user-friendly design, you can create effective website forms that become a cornerstone of your online strategy. To boost your results, see our proven tips on increasing popup conversion rates, creating high-converting email opt-in popups, or how to create a newsletter sign-up form in ConvertKit.
Frequently Asked Questions (FAQ)
What is the most important field on a lead generation form?
The email address. It's the most direct way to nurture a lead and is the one field you should almost always require.
How many fields should a website form have?
As few as possible. Every additional field you add can decrease your conversion rate. For an initial opt-in, name and email are often enough. For a "Contact Us" or quote form, more fields are expected and necessary.
What is a "honeypot" field for spam protection?
A honeypot is a hidden form field that is invisible to human users but visible to spam bots. You can then configure your form to reject any submission that has this hidden field filled out, as it was likely submitted by a bot.
How do I ensure my website form is GDPR compliant?
You should include a checkbox for explicit consent (e.g., "I agree to receive marketing emails"), ensure it is unchecked by default, and link to your privacy policy.

