
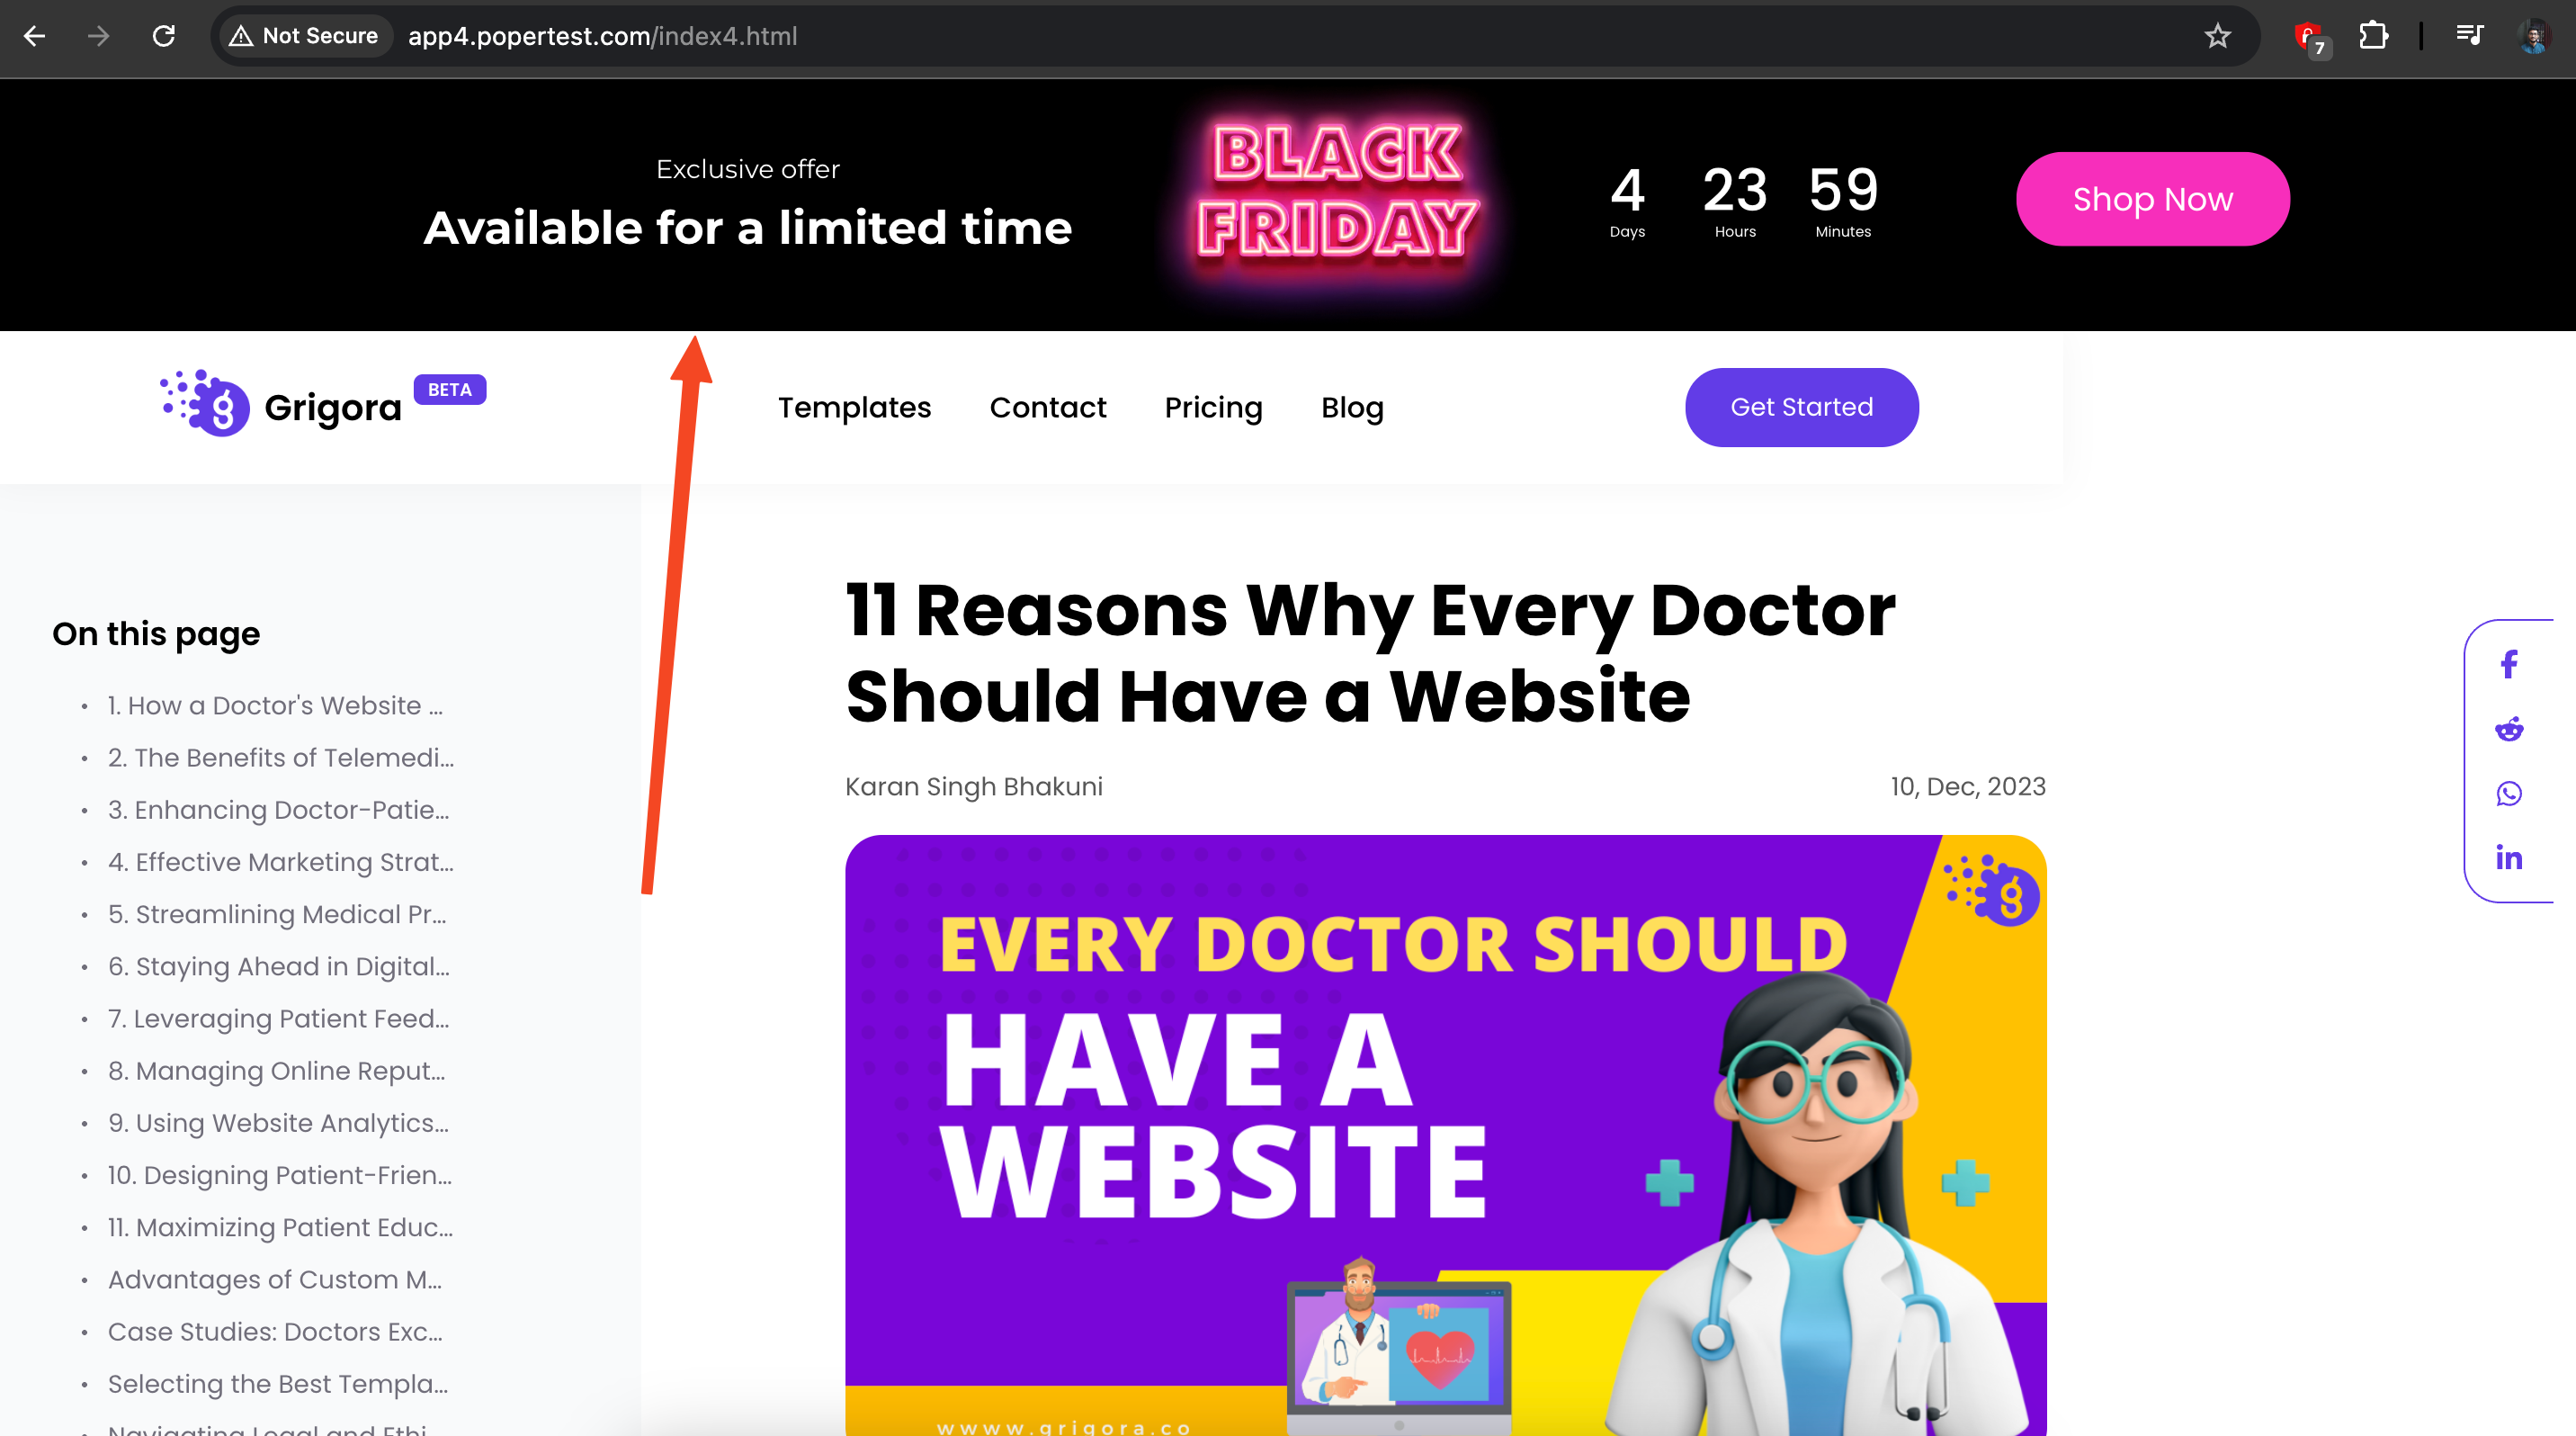
A countdown widget creates urgency and increases conversions by motivating users to act quickly. In this guide, we’ll show you exactly how to add a countdown widget using Poper without writing any code. Follow these steps to create high-impact widgets and boost your sales.
Let me walk you through How To Add Countdown Widget using Poper, without writing a single line of code.
Step 1: Sign Up for Poper
First, you'll need a Poper account. Head over to our signup page and create your account. This gives you access to all the tools you need to build amazing popups, widgets, and more.
Step 2: Add Your Website Domain and Create a New Widget

Once you're logged in, add your website domain to your Poper workspace. This is how Poper knows where to display your creations. Then, let's start building by clicking the "New Widget/Popup" button.
Step 3: Choose a Countdown Template
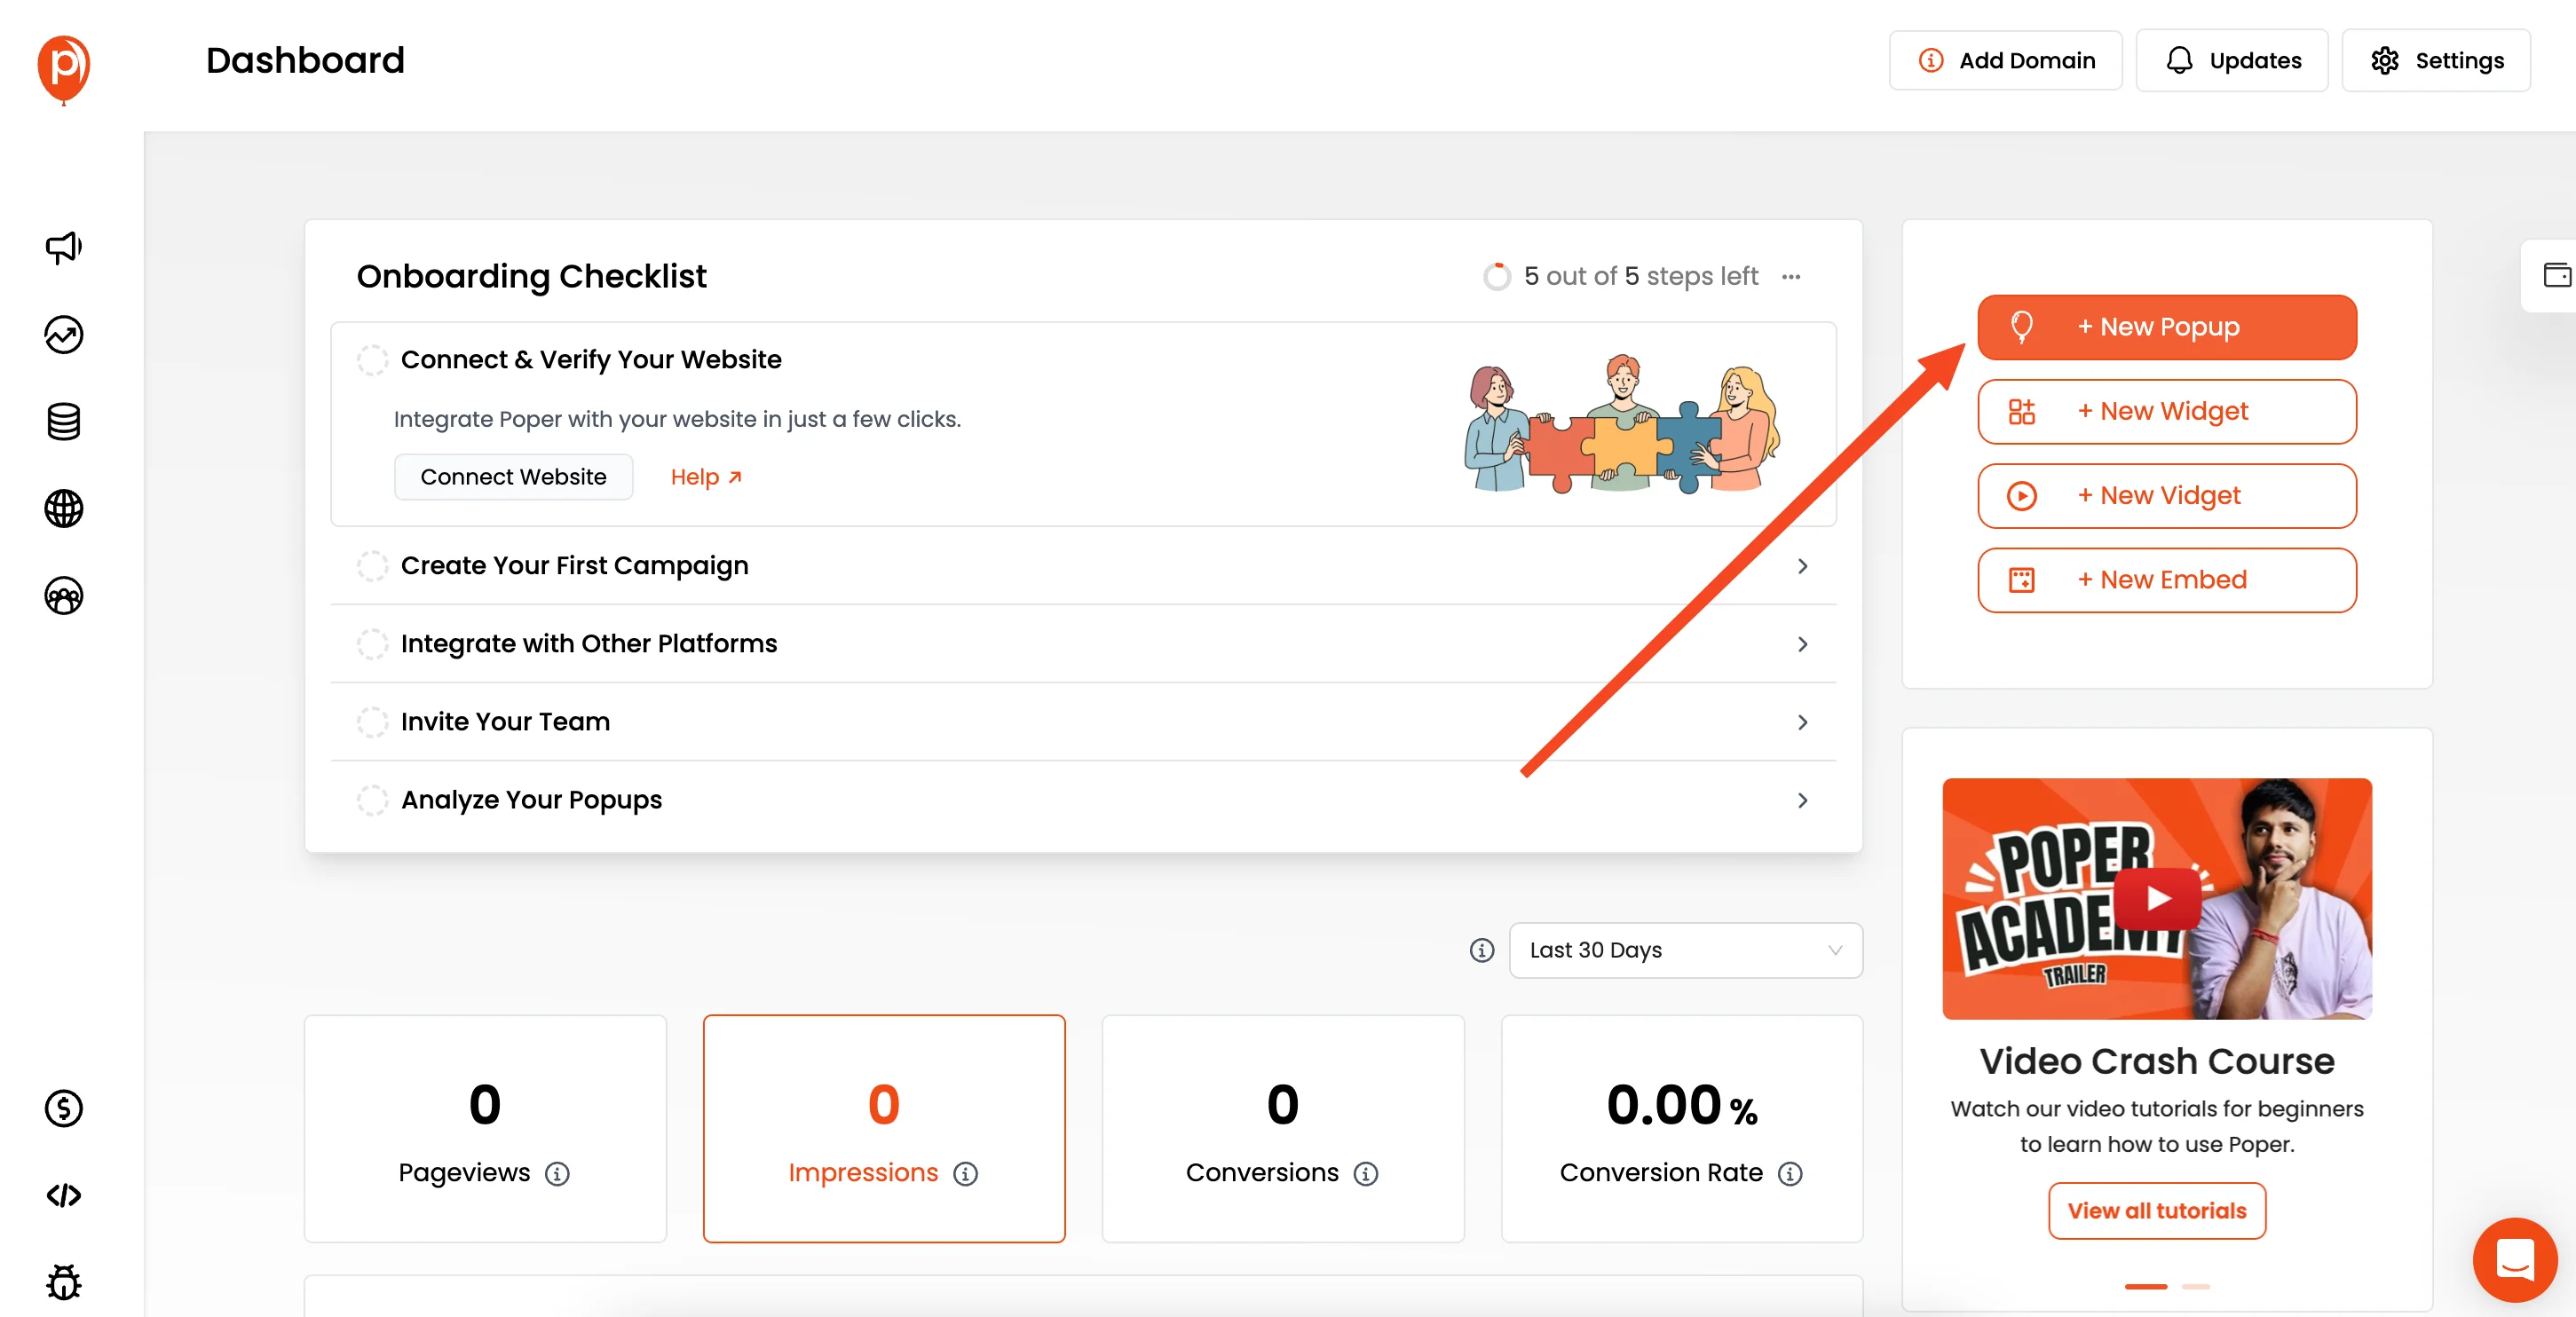
After clicking on the button, choose the "Choose from Templates" option. In the search bar, type "countdown." You'll see a variety of pre-designed templates. Pick one that aligns with your brand's style.
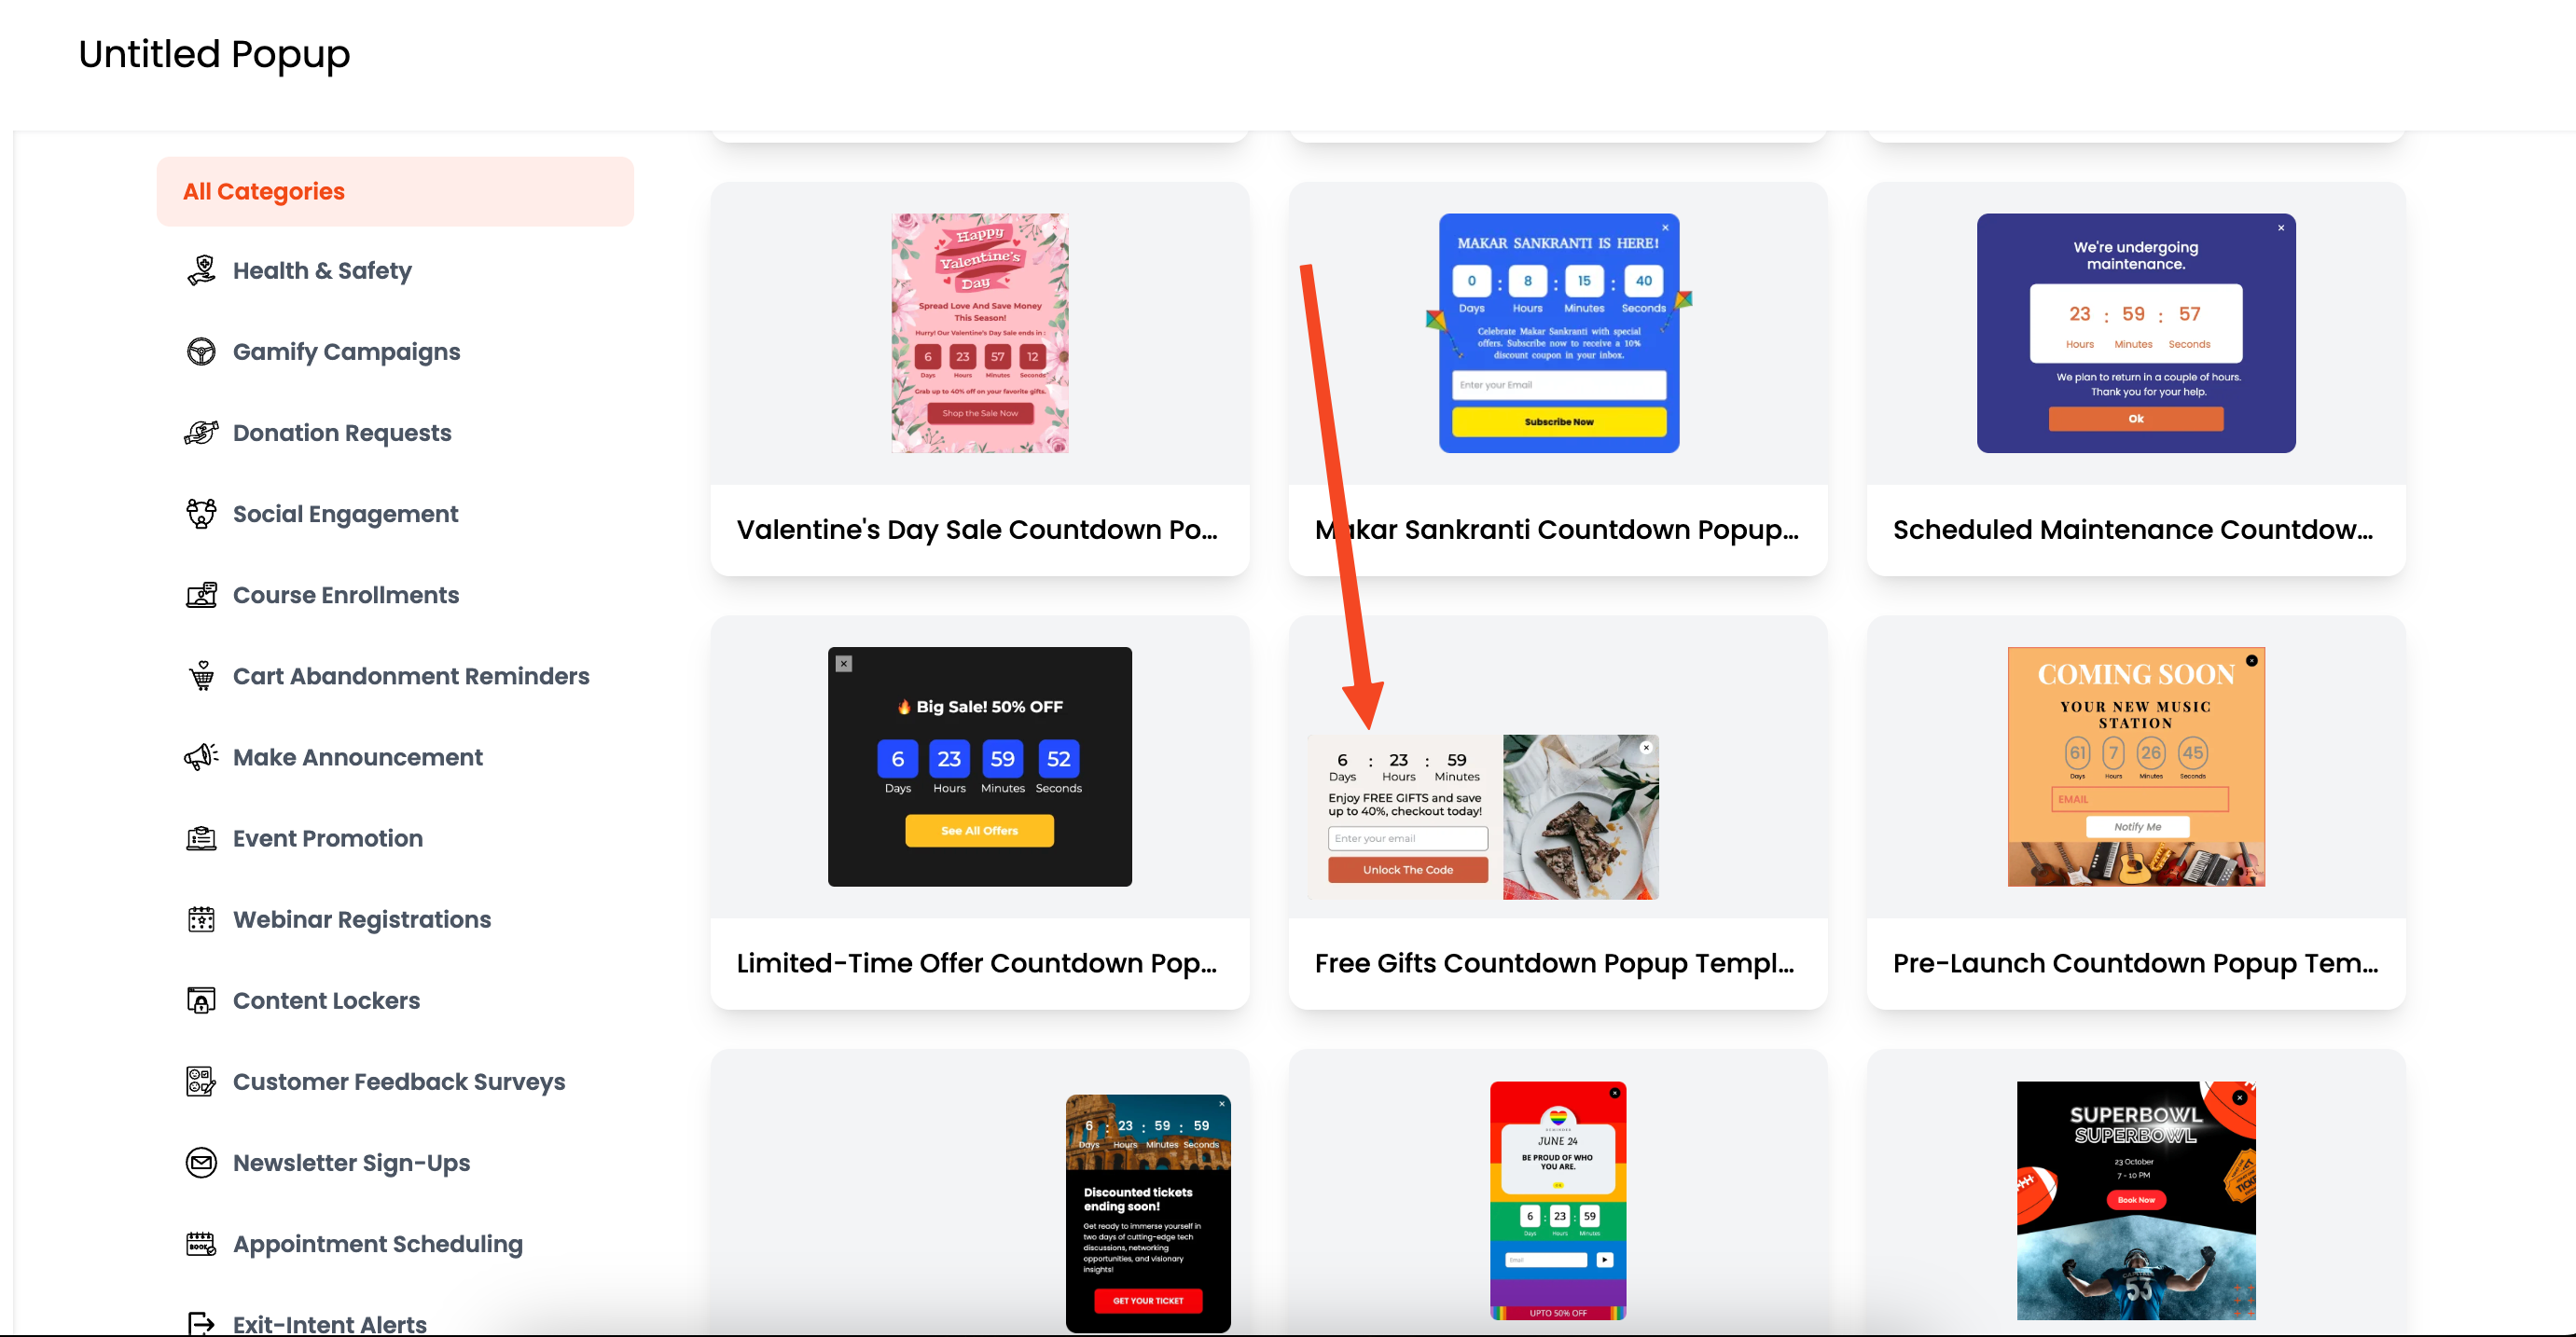
Don't worry too much about perfection; you can customize it later! For instance, if your special edition watch launch has a sleek, modern vibe, look for templates with clean lines and minimalist designs.
Step 4: Customize the Design
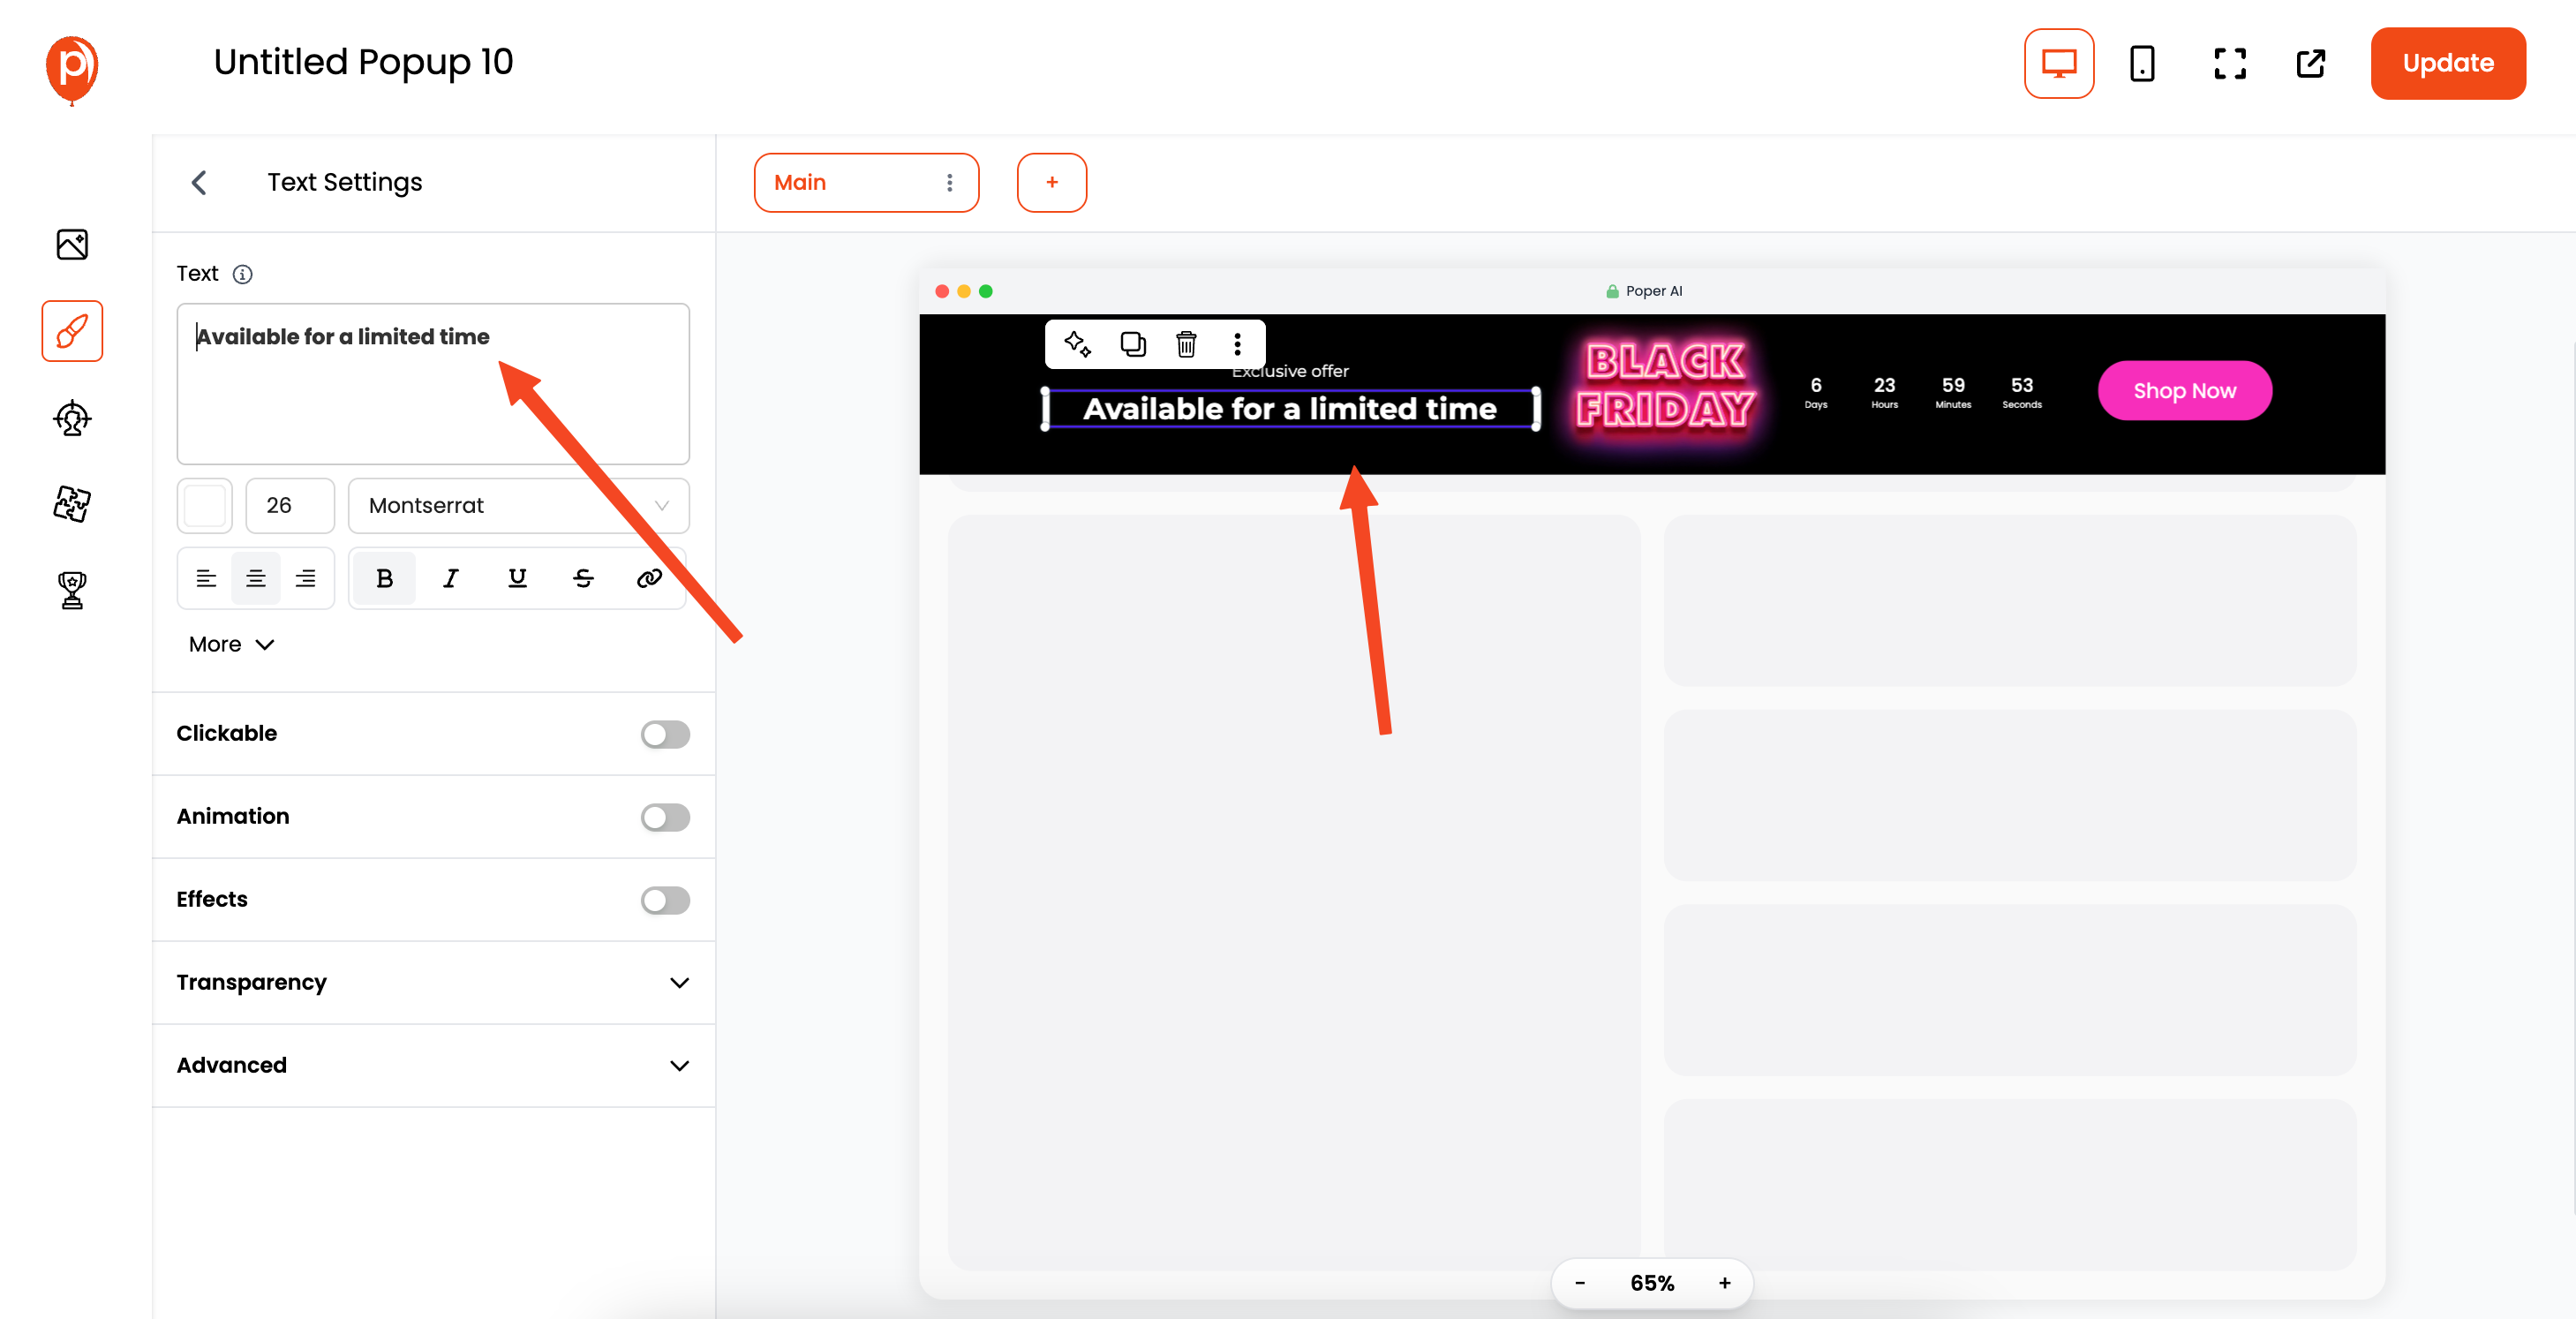
Now, it's time to make the widget your own! Use the left sidebar to edit the different elements. You can change colors, fonts, text, and more to match your website's branding.
Step 5: Set the Countdown Date and Time
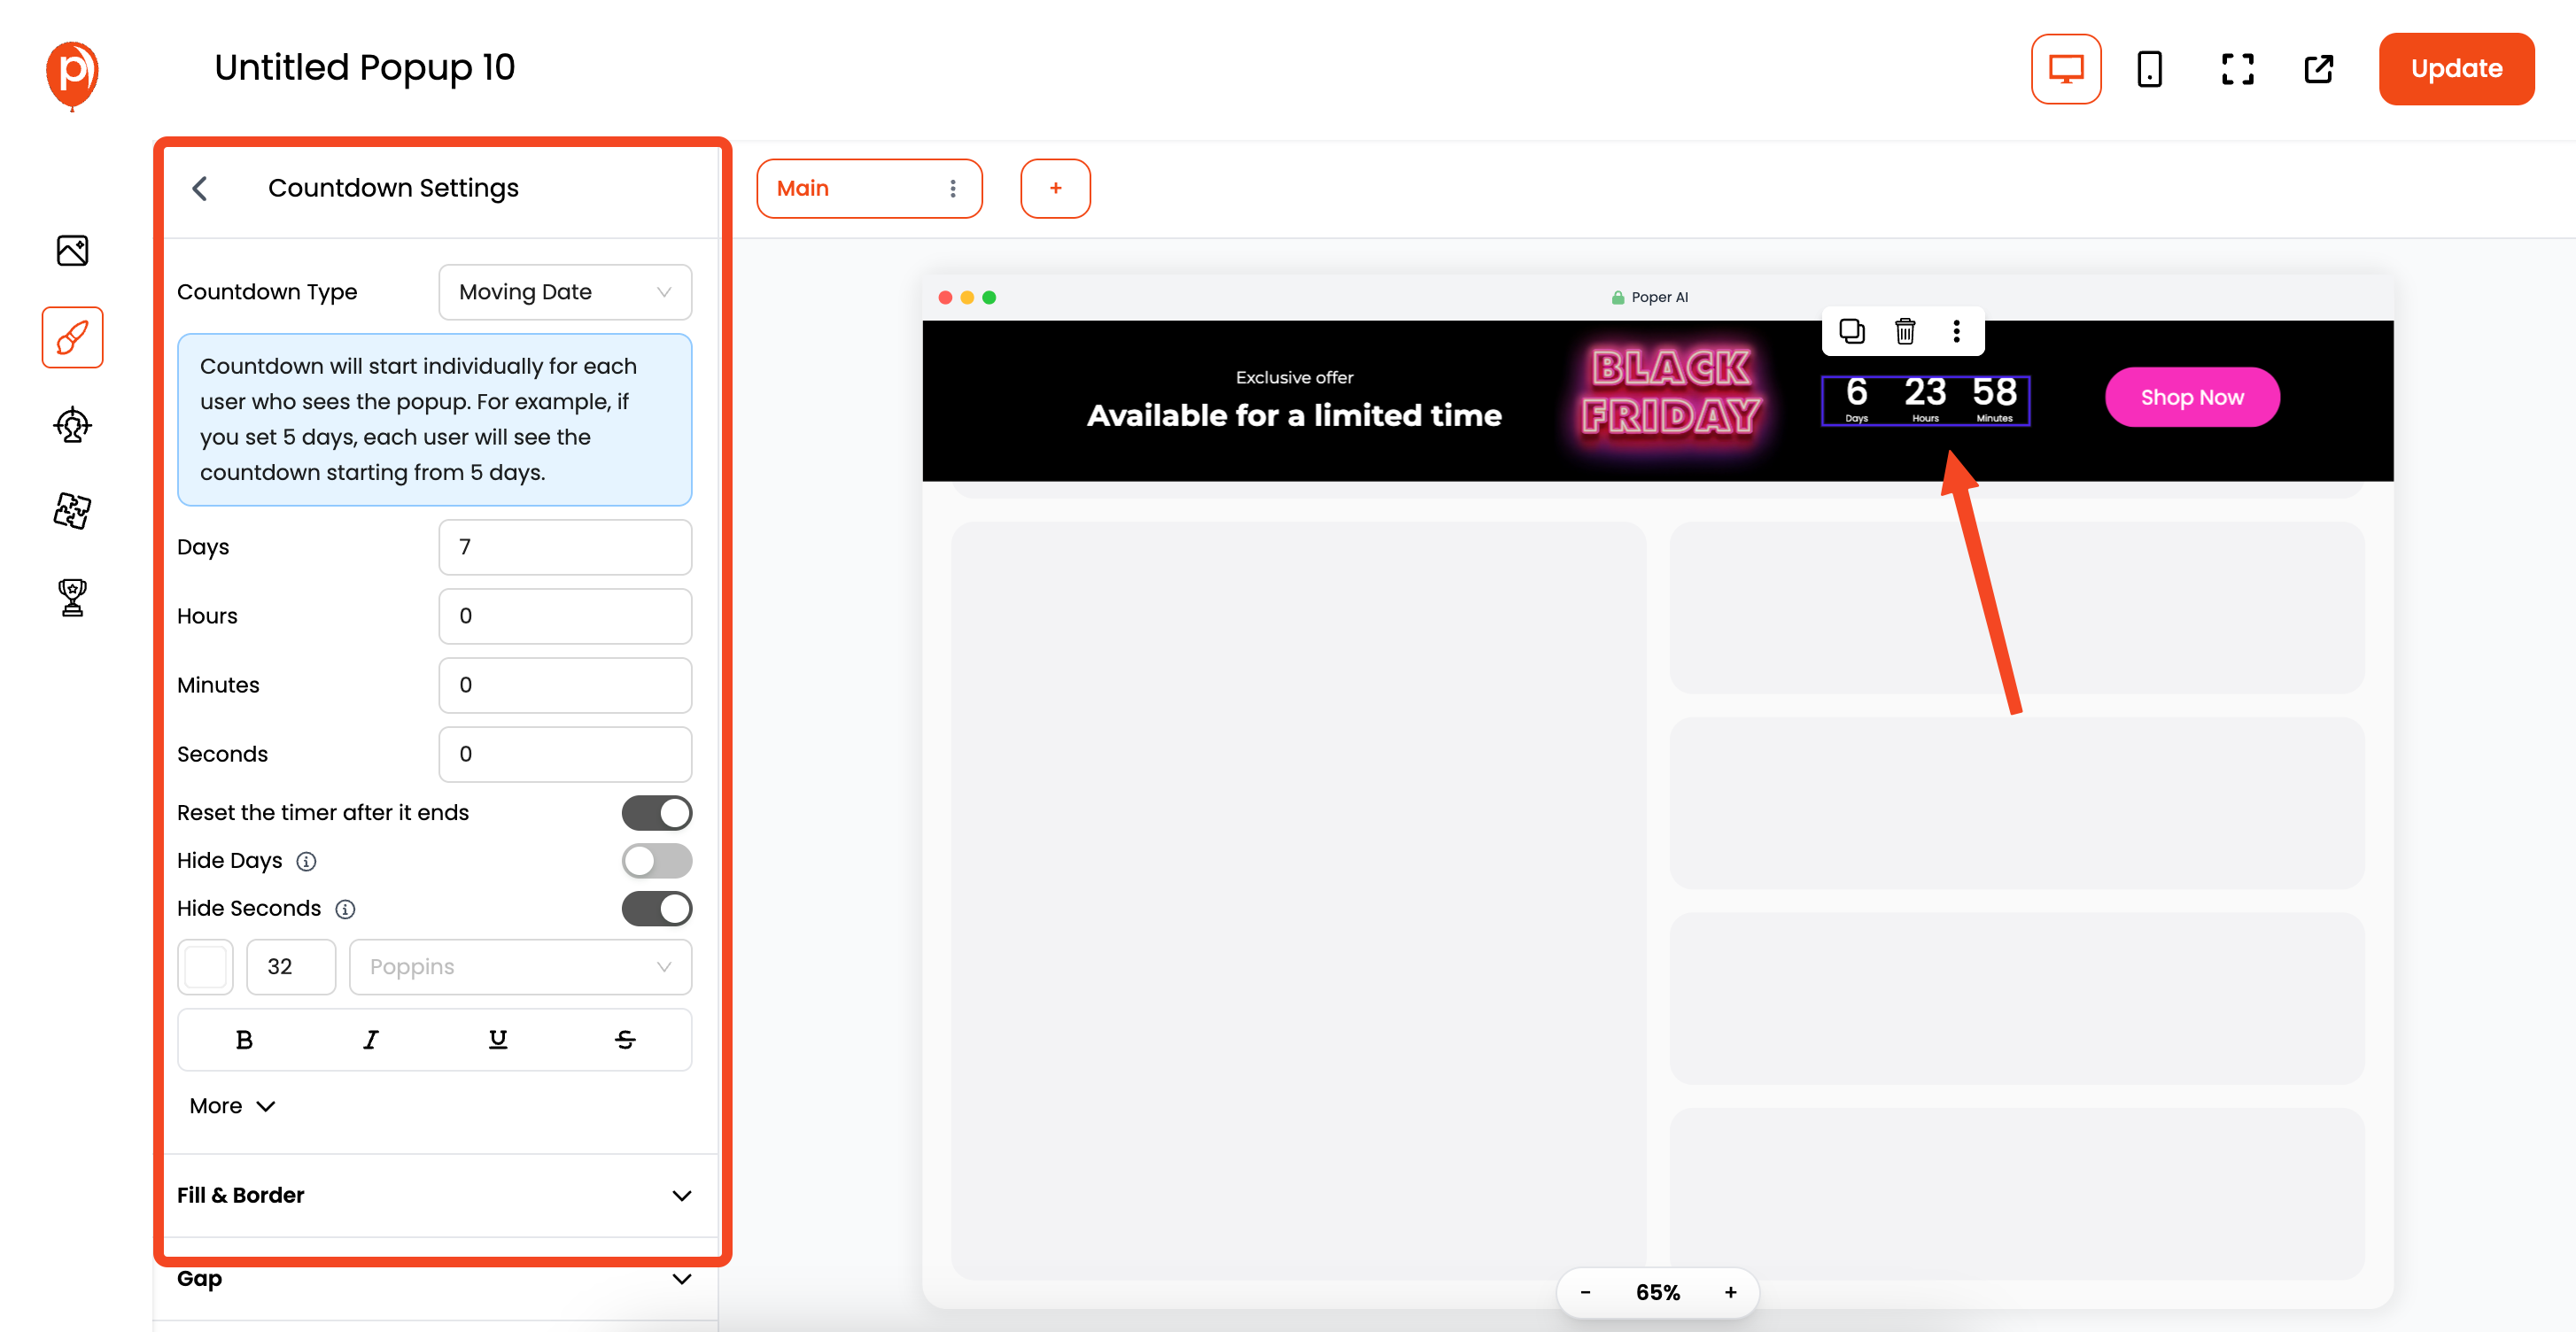
Select the countdown element within the widget. You'll see options to set the date and time. Make sure you've selected the "Fixed Date" option. This is crucial!
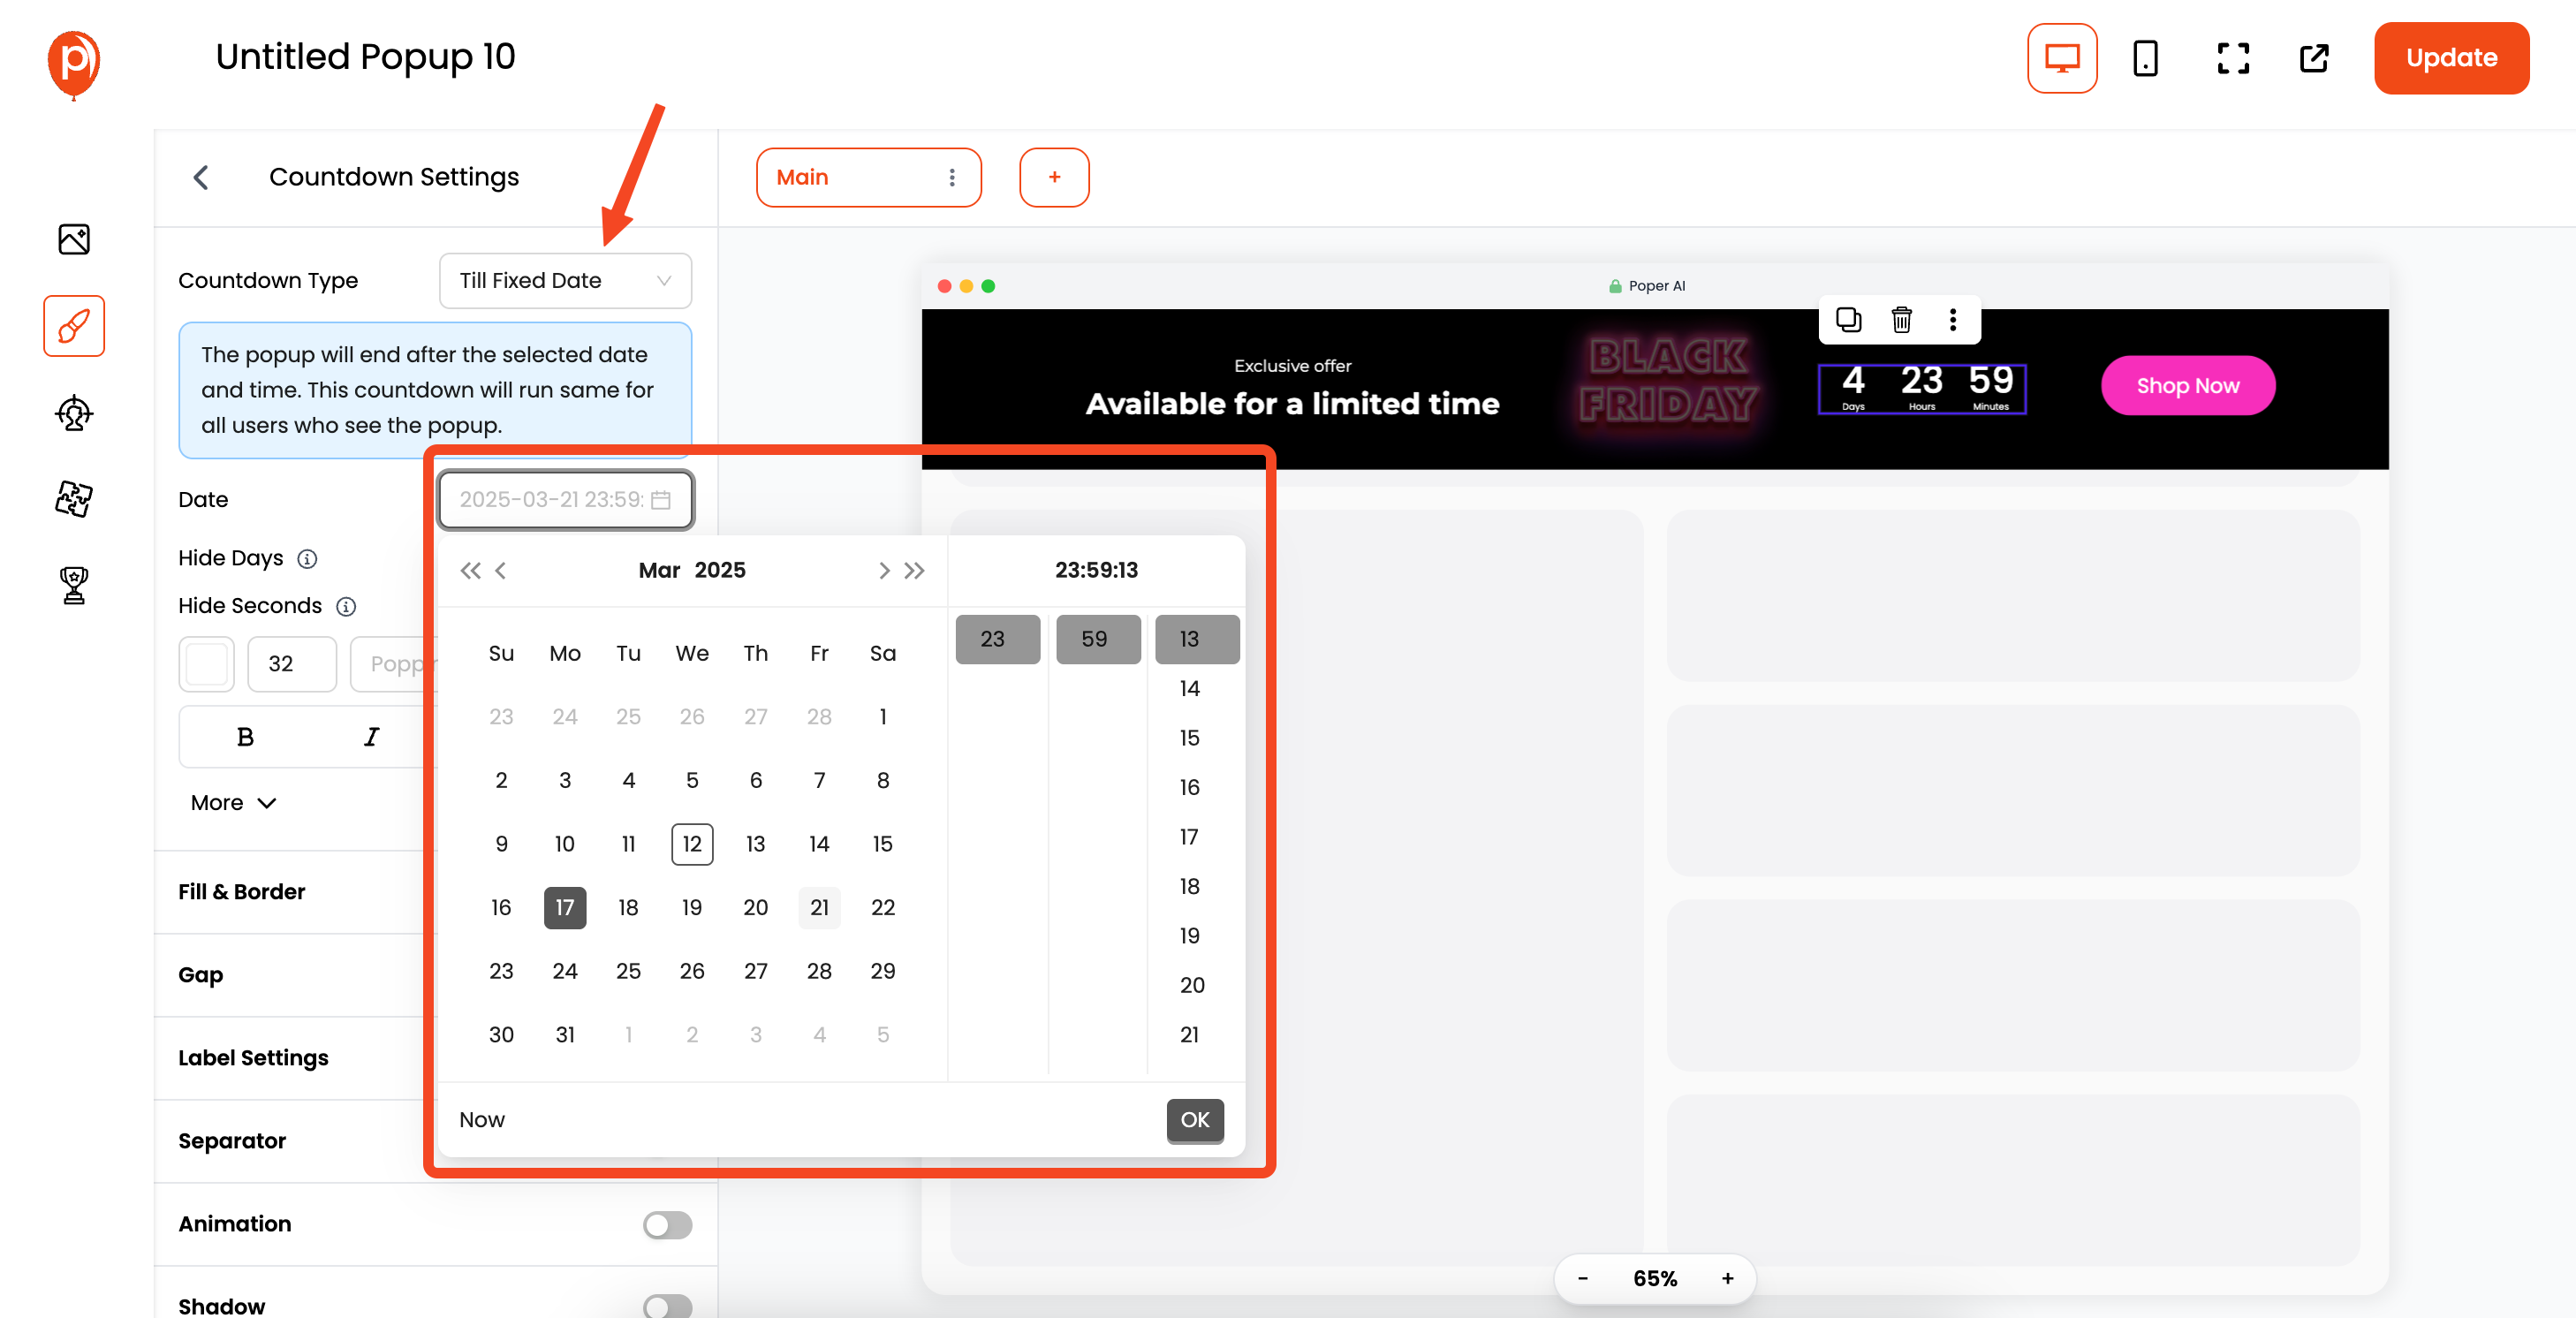
Enter the exact date and time of your product launch or offer end date. A common mistake is forgetting the timezone, so double-check that too!
Step 6: Configure Display Conditions
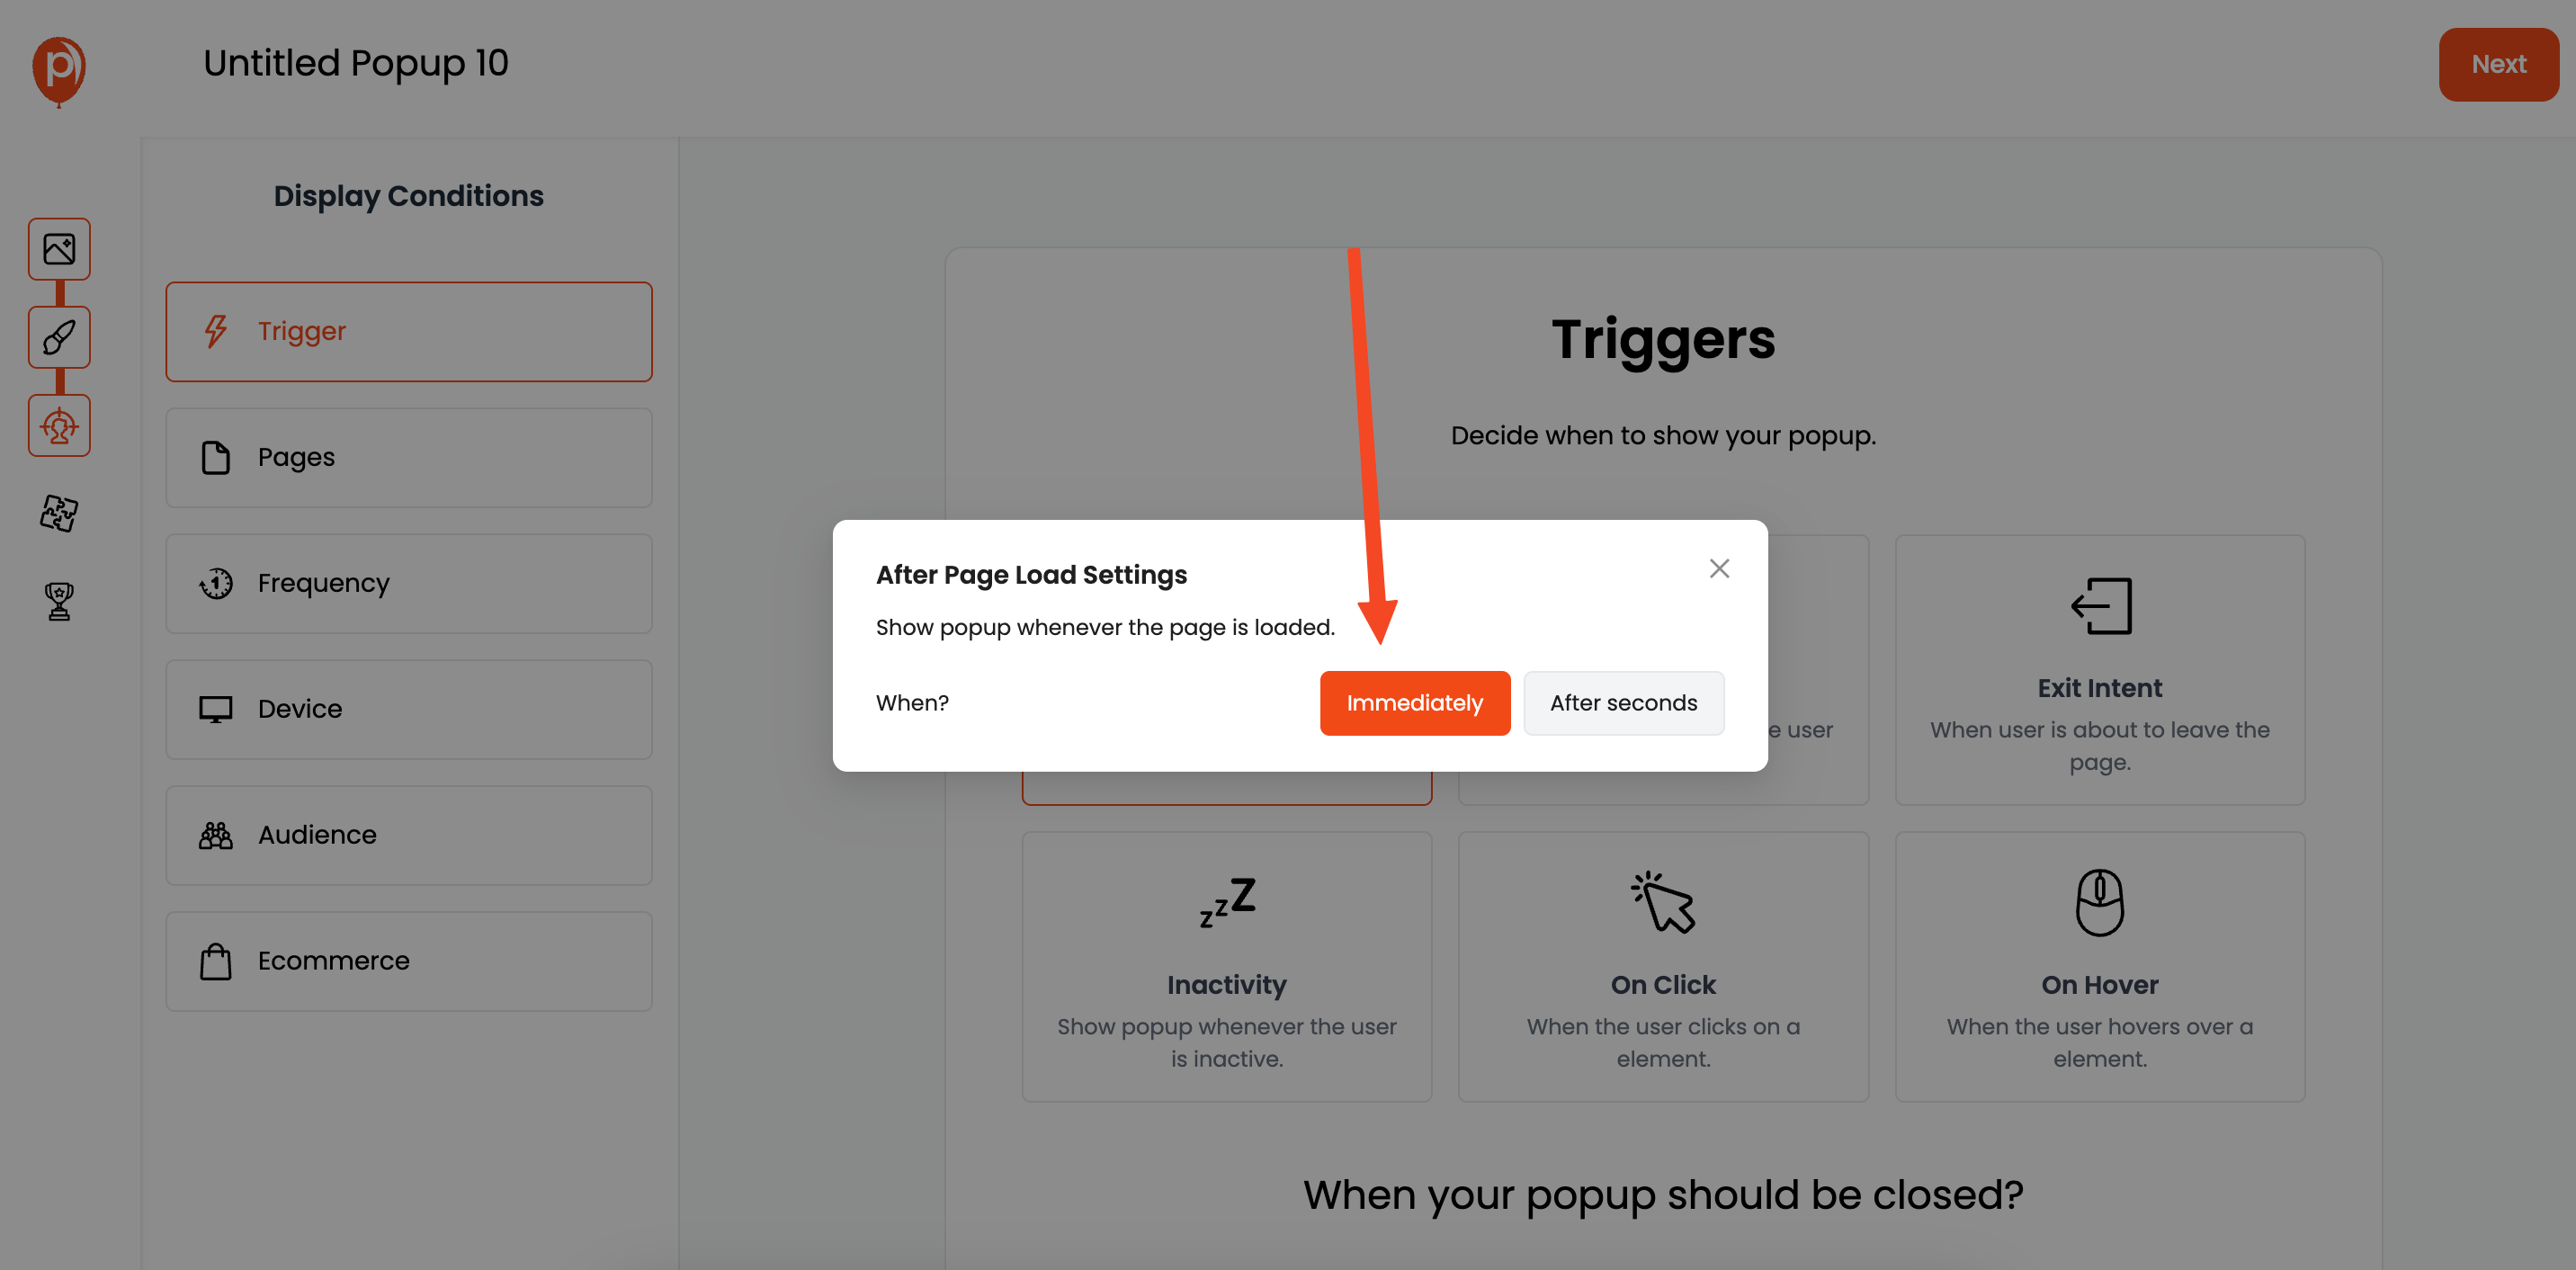
Click "Next" to move to the "Display Conditions" page. This is where you control who sees your countdown and where they see it. You can target specific pages, audience demographics, and more.
For instance, if you want the countdown to only appear on your product page, set the display condition accordingly.
Step 7: Connect Your Favorite Integrations
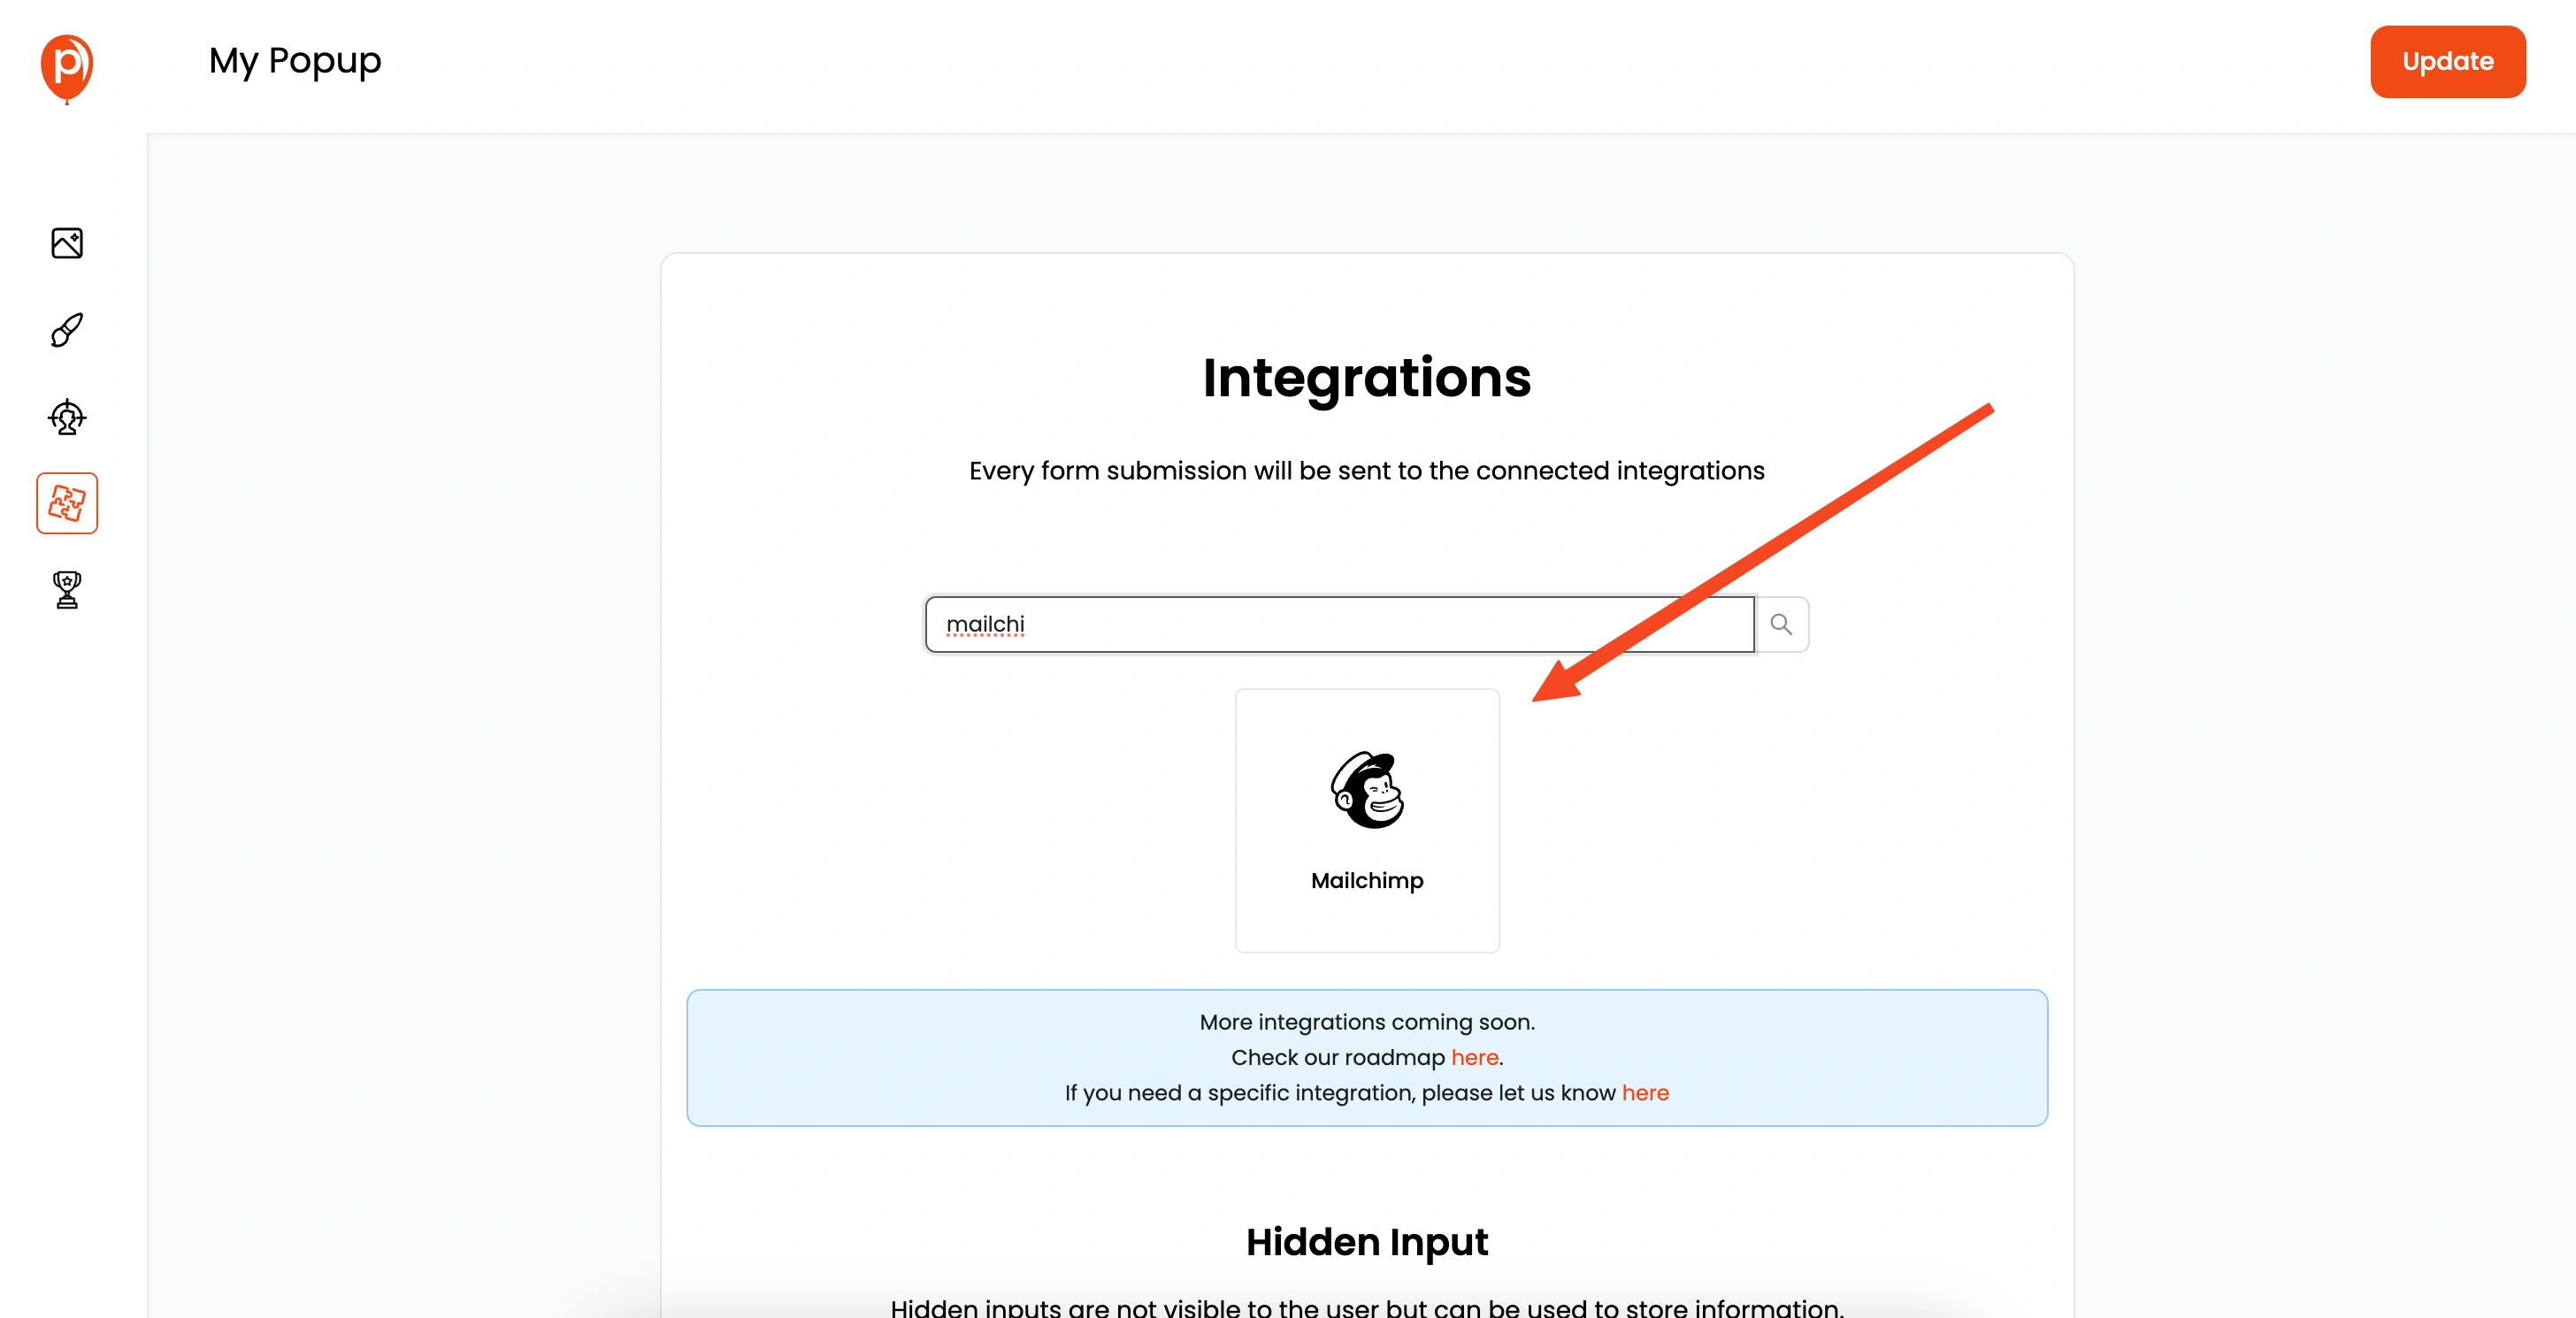
Click "Next" again to reach the "Integrations" section. Here, you can connect Poper with your favorite email marketing tools like HubSpot, Mailchimp, ActiveCampaign, and even automation platforms like Make and Zapier.
This is perfect for capturing leads generated by your countdown widget. Simply follow the steps to connect your chosen tools.
Step 8: Save & Publish

Now for the exciting part! Save and publish your countdown widget. This makes it live and ready to be displayed on your website.
Step 9: Grab the Poper Code Snippet
From the left navigation bar, go to the "Code" section and select the "Custom Code" option. Copy the custom code provided. This snippet is what connects your website to Poper.
Step 10: Paste the Code Snippet into Your Website
Go back to your website's code and paste the custom code into the <head></head> tag of your website. This is essential for Poper to function correctly.
Step 11: Save, Deploy, and Test
Save the changes to your website, deploy them, and then test everything. Visit the page where you set the display conditions and make sure the countdown widget appears as expected. If it doesn't, double-check the code snippet placement and your display condition settings.
And that's it! You've successfully added a countdown widget to your website. Get ready to watch the excitement build!
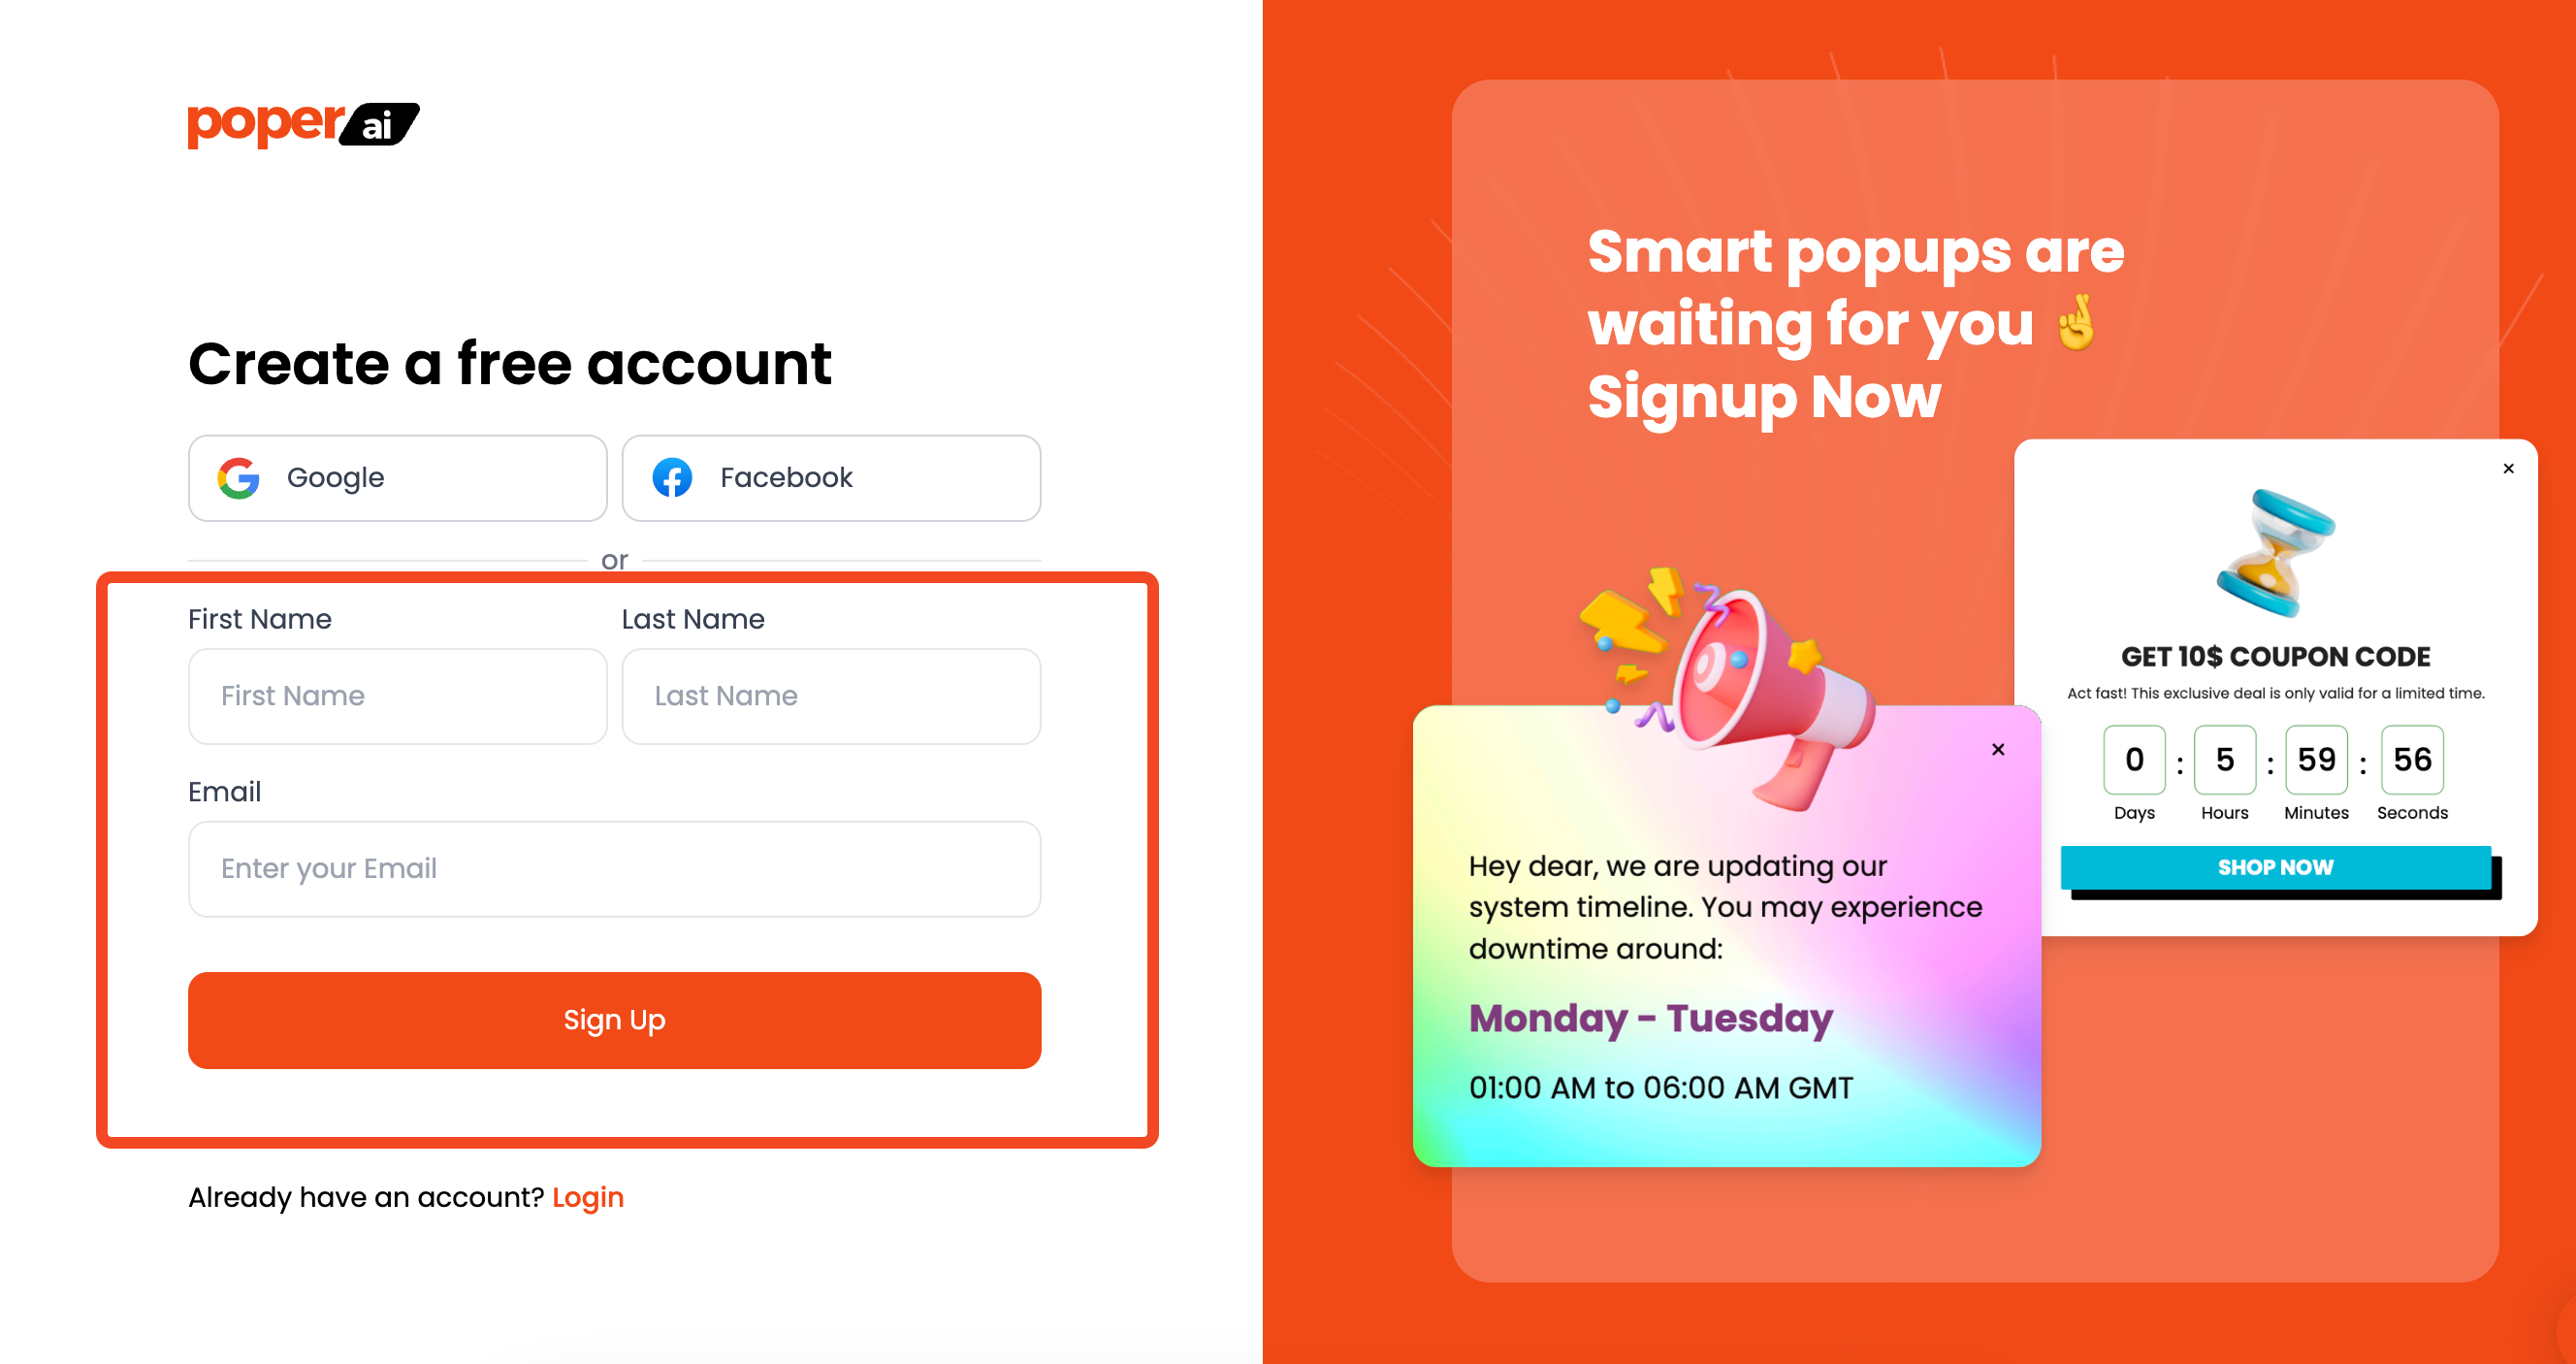
🔥 Benefits of Countdown Widgets
Countdown widgets are a powerful marketing tool that creates a sense of urgency, driving immediate action from your website visitors. Here’s how they benefit your business:
✅ Increase Conversions: Users are more likely to act when they see a limited-time offer.
✅ Reduce Cart Abandonment: Remind users about expiring offers before they leave.
✅ Create Anticipation: Build excitement around product launches or exclusive deals.
✅ Boost User Engagement: Interactive widgets capture users' attention, keeping them on your site longer.
📊 Comparison Table: Poper vs. Other Countdown Tools
| Feature | Poper | Other Tools |
|---|---|---|
| Ease of Use | ✅ Drag-and-drop, no coding | ❗️ Limited customization, requires coding |
| Template Variety | ✅ Wide range of templates | ❗️ Basic designs |
| Integration Options | ✅ Supports HubSpot, Mailchimp, Zapier | ❗️ Limited integrations |
| Pricing | 💸 Affordable with a freemium plan | ❗️ Higher cost for basic features |
FAQs
How do I add a countdown widget to my website?
You can add a countdown widget to your website easily using Poper. Simply follow the step-by-step guide above to customize and publish your widget without coding.
Can I customize the countdown widget design?
Yes! Poper allows you to fully customize your countdown widget, including colors, fonts, and layouts to match your brand’s style.
How can countdown widgets increase conversions?
Countdown widgets create urgency, prompting users to take immediate action, which increases conversions and reduces cart abandonment.
Do I need coding knowledge to use Poper’s countdown widget?
No, Poper’s drag-and-drop interface makes it easy to create and customize countdown widgets without any coding.
How do I integrate my countdown widget with email marketing tools?
Poper allows you to integrate your countdown widget with tools like HubSpot, Mailchimp, and Zapier to capture leads and automate workflows.

