
Everyone loves seeing a marketing campaign take off, but I know how frustrating it is when you have to wait on a developer just to get a simple popup running on your store. That’s exactly why I focused on making Poper seamless for Ecwid users. You should be able to launch a campaign, collect leads, and get back to business without touching a single line of code.
Here is how you can set up high-converting popups on your Ecwid store in just a few minutes.
Connecting Poper to Your Ecwid Store
Step 1: Install the Poper App
I wanted to make the setup process as frictionless as possible. Log in to your Ecwid account and head straight to the App Market in your dashboard. Search for "Poper" and click install.
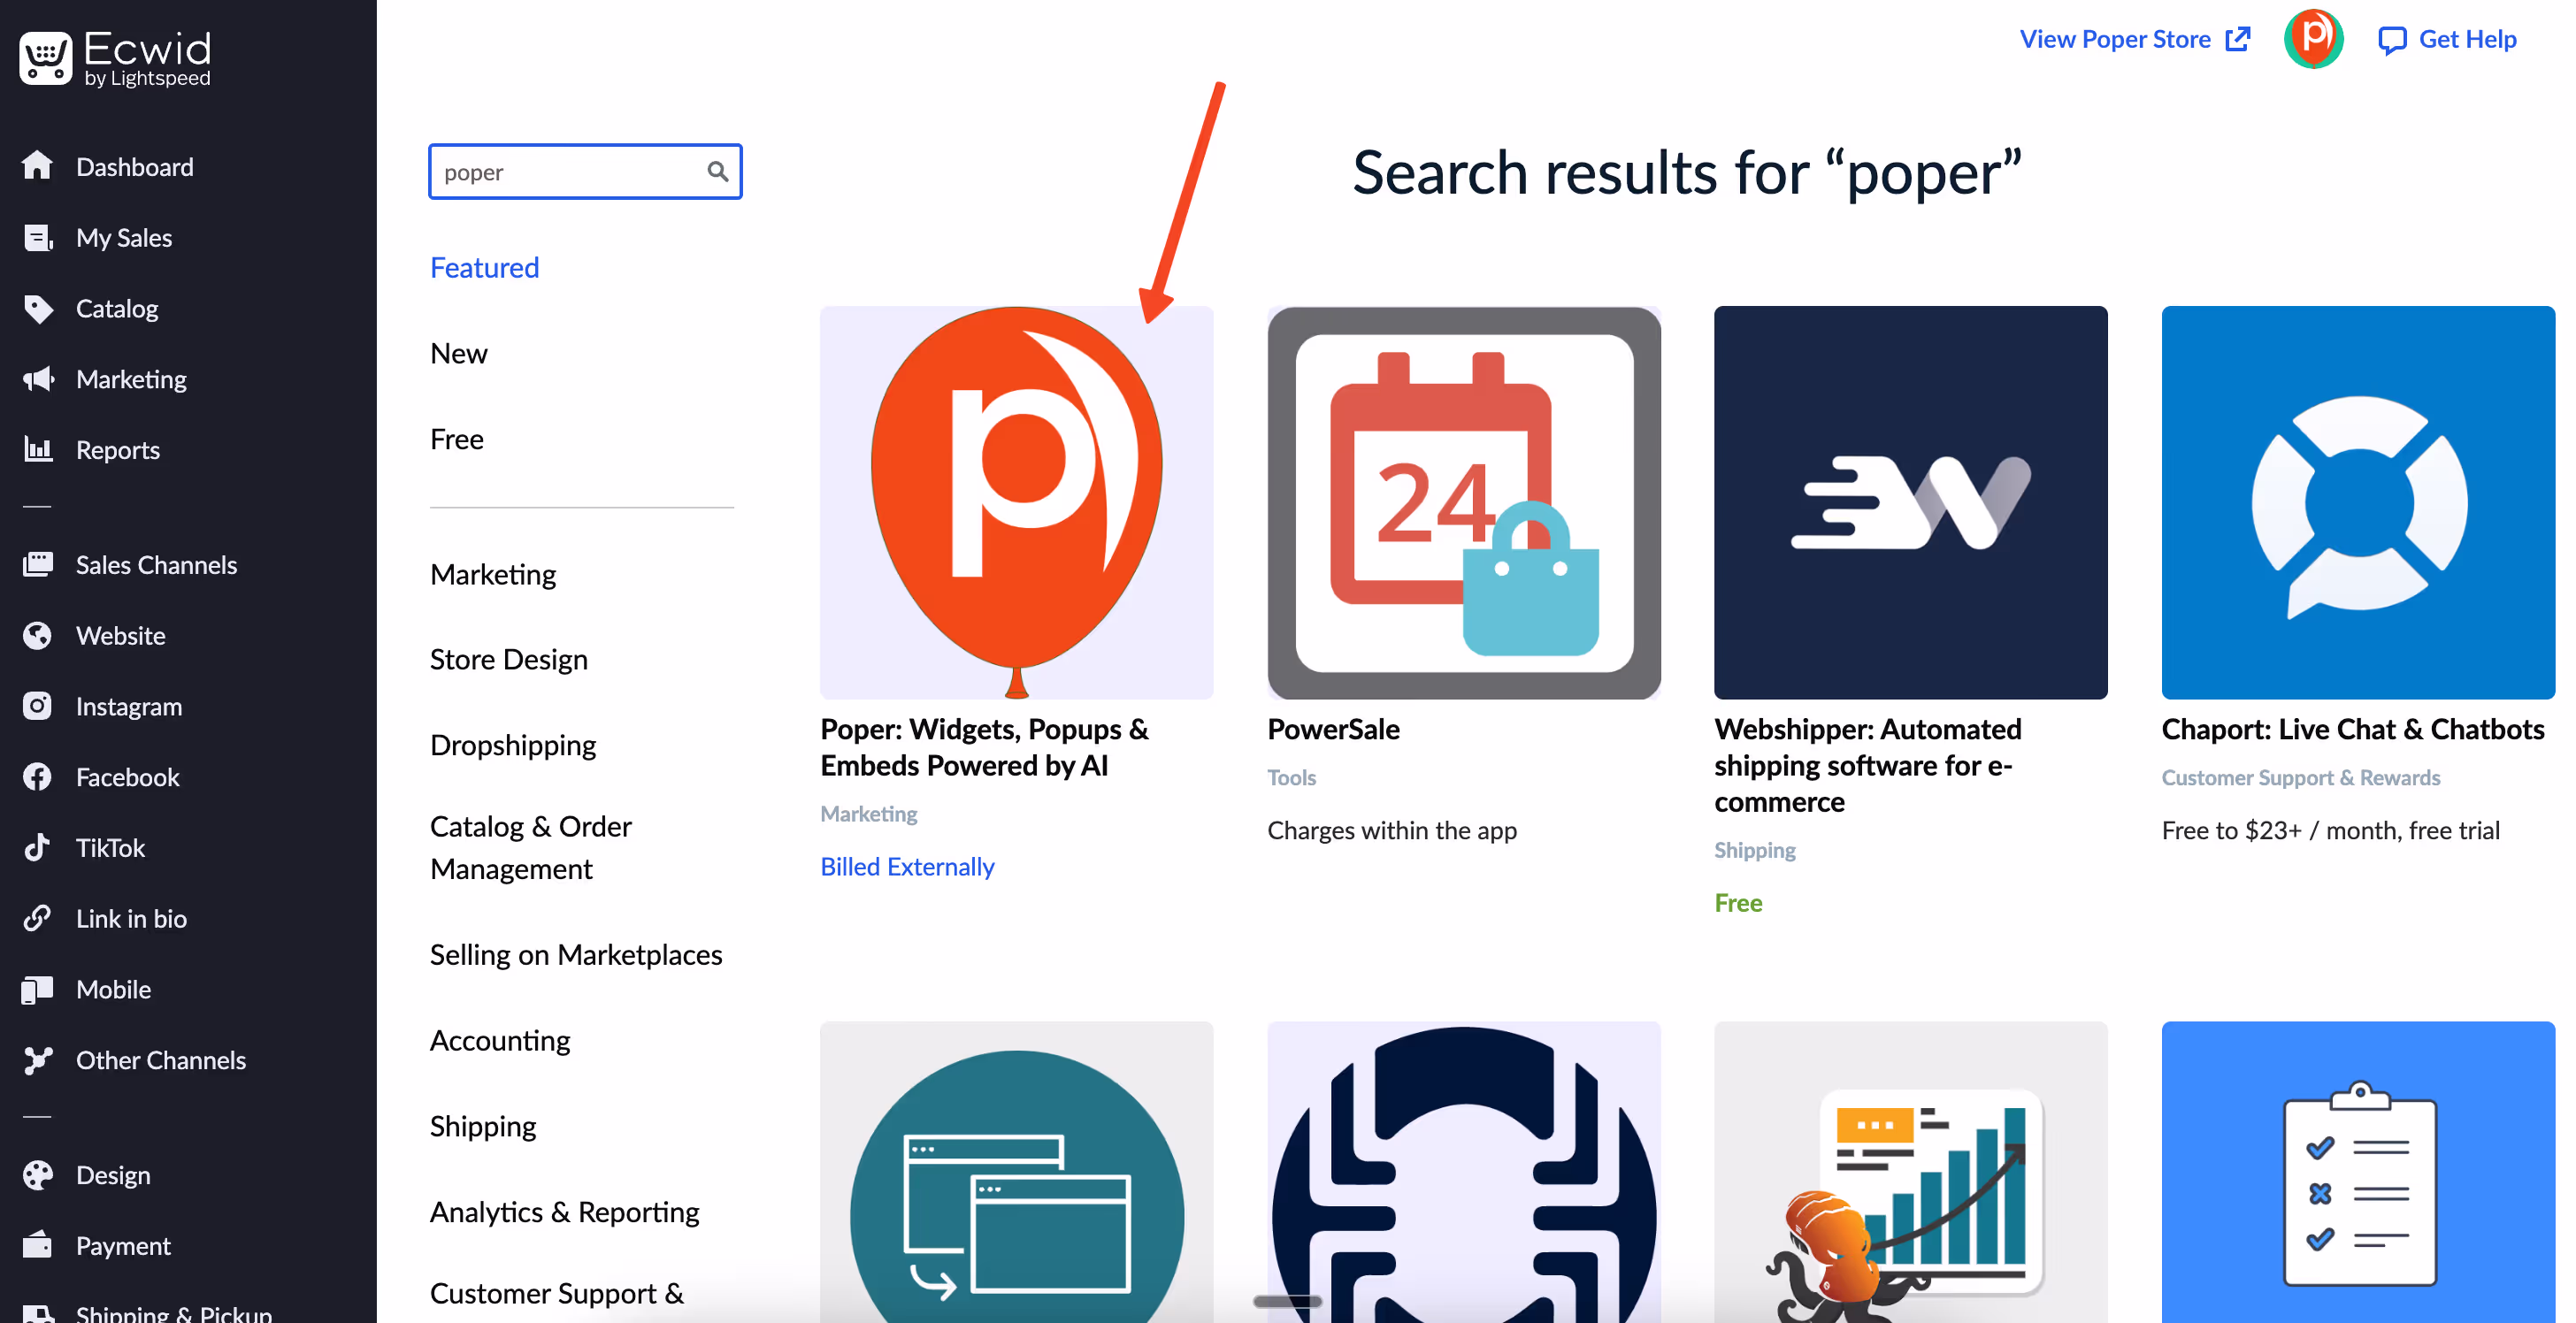
Once you do this, you will be redirected to log in or sign up for a Poper account. By completing this signup, our system automatically injects the necessary script into your website. You don’t need to copy-paste code or worry about technical headers; the connection is instant.
Designing Your Campaign
Step 2: Choose Your Starting Point
Now that you are inside the Poper dashboard, click on the New Popup button. I always recommend starting with a template rather than a blank canvas, especially if you want to save time.

Select "Choose from templates" and use the search bar to find "Newsletter." We have hundreds of options available.
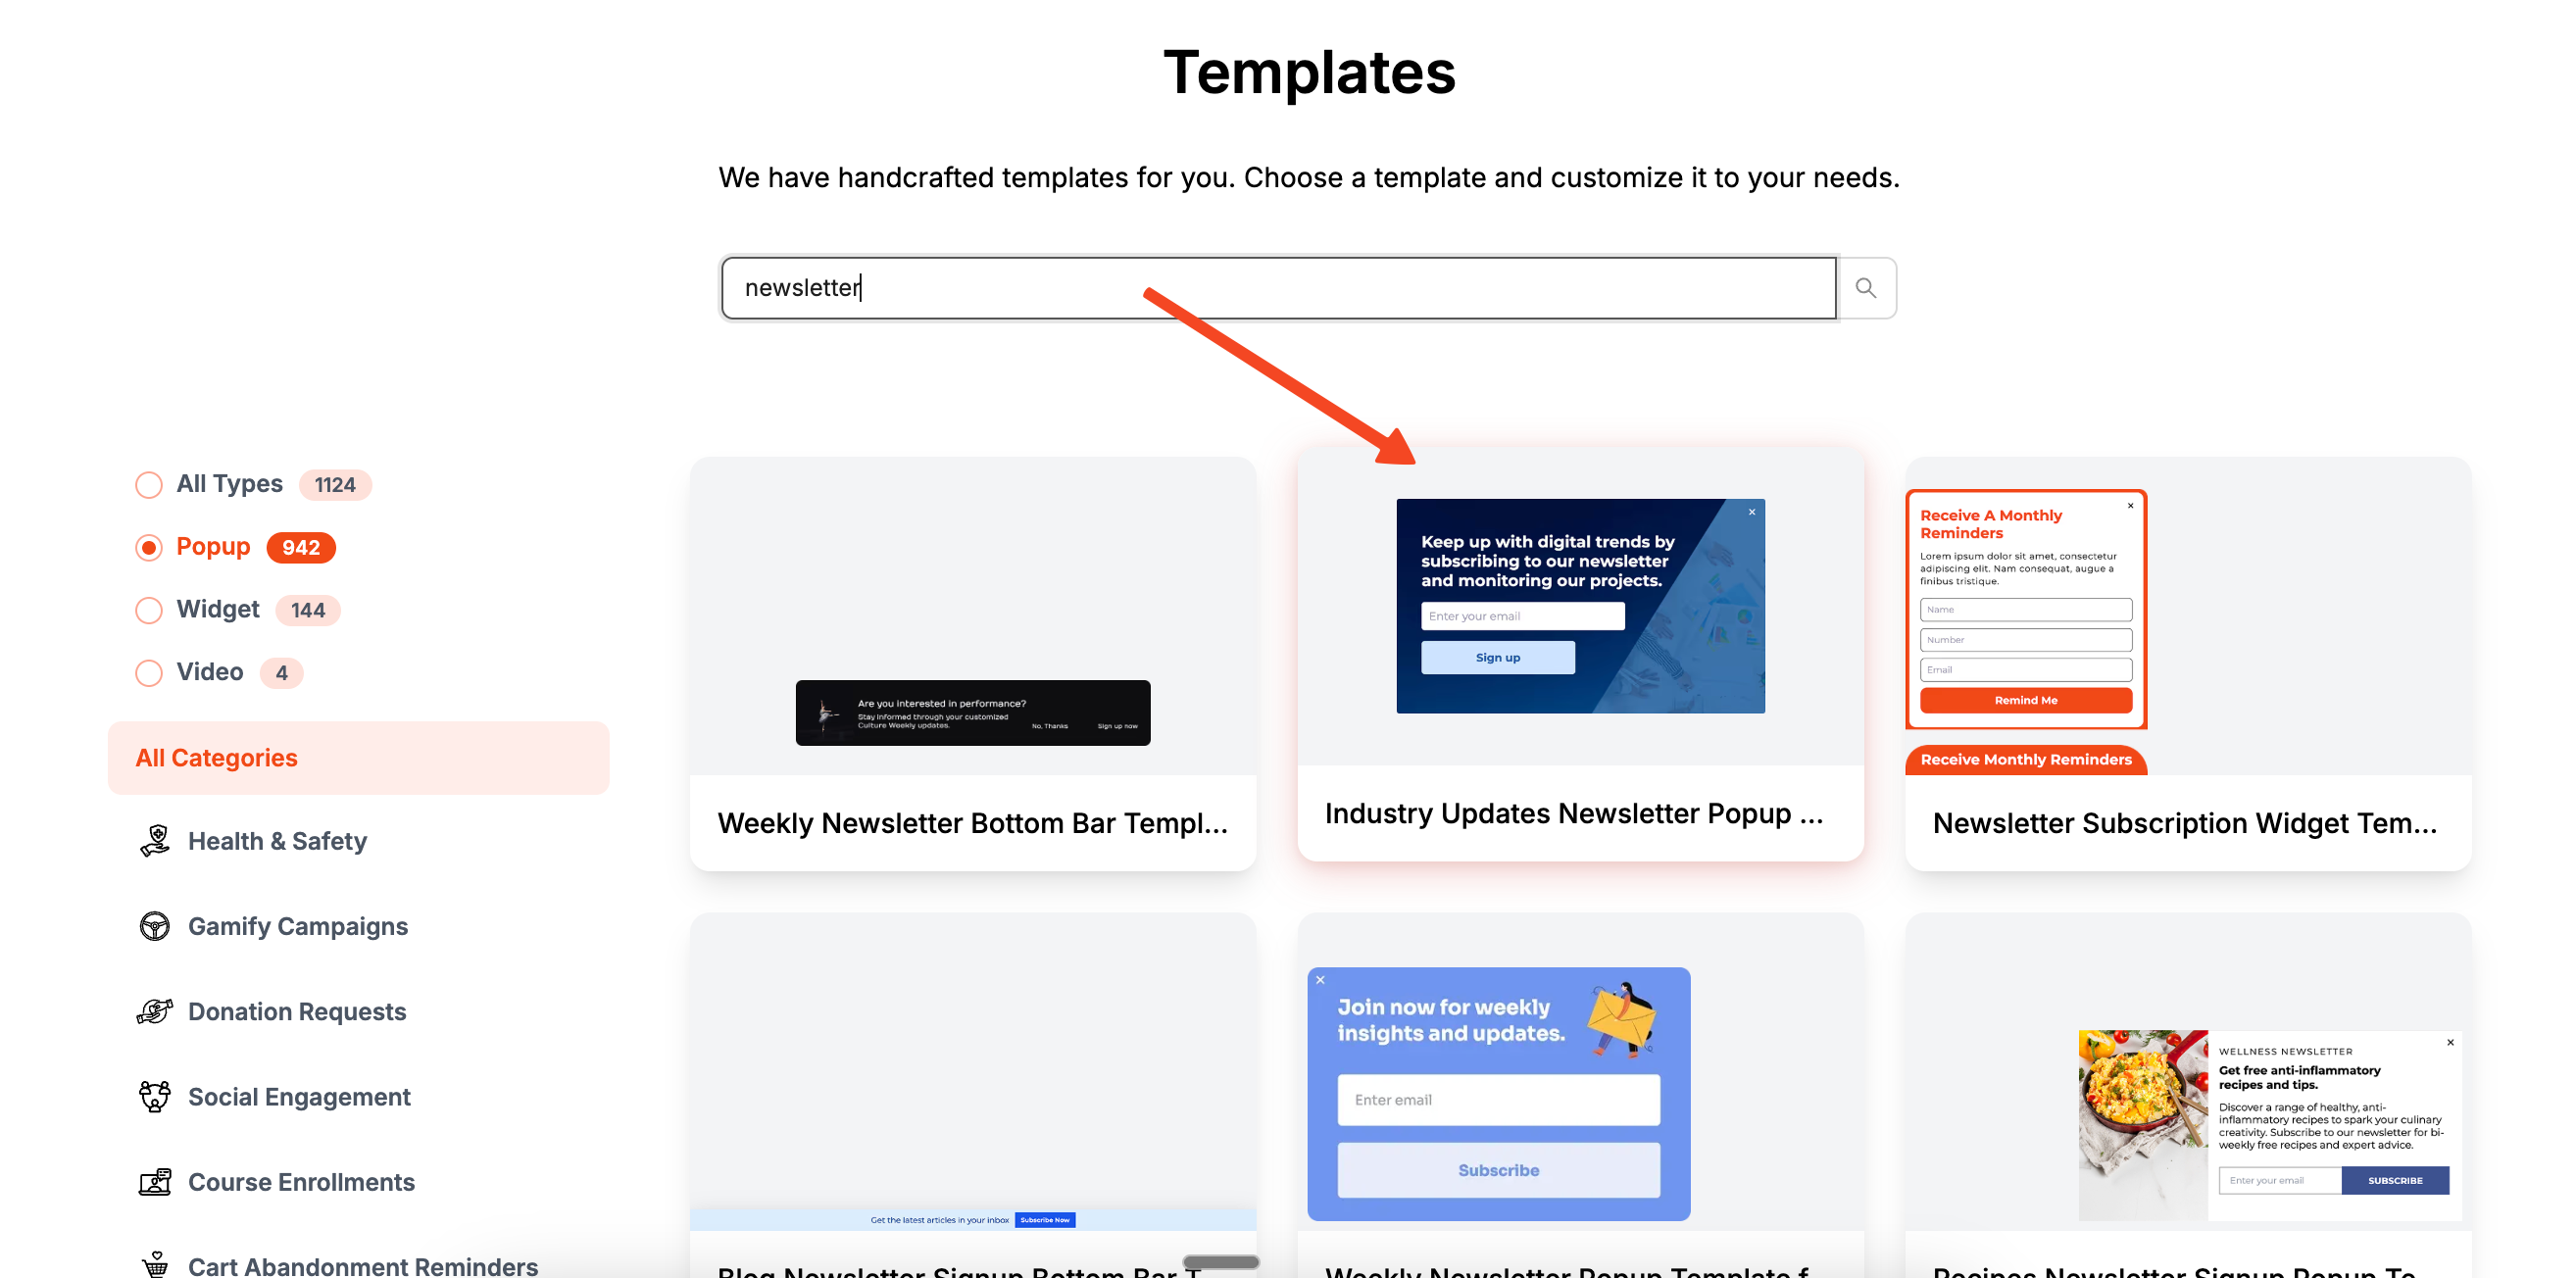
Pick the one that closely matches your store’s vibe so you don't have to reinvent the wheel.
Step 3: Customize the Look and Feel
This is where you make the Ecwid Popup truly yours. The editor allows you to click on any element—text, buttons, or images—and tweak them. You should adjust the fonts and colors to match your brand identity perfectly.
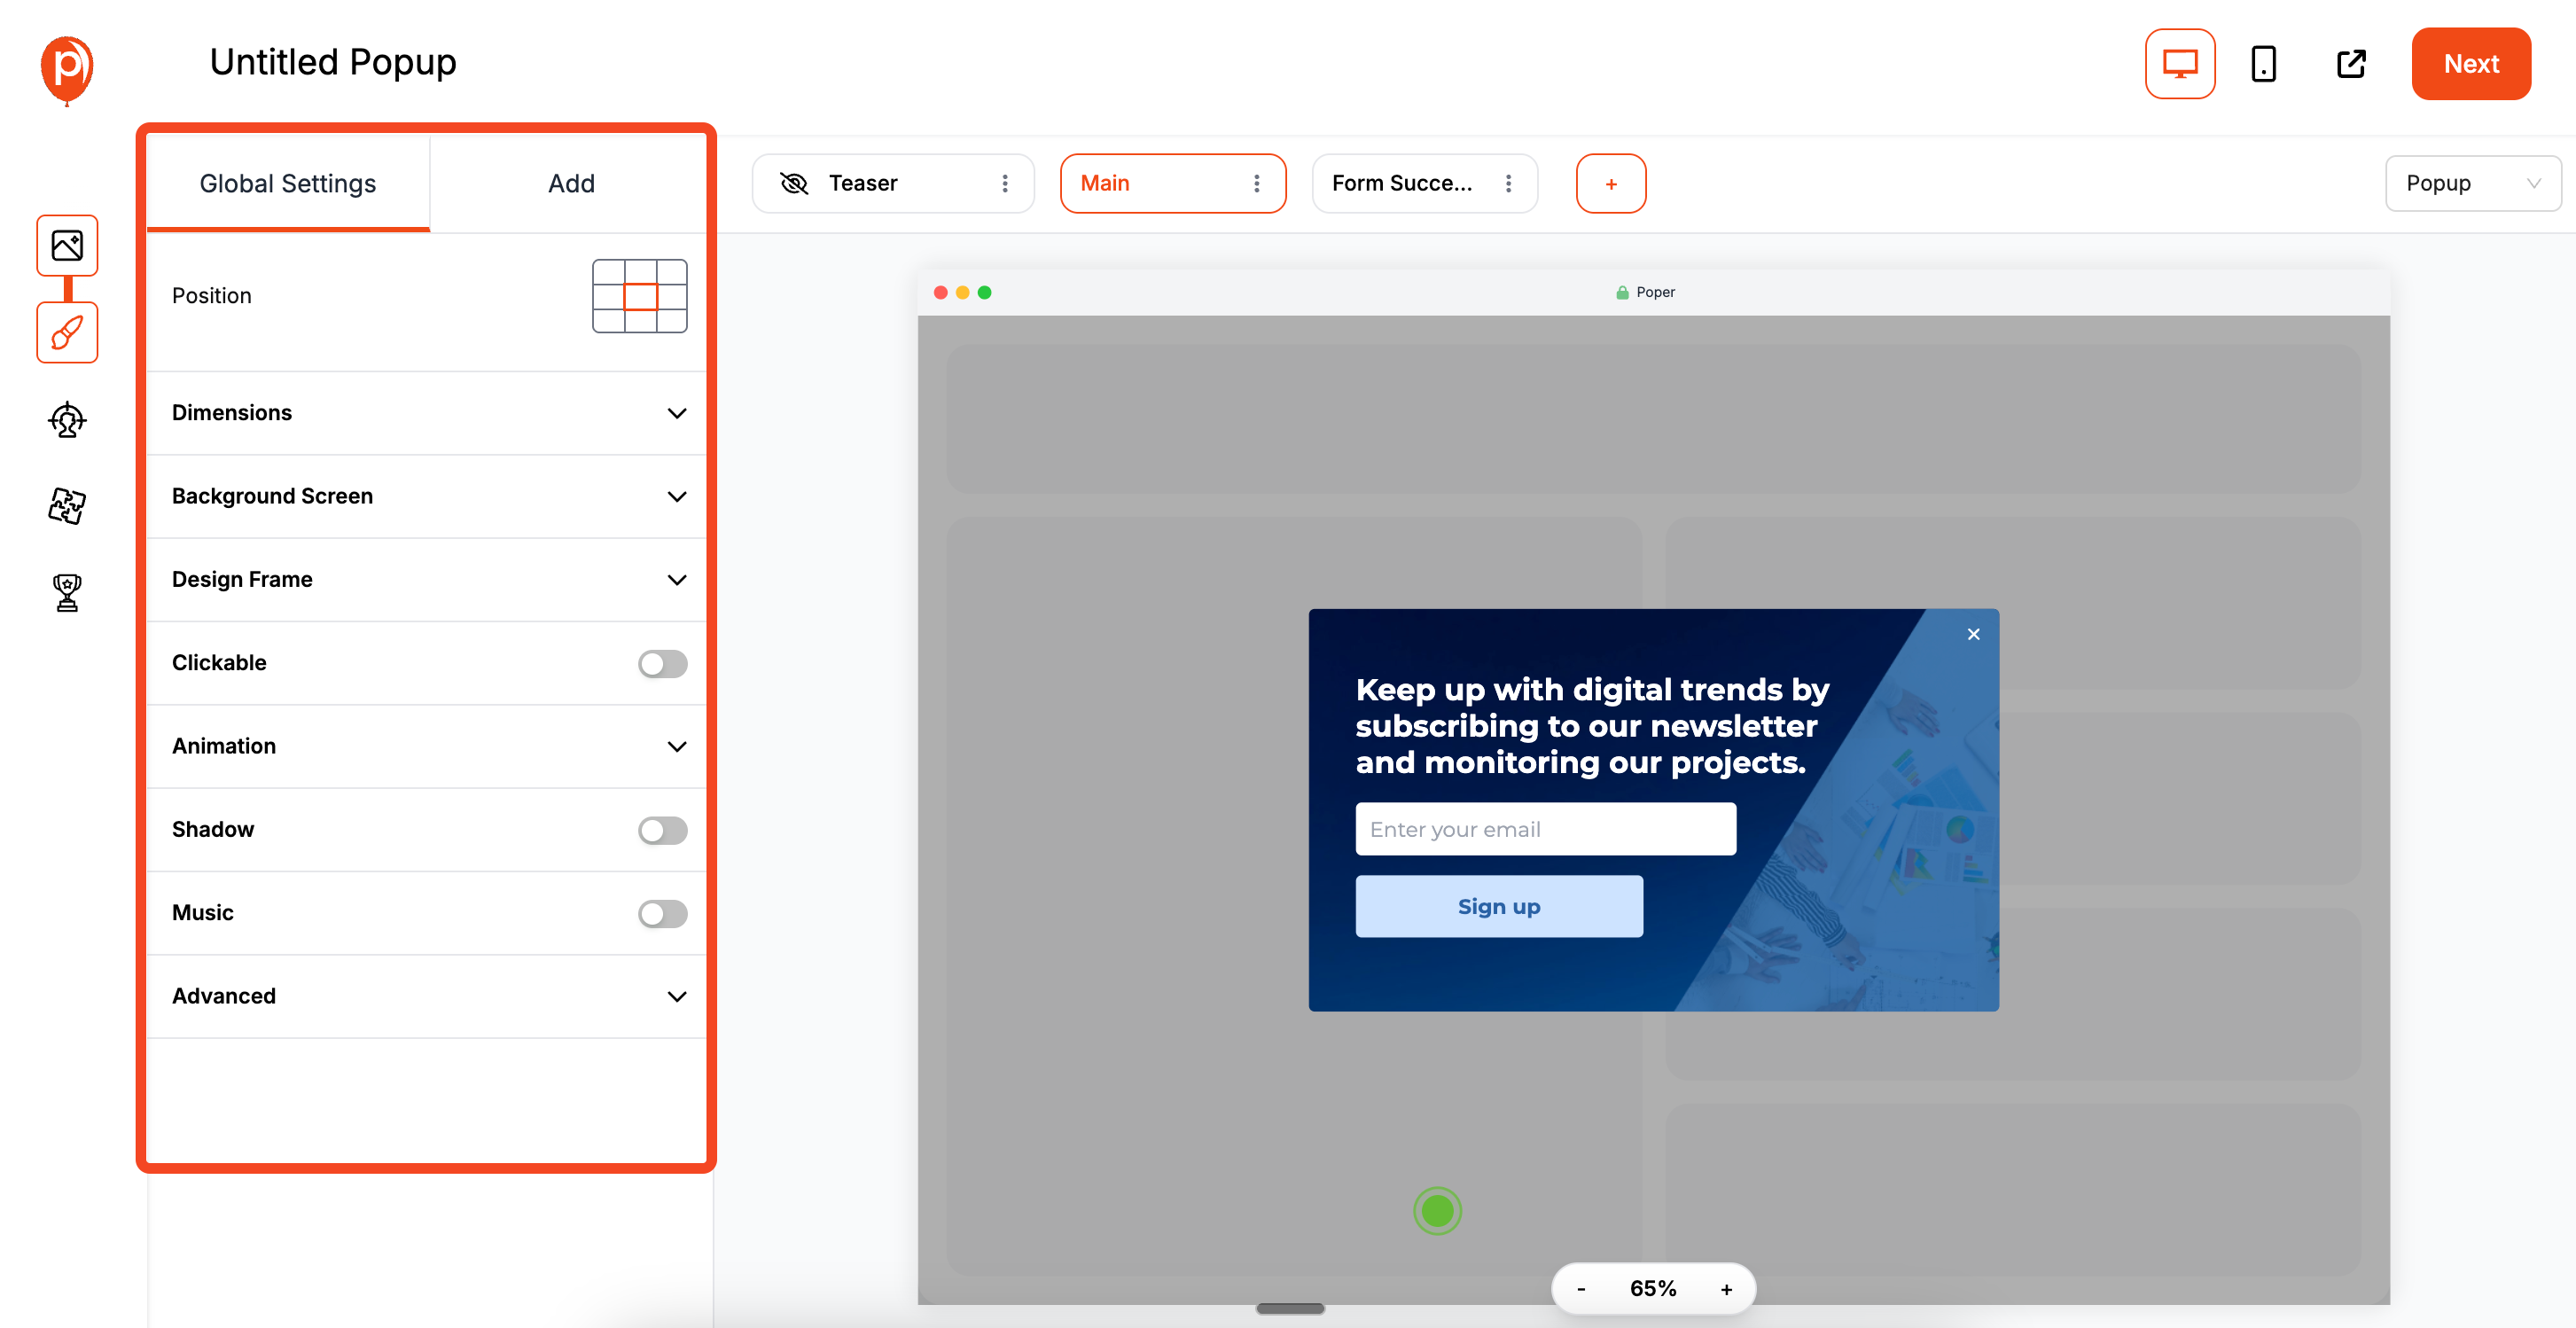
I suggest keeping the text concise and the call-to-action button bright. Once you are happy with the design, click Next to move on to the behavior settings.
Targeting and Integrations
Step 4: Set Display Conditions
A popup is only effective if it appears to the right people at the right time. In the Display Conditions tab, you can control exactly when your offer shows up.
For example, you might want to target specific pages or only show the popup to visitors from a certain country. I highly recommend setting a trigger like "Exit Intent" or a time delay so you don't annoy visitors the second they land on your site.
Step 5: Sync with Your Email Tools

Collecting emails is useless if they don't go anywhere. Click Next to reach the Integrations section. Here, you can connect Poper directly to your marketing stack.
Select your preferred platform, such as Omnisend, Mailchimp, or Klaviyo. Follow the simple prompts to authorize the connection. This ensures that every lead you capture is automatically sent to your email lists for immediate follow-up.
Going Live
Step 6: Save and Publish
You are almost at the finish line. Once your integrations are active, click the Save & Publish button. Your campaign is now live on your Ecwid store.
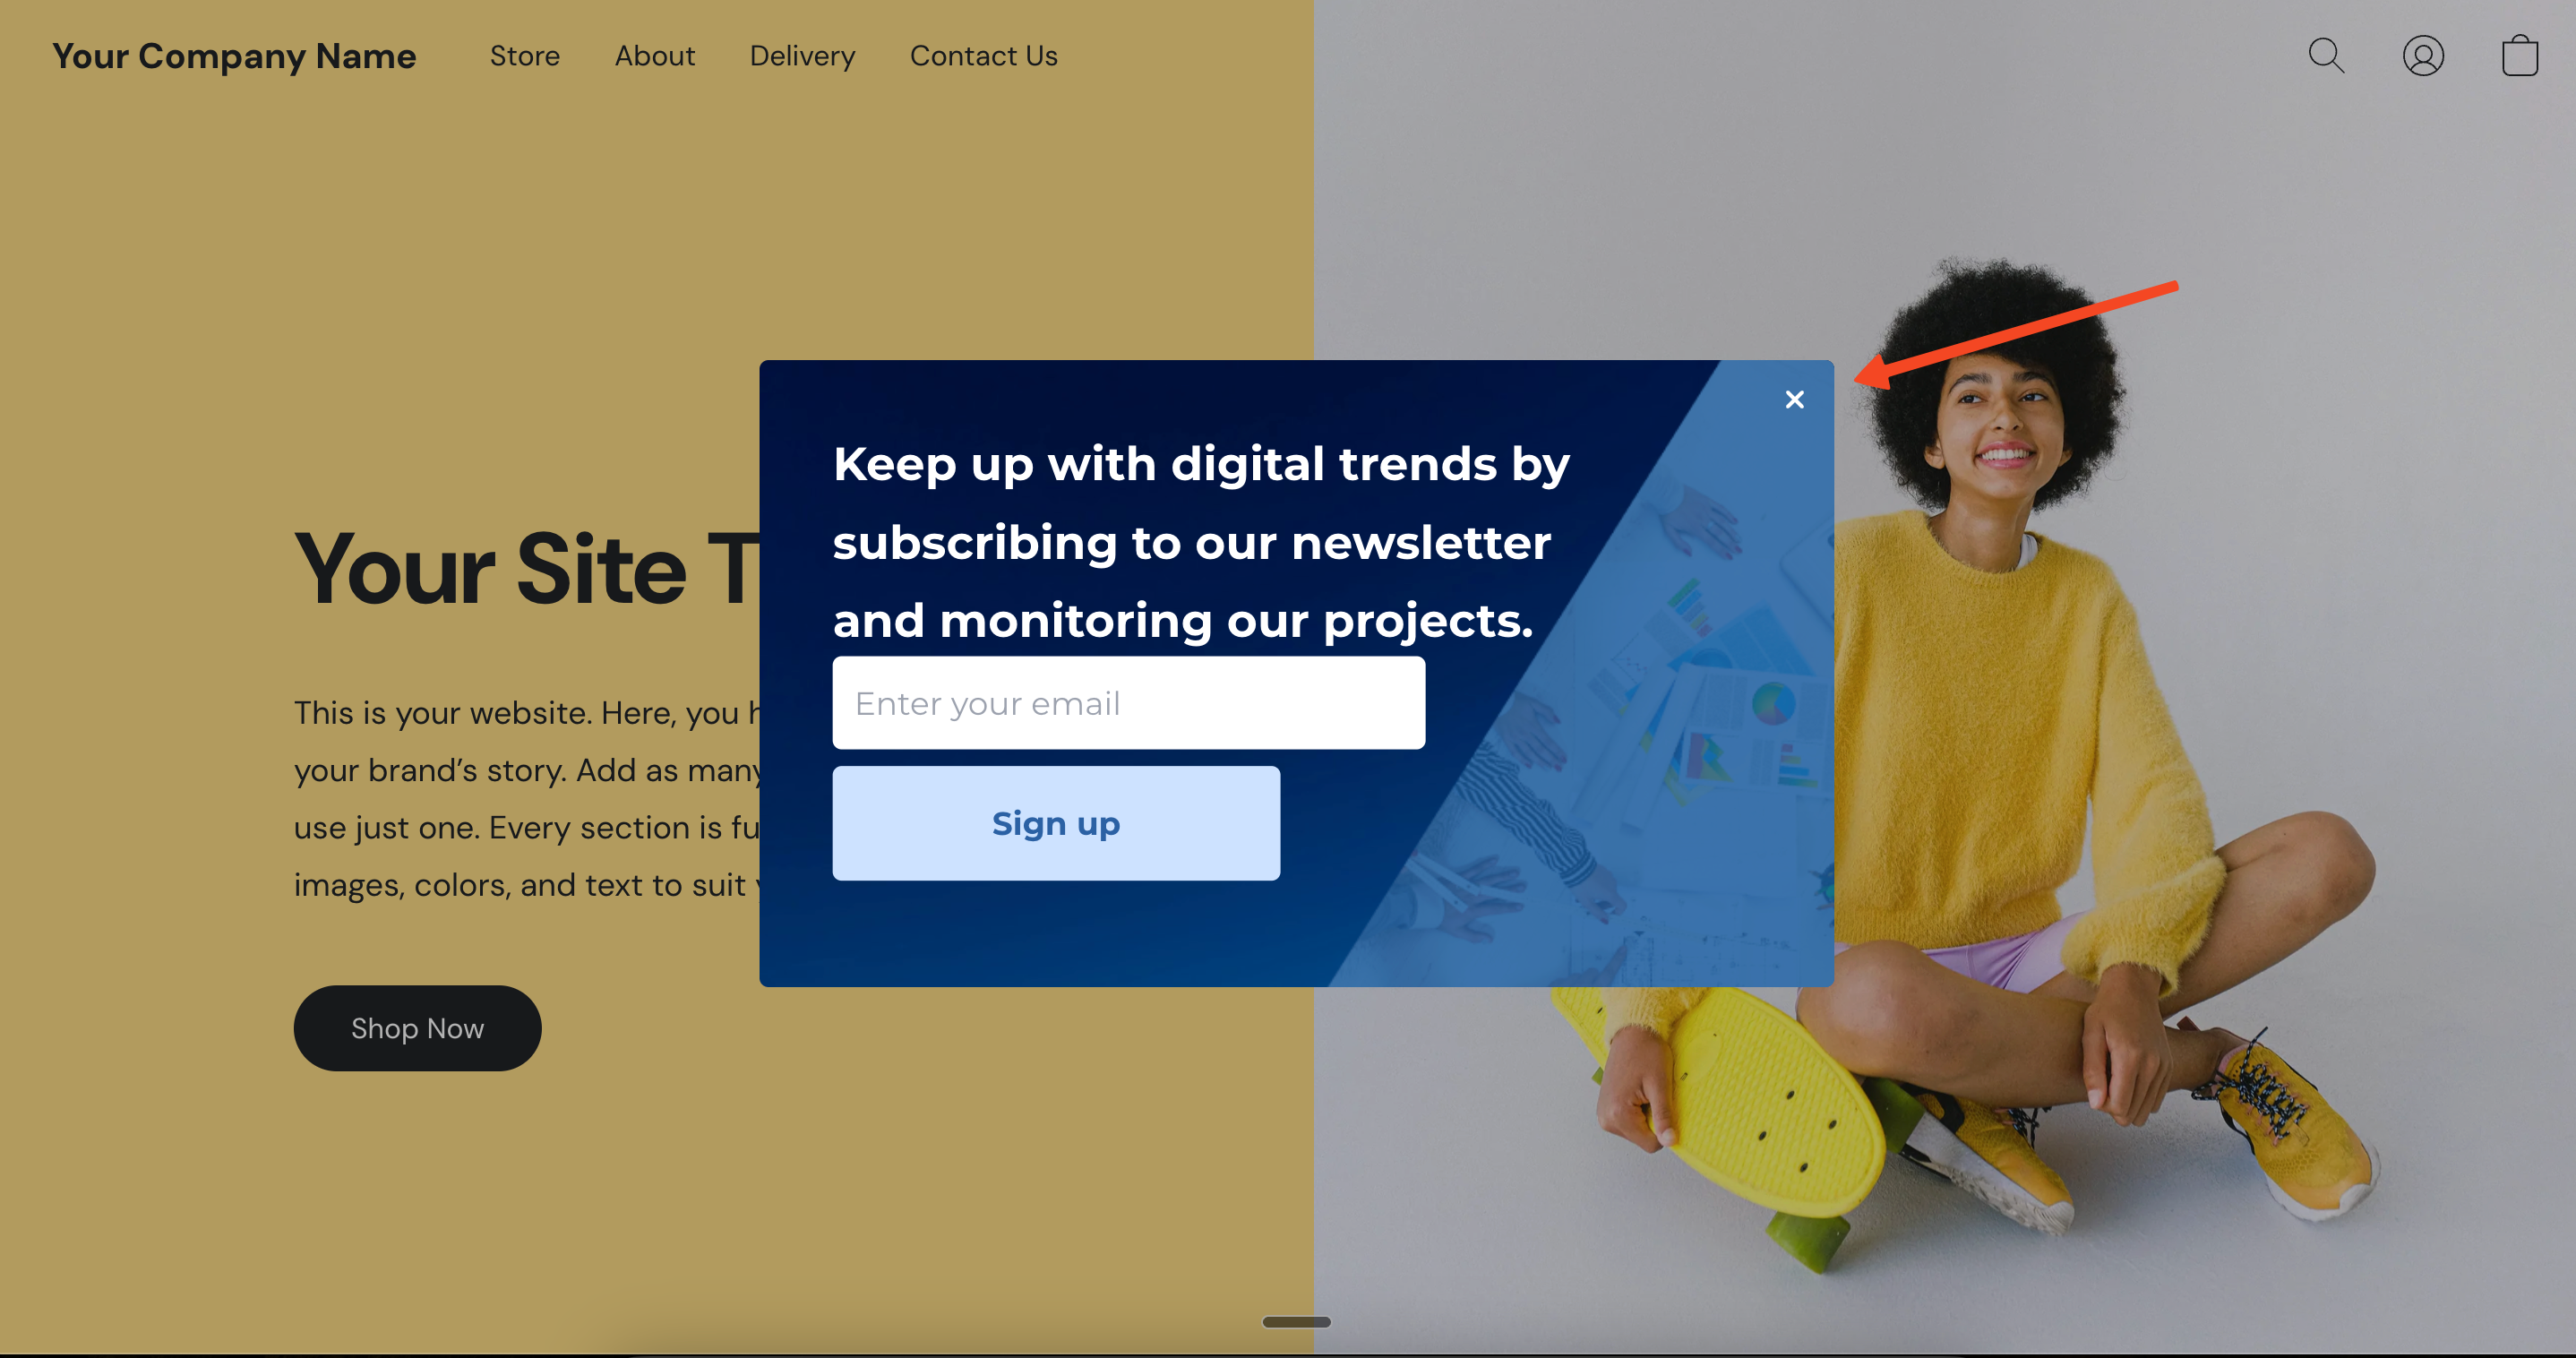
To make sure everything looks perfect, open your website in a new incognito tab. This lets you see the Ecwid Popup exactly as a new visitor would, ensuring your hard work pays off immediately.

