

A pasted block of unformatted code is where a good technical post goes to die. Readers skim code; they do not parse gray monospace walls. The decision of how to embed a code snippet in a blog post is really two decisions stacked together, how the code gets onto the page, and how it gets colored, and the wrong combination either slows your site down or makes your code unreadable. This guide covers six methods and the syntax highlighting that makes each one worth using.
Quick Take: For most blogs, paste code into a lightweight highlighter like Prism or highlight.js, or pre-render it with Shiki at build time. Avoid screenshots, and use Gist embeds sparingly — they block rendering.
The 6 methods, compared
Every way to put code on a page is a trade between effort, control, and page speed. Here is how the six common methods stack up before we get into the details.
| Method | Best for | Syntax highlighting | Main downside |
|---|---|---|---|
| Poper's Widget | Beginners | Automatic | Is Lazy Loaded |
| Client-side highlighter (Prism, highlight.js) | Most blogs and CMS posts | Automatic, themeable | Adds a small JavaScript payload |
| Build-time highlighter (Shiki) | Static sites, dev-heavy audiences | VS Code quality, zero client JS | Heavier build step and bundle if shipped to the client |
| GitHub Gist embed | Sharing a live, editable file | Built in | Render-blocking script, little style control |
| No-code snippet widget | Non-developers on hosted CMS platforms | Built in | Depends on the platform's options |
| Screenshot or image | Almost nothing | None, it is a picture | Cannot be copied, searched, or read by screen readers |
Method 1: Poper's Widget
If you are not a developer, or you just do not want to wire a highlighter into a theme, a hosted widget handles the whole pipeline for you. Poper's Code Snippet widget renders a highlighted, copyable code block you can drop into any page without touching a build step or a script tag, which covers the no-code row of the table above.
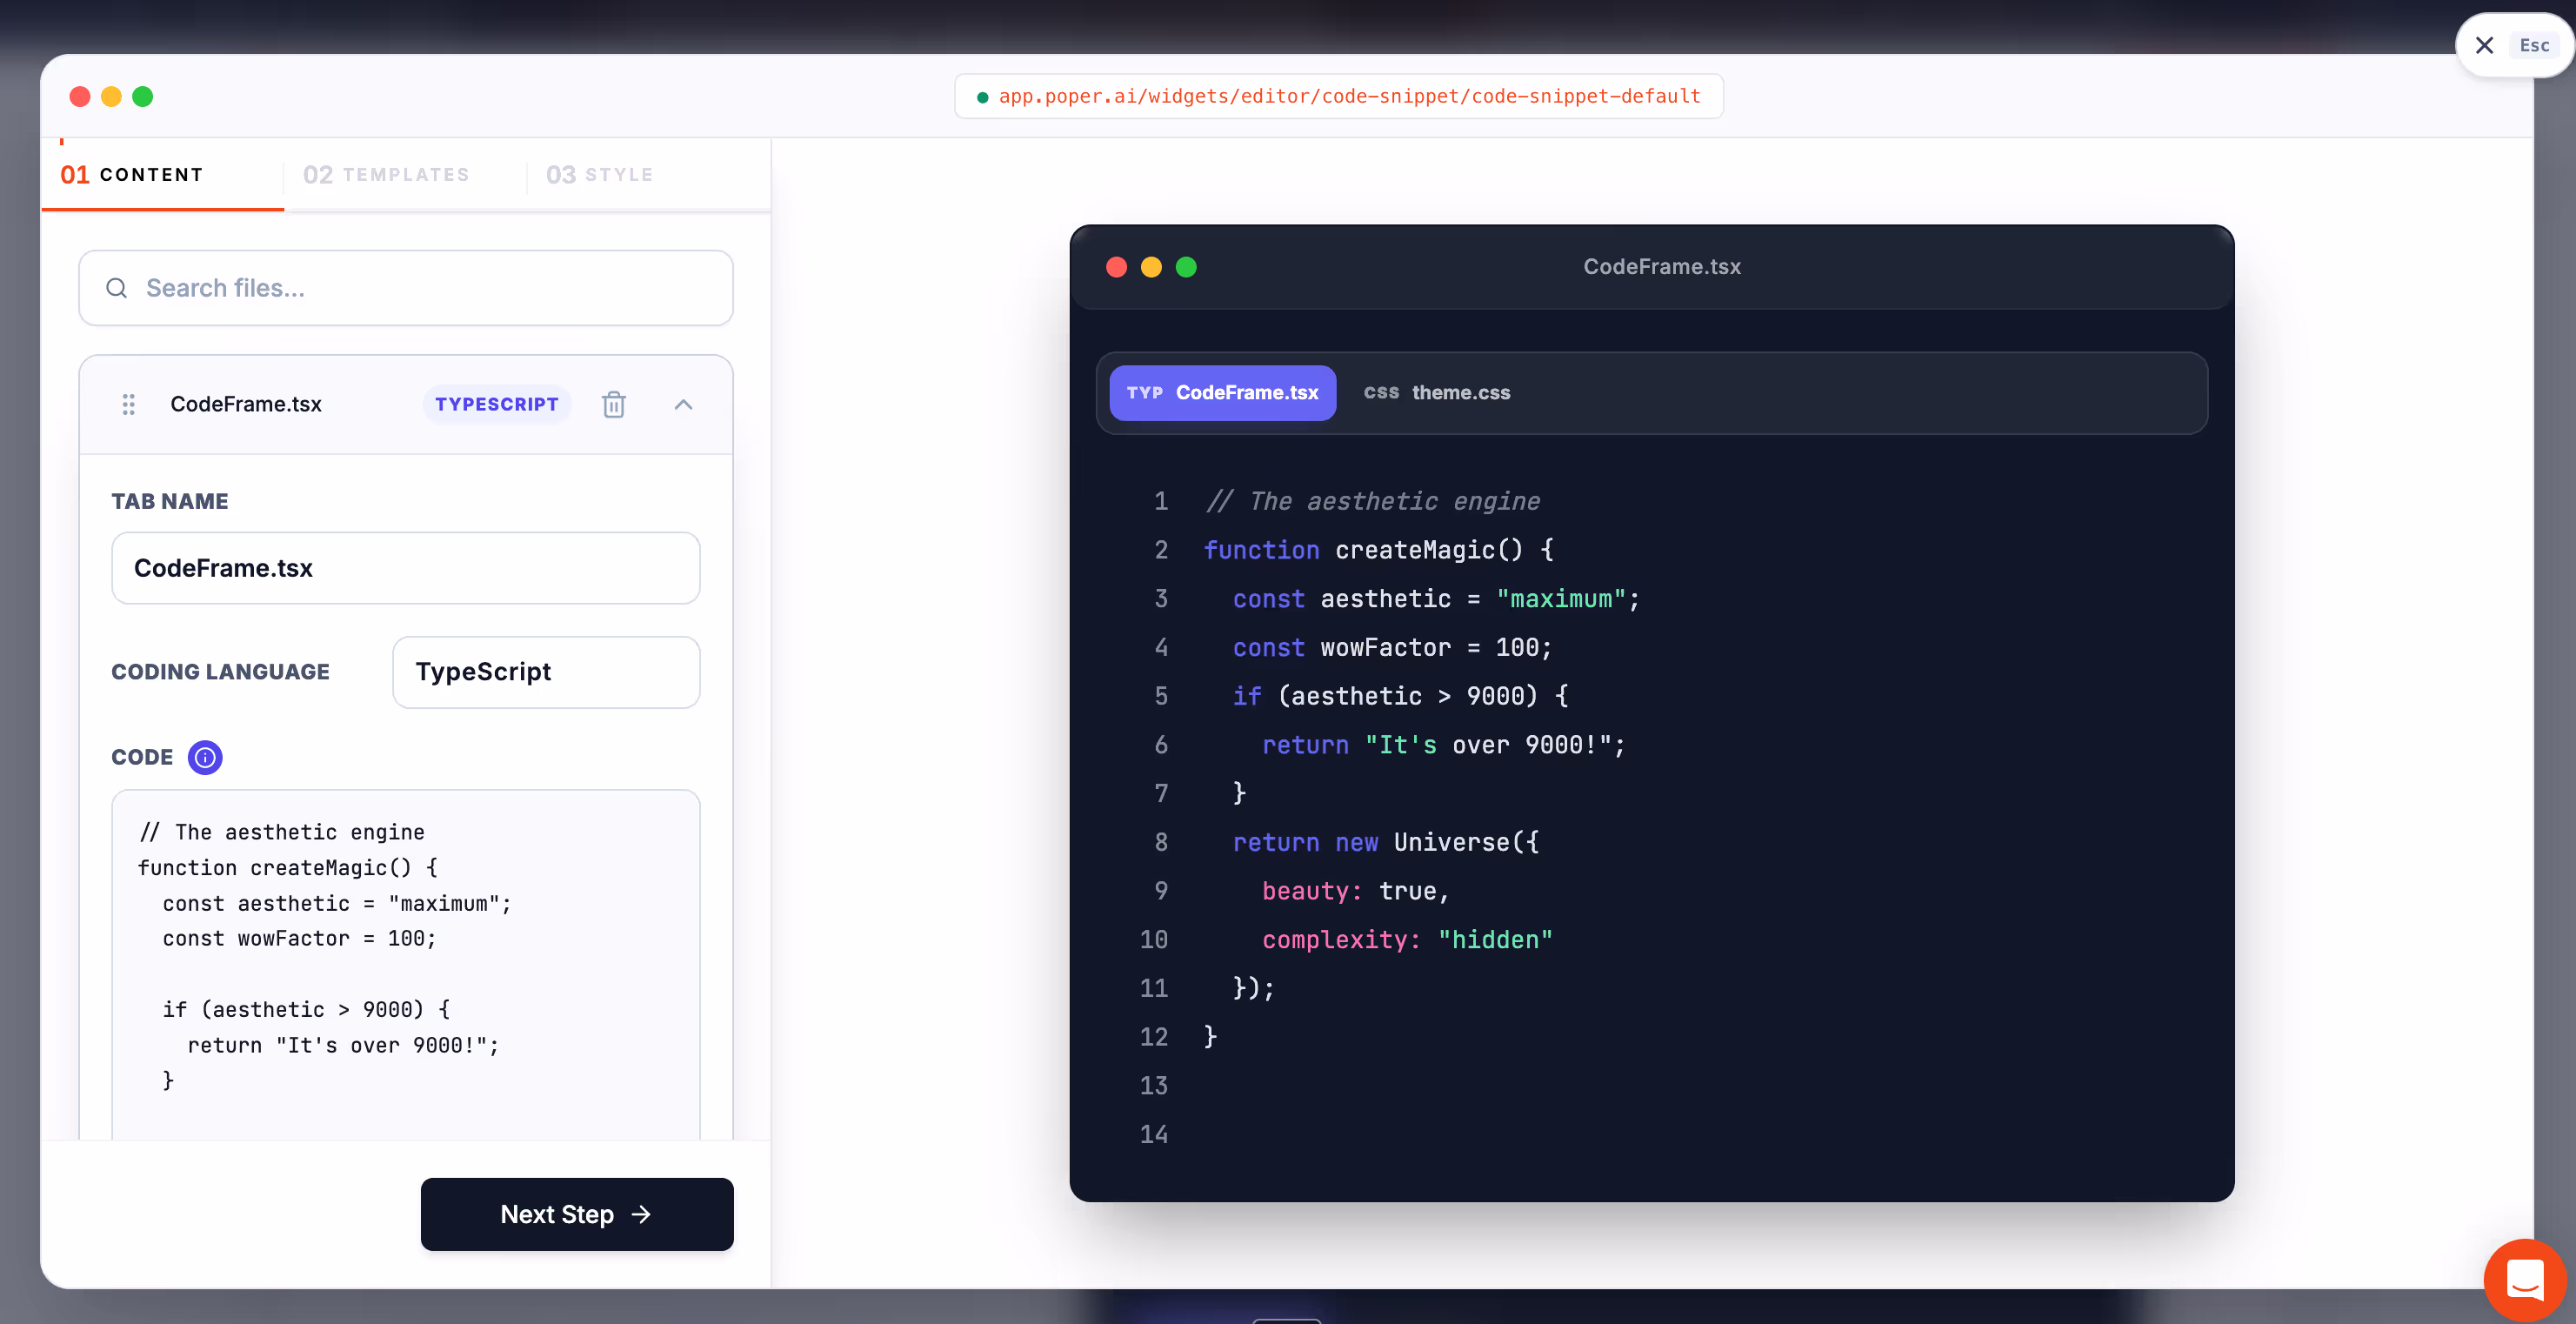
It also keeps the snippet copy-friendly and readable, so you sidestep the screenshot trap entirely. If you are layering it alongside other on-page elements, the wider Poper widget directory shows how a code block sits next to tables of contents, callouts, and the rest of a long technical post.
Method 2: Paste into a Client-side Highlighter

This is the default for a reason. You wrap your code in a <pre><code> block, add one small library, and it colors every snippet on the page. The two standard choices are Prism and highlight.js, and both are genuinely light.
A benchmark by Chasmical measured them head to head. Prism highlighted a sample in 0.5 to 0.7 milliseconds at a compressed size of 11.7 KiB, while highlight.js took 1.1 to 1.4 milliseconds at 15.6 KiB. Both are fast enough that a reader will never notice. The practical difference is detection: highlight.js auto-detects the language, which matters when your code comes from mixed sources, while Prism leans on you to label each block.2
Choose highlight.js for the simplest setup, a script tag and automatic language detection across its 190-plus languages.
Choose Prism when you want plugins like line numbers and a copy button out of the box, across 300-plus languages.
Load only the languages you actually use, so the payload stays near that 11 to 16 KiB floor instead of bundling everything.
Method 3: Pre-render with Shiki at build time
If your audience is mostly programmers, build-time highlighting is the quality play. Shiki uses VS Code's TextMate grammars and themes, so the output looks exactly like the editor your readers already trust, and it renders to a finished <pre><code> block at build time with zero JavaScript sent to the browser.
The fastest highlighter on the page is the one that already finished running before the page loaded.
The catch is weight if you ship it to the client. That same benchmark clocked Shiki at 3.5 to 5.0 milliseconds per sample and a hefty 279.8 KiB compressed, roughly 7 times slower and 24 times larger than Prism.
None of that matters when Shiki runs at build time and the browser receives plain styled HTML, which is exactly how static-site and documentation setups should use it. Keep it out of client-side rendering and the cost disappears.
Method 4: Embed a GitHub Gist
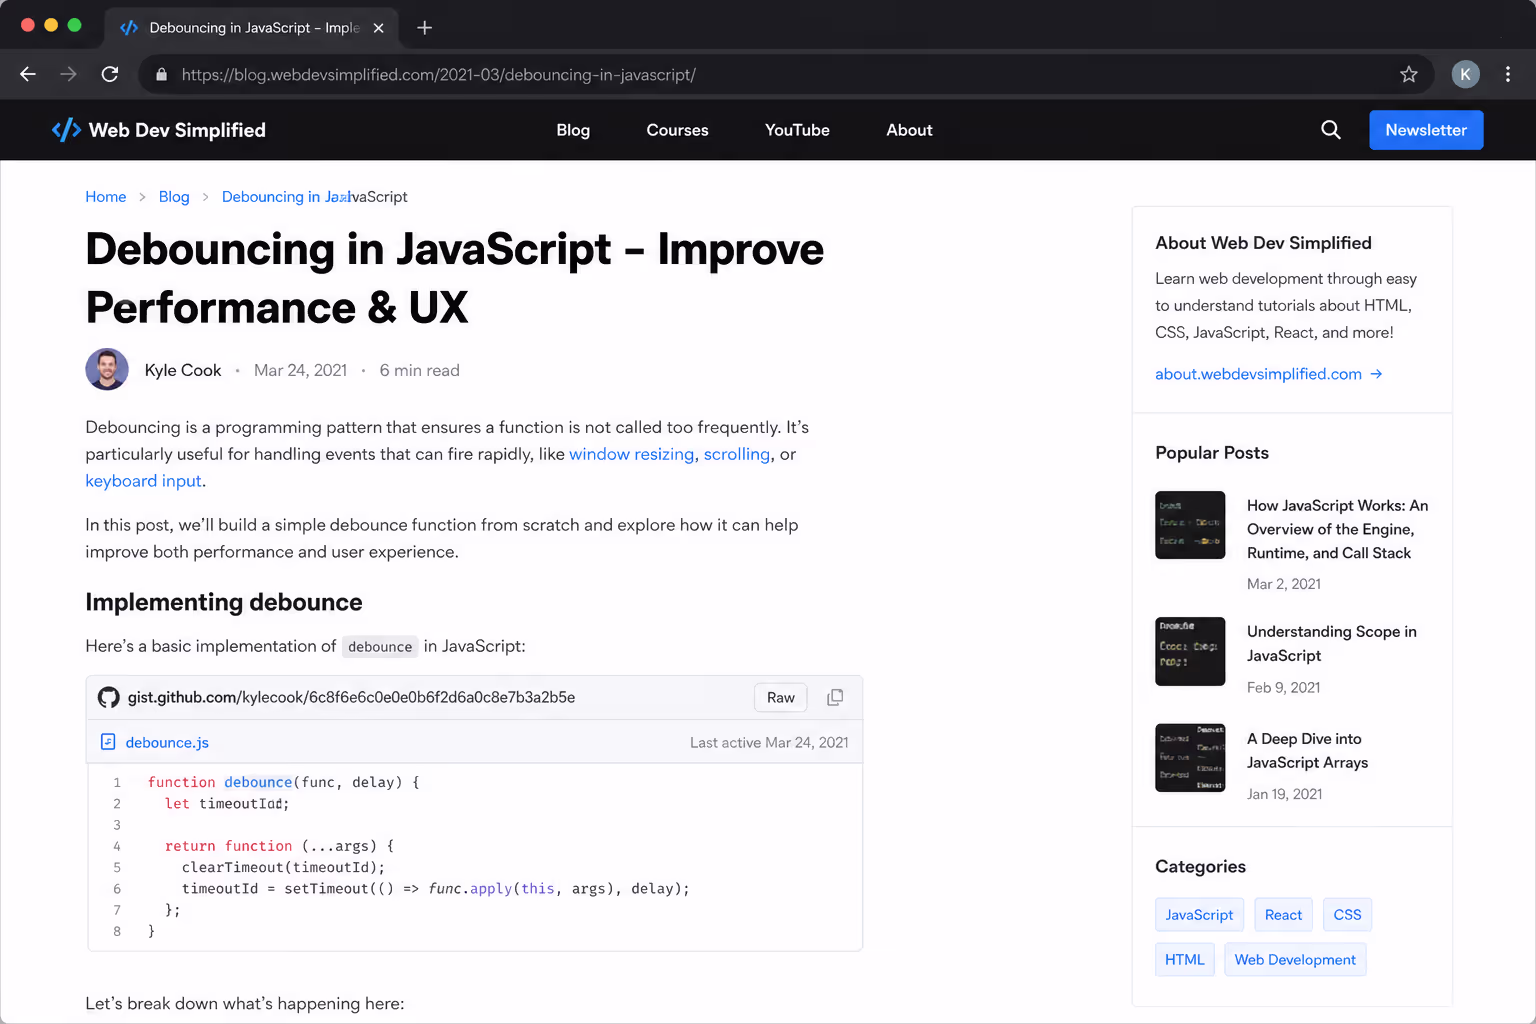
A Gist embed is the right call when the code needs to stay live - a working example you update in one place and have reflected everywhere it is embedded. The downside is performance.
Gist embed scripts are not asynchronous, so they block the page from rendering while they load, and you get very little control over colors or theme. Use one or two on a page, never ten.
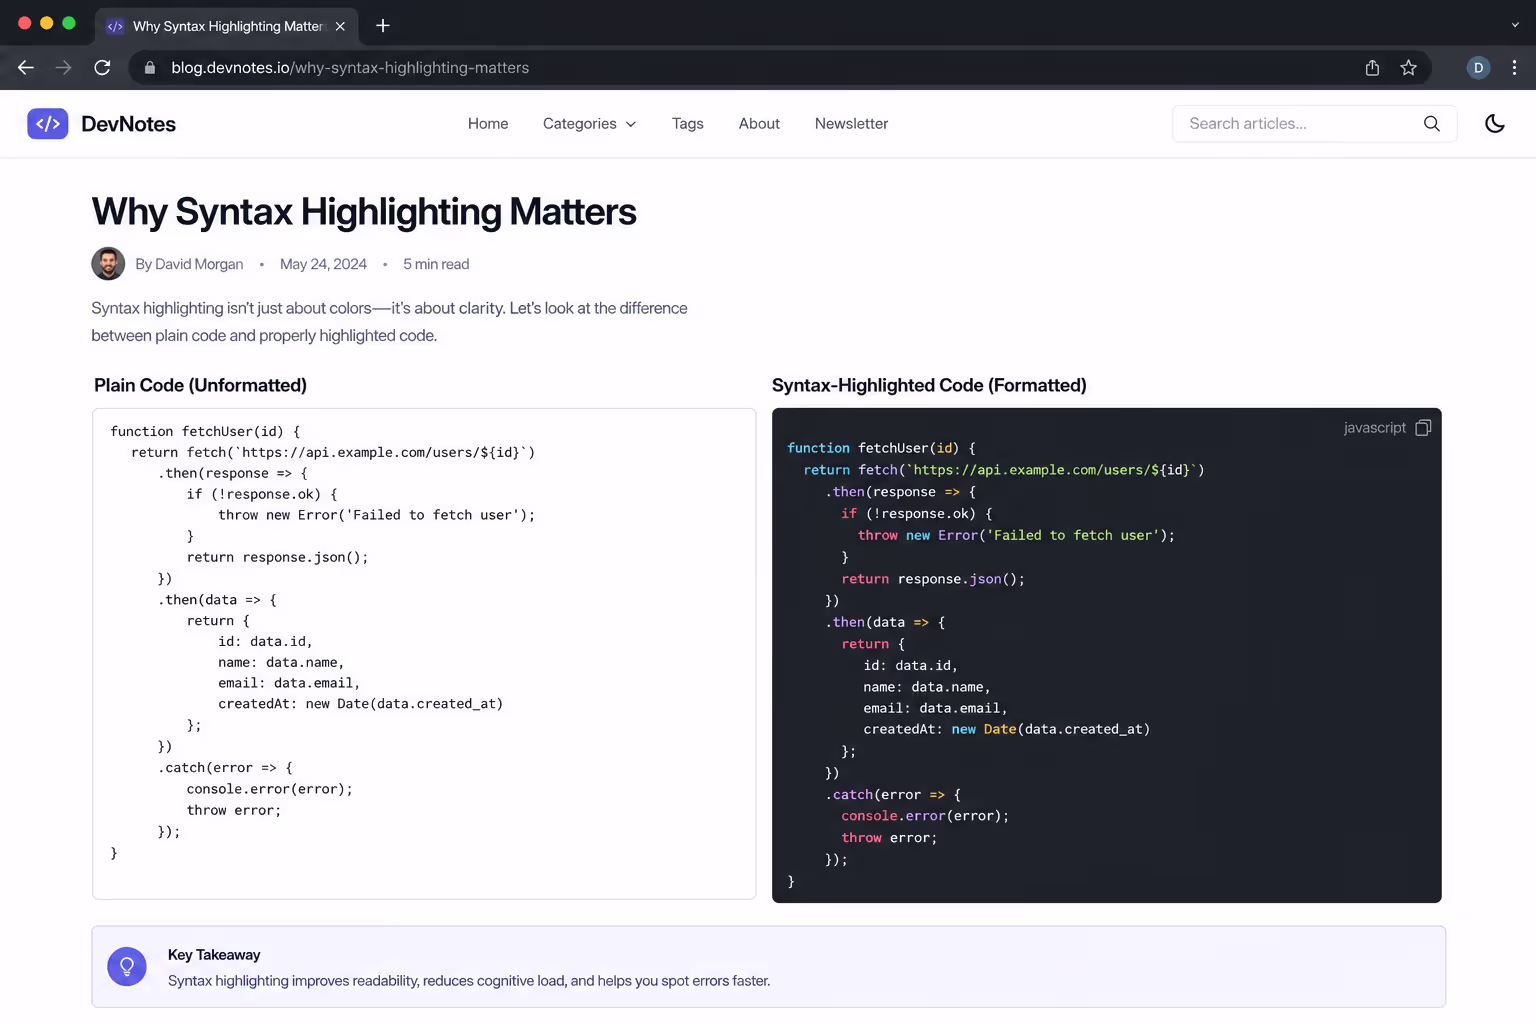
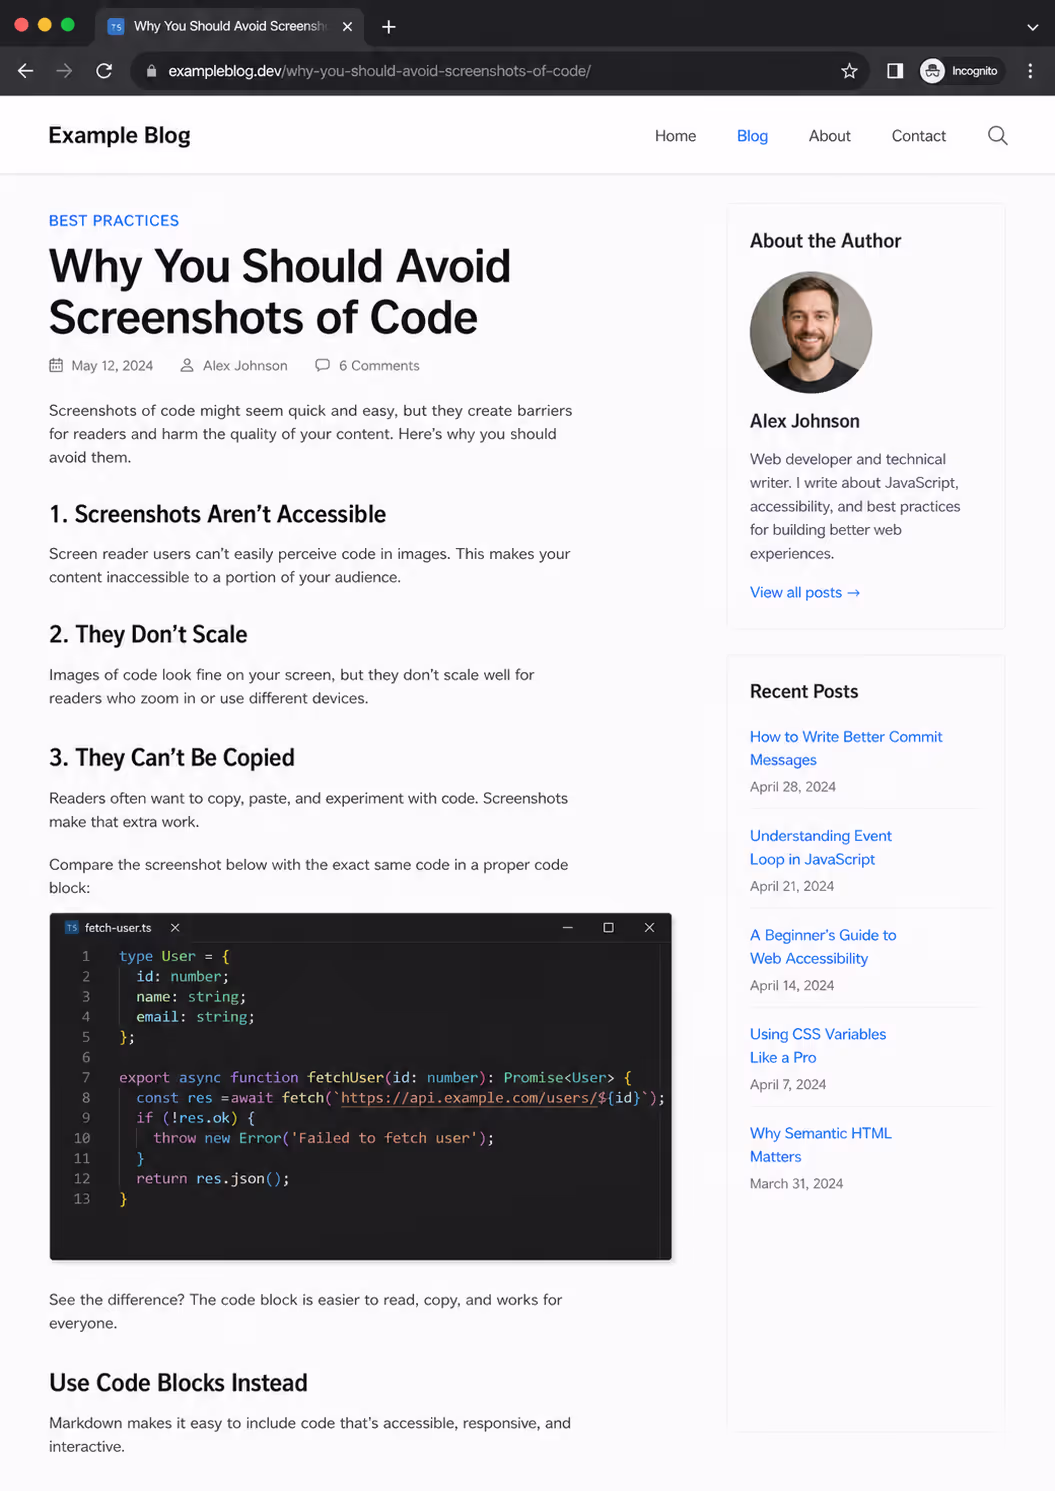
The two methods to avoid for opposite reasons are screenshots and raw pasted text. A screenshot of code cannot be copied, cannot be searched, and is invisible to screen readers, which makes it the least accessible choice you can make. Raw text with no highlighting is readable by machines but punishing for humans. Neither belongs in a serious technical post.
How to pick your highlighter in one line
The library choice collapses into a simple rule based on who reads you and how your site is built. The download numbers back the ranking up: highlight.js pulls roughly 10 million weekly downloads, with Prism and Shiki each near 5 million.
Mixed-source blog, zero-config goal: highlight.js.
Client-side blog wanting line numbers and a copy button: Prism.
Static site for a developer audience: Shiki at build time.
Conclusion
There is no single best way to embed a code snippet in a blog post, there is the method that fits your platform and your readers. Paste into Prism or highlight.js for a normal blog, pre-render with Shiki for a static developer site, reach for a Gist only when the code must stay live, and never ship a screenshot. Match the method to the audience, keep the highlighter light, and your code will be as readable as the prose around it.